Pink Almond Nails Design: A Bridal Checklist
A pink almond nails design can look delicate, modern, romantic, or surprisingly bold. The key is not choosing the prettiest saved photo in isolation. It is choosing a manicure that works with your nail length, wedding timeline, dress details, jewelry, bouquet, and the way you actually use your hands. This checklist helps you make that decision without ending up with a set that feels beautiful in the salon but disconnected from the rest of your look.
Start with the outcome you want: polished hands in ring photos, a shape that survives the week, and enough personality to feel like you. Then move through the decisions in order. You will find the safest pink formulas first, followed by ways to add French lines, shimmer, pearls, bows, chrome, or tiny florals without making every nail compete for attention.
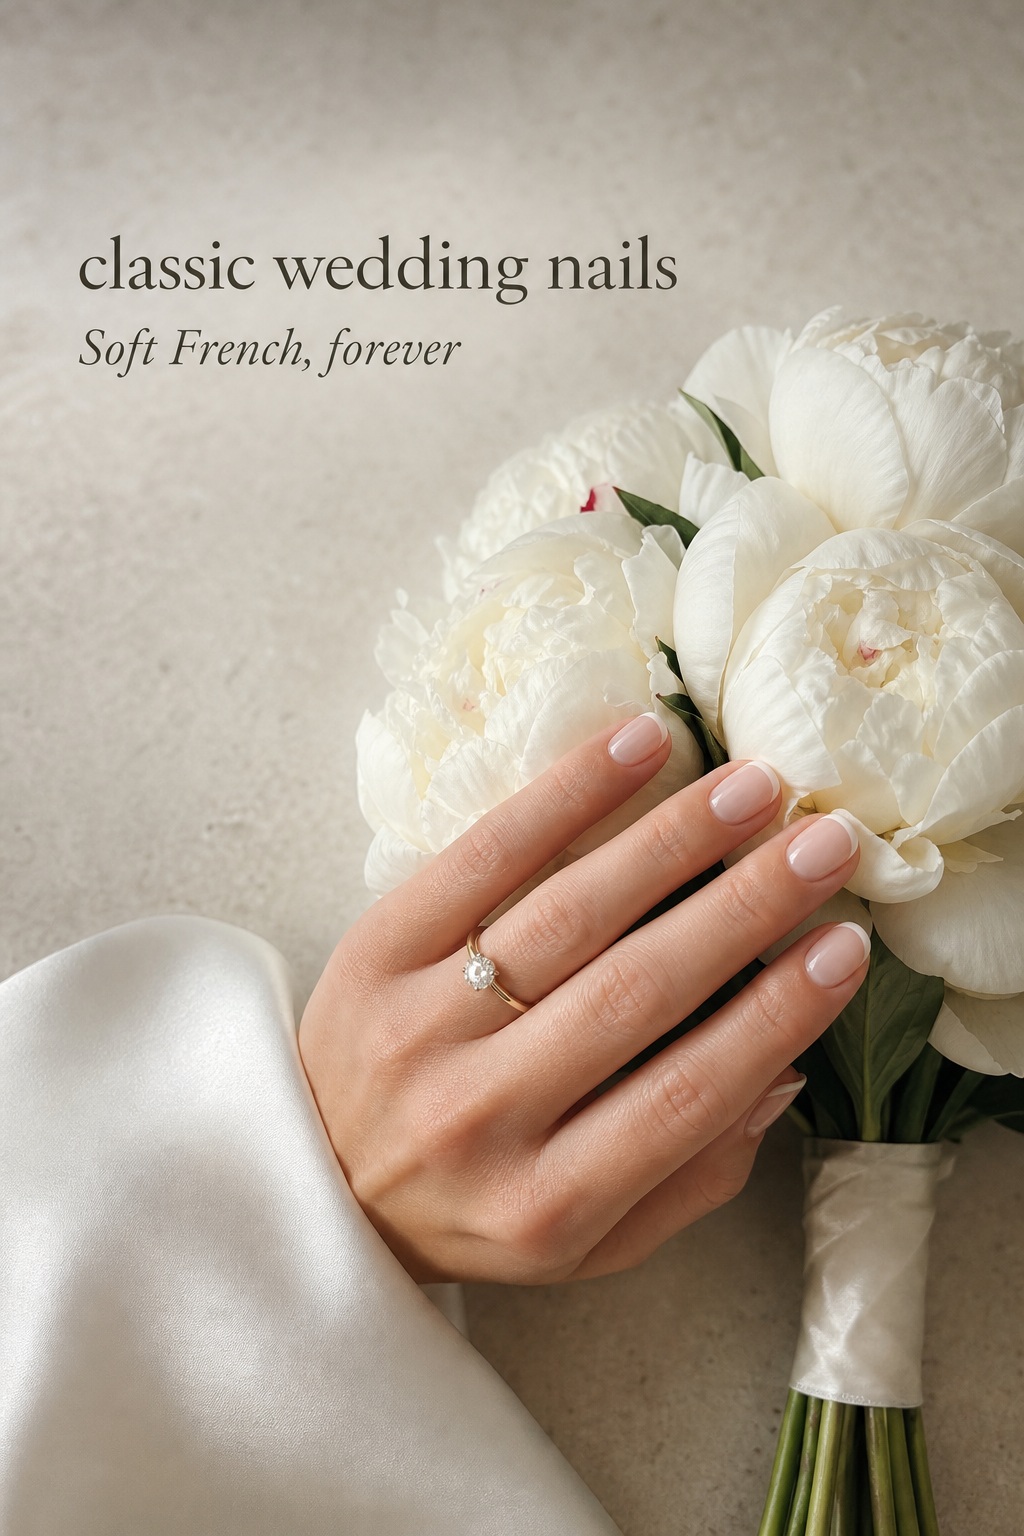
1. Preparation Before Choosing a Pink Almond Nails Design
Preparation is the part most inspiration galleries skip. A design that looks effortless on a long extension may not translate to short natural nails, and a delicate pearl detail may not be practical if you work with your hands. Before choosing color or art, establish the conditions your manicure has to meet.
Set the length you can comfortably wear
Almond is a tapered shape, so it needs enough free edge for the sides to narrow toward a soft point. That does not mean you need dramatic length. Short almond nails can look clean and elegant when the sidewalls are filed evenly and the tip remains gently rounded. Medium almond nails give you more room for French tips, ombre, swirls, and a small accent. Long almond nails create the most visible canvas, but they also need more adjustment time and can catch on fabric.
Your wedding look is only the beginning.
Keep your guest list, vendors, timeline, and every important detail together with Zarellea — so your day feels as considered as your style.
- Choose short almond if you want easy typing, low snagging, and a natural appearance.
- Choose medium almond if you want the most flexible balance of elegance, comfort, and nail art space.
- Choose long almond only if you already wear the length confidently or plan a trial well before the wedding.
Use your everyday life as the test. Open a clasp, fasten a necklace, handle a phone, and button a shirt before committing. The wedding day includes more small hand movements than you expect, from holding flowers to adjusting a veil. A comfortable medium length often photographs just as gracefully as a longer set because the almond taper visually extends the fingers.
Check the condition of your natural nails
Ask your nail technician to assess splitting, peeling, ridges, sensitivity, and uneven lengths before discussing art. A sheer pink can make a healthy nail look luminous, but it can also reveal staining or inconsistent nail beds. If your nails are fragile, the goal is not to force a shape immediately. A gentle overlay, shorter length, and consistent oiling routine may give you a better foundation than a last-minute extension.
Do not use the wedding appointment as your first experiment with extensions, builder gel, or a new removal method. Schedule a trial early enough to notice how your nails feel after several days. If you experience lifting, itching, burning, or unusual irritation, contact a qualified professional and stop using the product until the issue is assessed.
Plan a trial and the final appointment
A useful schedule has two checkpoints. The trial lets you test shape, shade, finish, and any 3D details. Bring a dress fabric swatch, a photo of your engagement ring, and the lipstick or bouquet color if those are already decided. Take photos in daylight, indoor light, and with flash. Pink can shift from creamy to gray, peach, blue, or neon depending on the light and the camera.
The final manicure is usually best close enough to the wedding that the cuticles look fresh, but not so close that you have no time to repair a chip. Follow your technician’s recommendation for the product system and your event schedule. If you are traveling, ask how to handle a small emergency and pack a mini file, cuticle oil, and the exact polish or top coat if available.
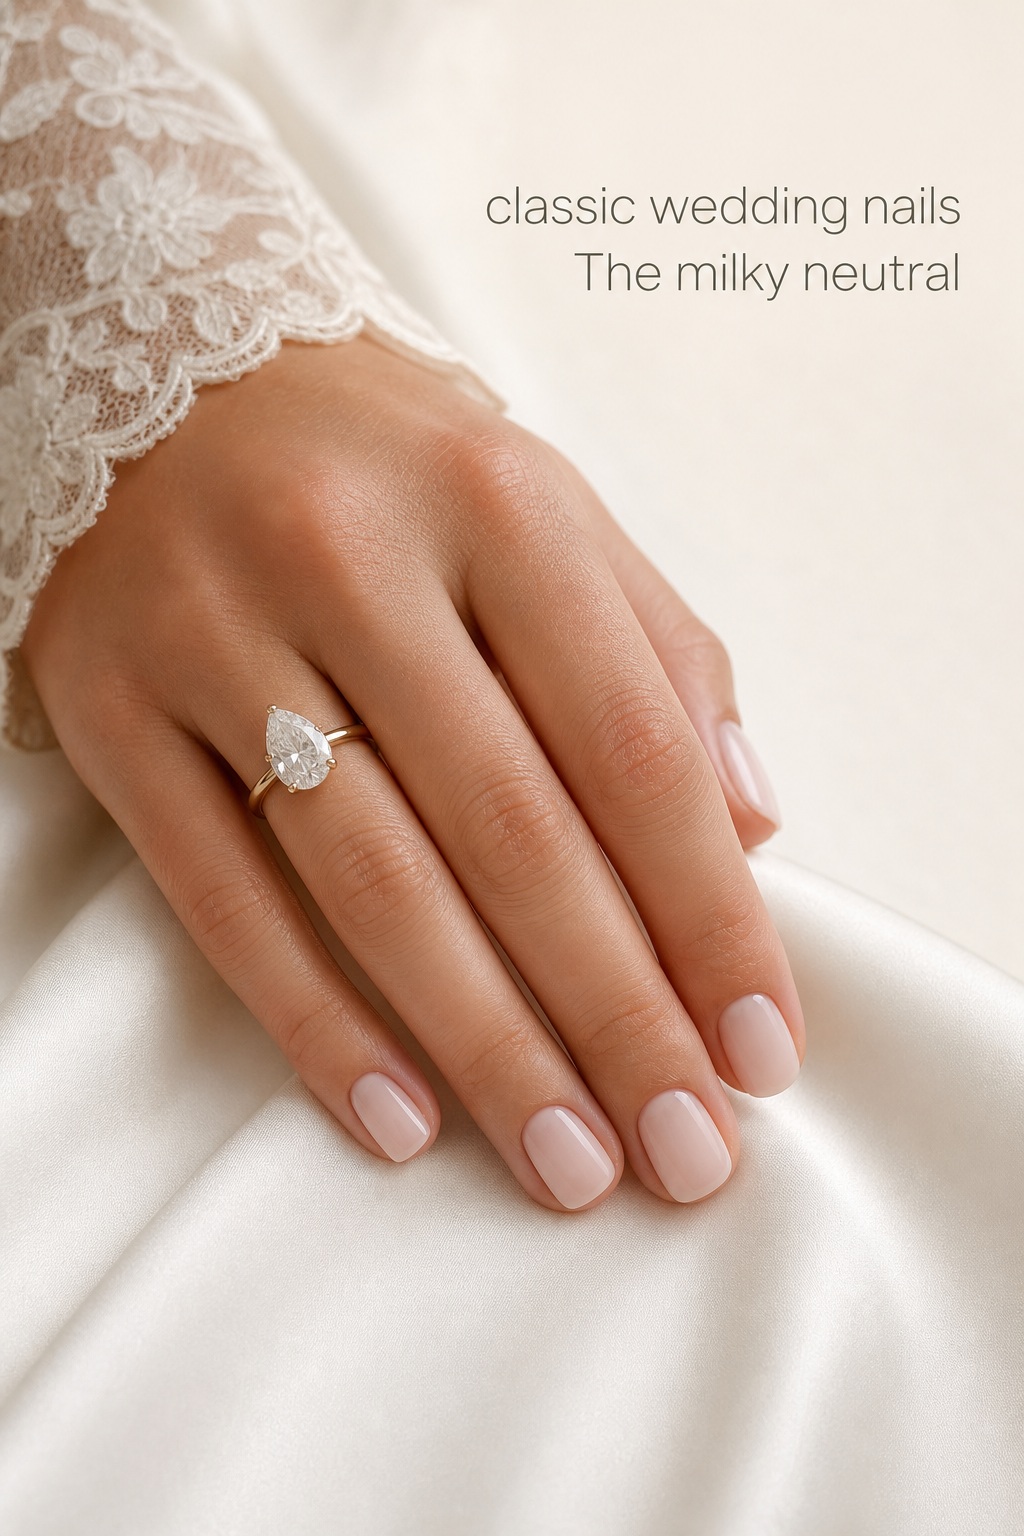
2. The Pink Almond Nails Design Decision Checklist
Once length and timing are clear, choose the look from the base outward. A pink almond nails design usually succeeds when one element leads and the others support it. The lead might be a translucent blush color, a crisp French curve, a pearl finish, or a small metallic accent. Trying to make color, texture, charms, glitter, and nail art equally prominent is the fastest way to lose the refined effect.
Choose the pink family first
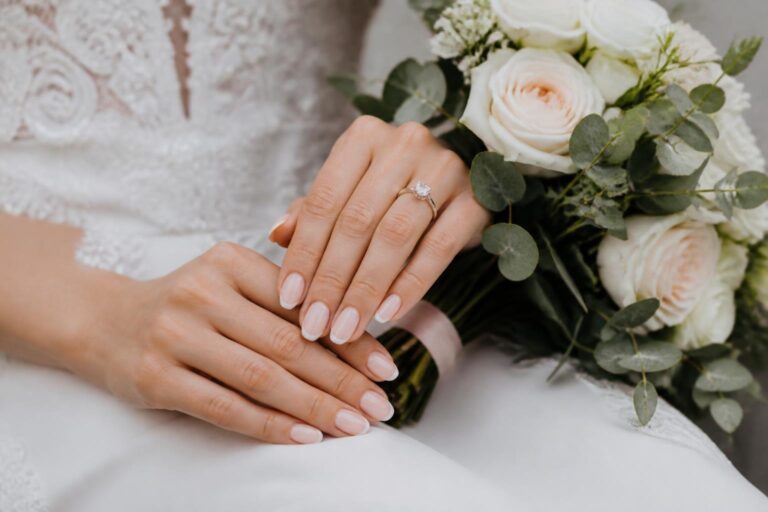
Sheer blush and ballet pink are the lowest-risk choices. They leave some of the natural nail visible, soften the contrast with a white dress, and look graceful in close-up ring photographs. Milky pink is more opaque and can make the manicure look freshly polished even when the natural nail has uneven coloring. Baby pink feels sweeter and more noticeable, while dusty rose or mauve gives the set a quieter, slightly vintage mood.
- Pick sheer blush for a barely-there, clean bridal finish.
- Pick milky pink when you want a soft veil of coverage with a modern glow.
- Pick baby pink for a youthful, feminine look that reads clearly in photos.
- Pick dusty rose when your palette includes champagne, taupe, terracotta, or warm gold.
- Pick hot pink or fuchsia only when a stronger color is intentional elsewhere in your styling.
Rather than guessing your undertone from a chart, compare two or three sample swatches beside your hand and dress fabric. A pink that looks perfect in the bottle can appear too yellow beside an ivory gown or too blue beside bright white. The right shade is the one that makes your skin and jewelry look balanced, not the one that wins a screenshot.
Decide how much contrast you want
A tonal manicure stays close to one color family: blush base, slightly brighter pink tip, and a transparent or pearl top coat. It is easy to coordinate and forgiving as it grows out. A high-contrast manicure uses white French tips, red details, gold foil, black micro-lines, or bright chrome. It creates more personality but makes every edge and chip easier to notice.
Use the contrast of your outfit as a guide. A heavily beaded or lace-covered gown often benefits from a quieter nail so the hands do not compete with the fabric. A simple slip dress or minimalist city-hall outfit can support a more graphic French line, a pink chrome finish, or one sculptural bow. Your manicure should add a close-up detail, not create a separate visual theme.
Match the finish to your photographs and routine
Gloss gives the classic wet shine most people associate with bridal nails and reflects light beautifully in ring shots. Pearl or glazed finishes add movement without requiring visible art. Fine glitter can look almost invisible indoors and sparkle in sunlight, which makes it a useful compromise for someone who wants detail but not a loud manicure. Matte dusty rose is sophisticated, but it can show oil and handling more readily and may feel less traditional next to a glossy engagement ring.
If your hands will appear in direct flash, avoid a finish that creates a harsh hotspot exactly where the photographer will focus. Ask to see the top coat under flash before finalizing it. This is especially helpful with chrome, metallic foil, and dense shimmer. The finish should make the nail surface look smooth and intentional from several angles.
Limit accents to a deliberate pattern
One accent nail can feel classic; two or three repeating accents can feel designed. Consider a single pearl at the base of each ring finger, a thin gold line on two nails, tiny white flowers on the middle fingers, or a small bow repeated on both hands. Keep the accent away from the tip if your hands will be busy, since the free edge experiences the most contact.
- For heirloom elegance, use pearls, a fine shimmer, or a minimal gold half-moon.
- For romantic softness, use white hearts, tiny florals, or a thin pink-and-white swirl.
- For modern polish, use a micro French, negative space, or pink chrome with one metallic detail.
- For maximum practicality, keep texture flat and place the art on one or two nails per hand.
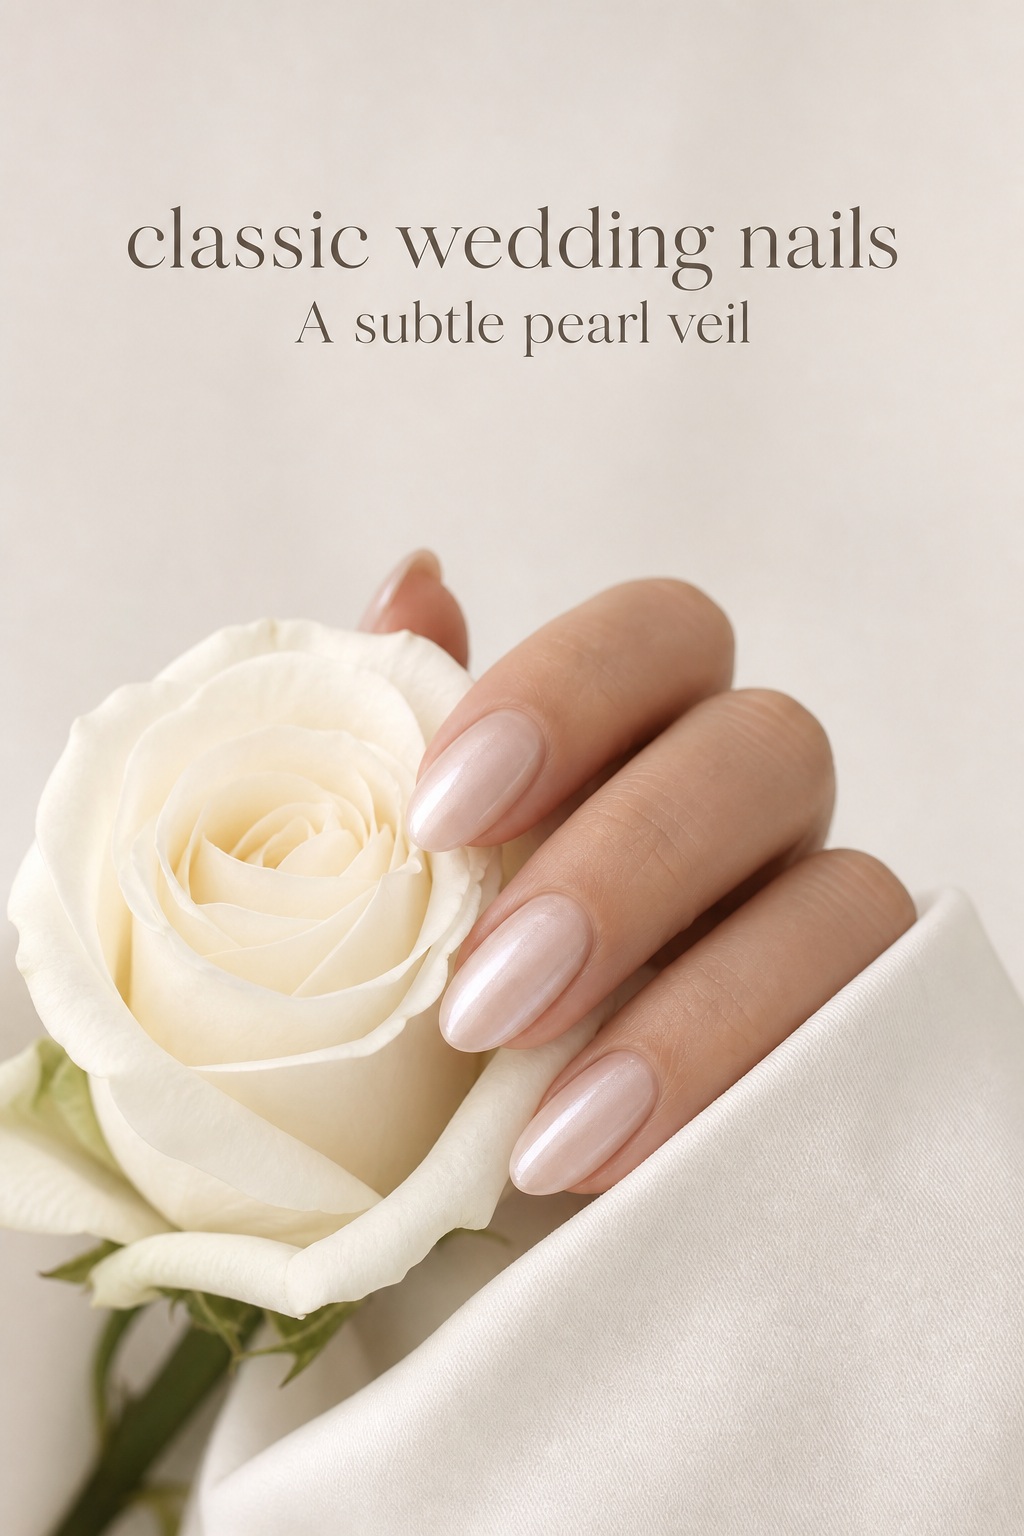
3. Worked Pink Almond Nails Design Formulas
Use these formulas as salon briefs rather than rigid rules. Each one gives you a base, a shape, a finish, and an accent plan. Show your technician a reference image, then explain what you want to preserve: the amount of transparency, the length, the thickness of the line, or the placement of the detail. A clear verbal brief helps the result suit your hands instead of copying a design made for someone else’s nail beds.
Sheer blush with a barely visible glow
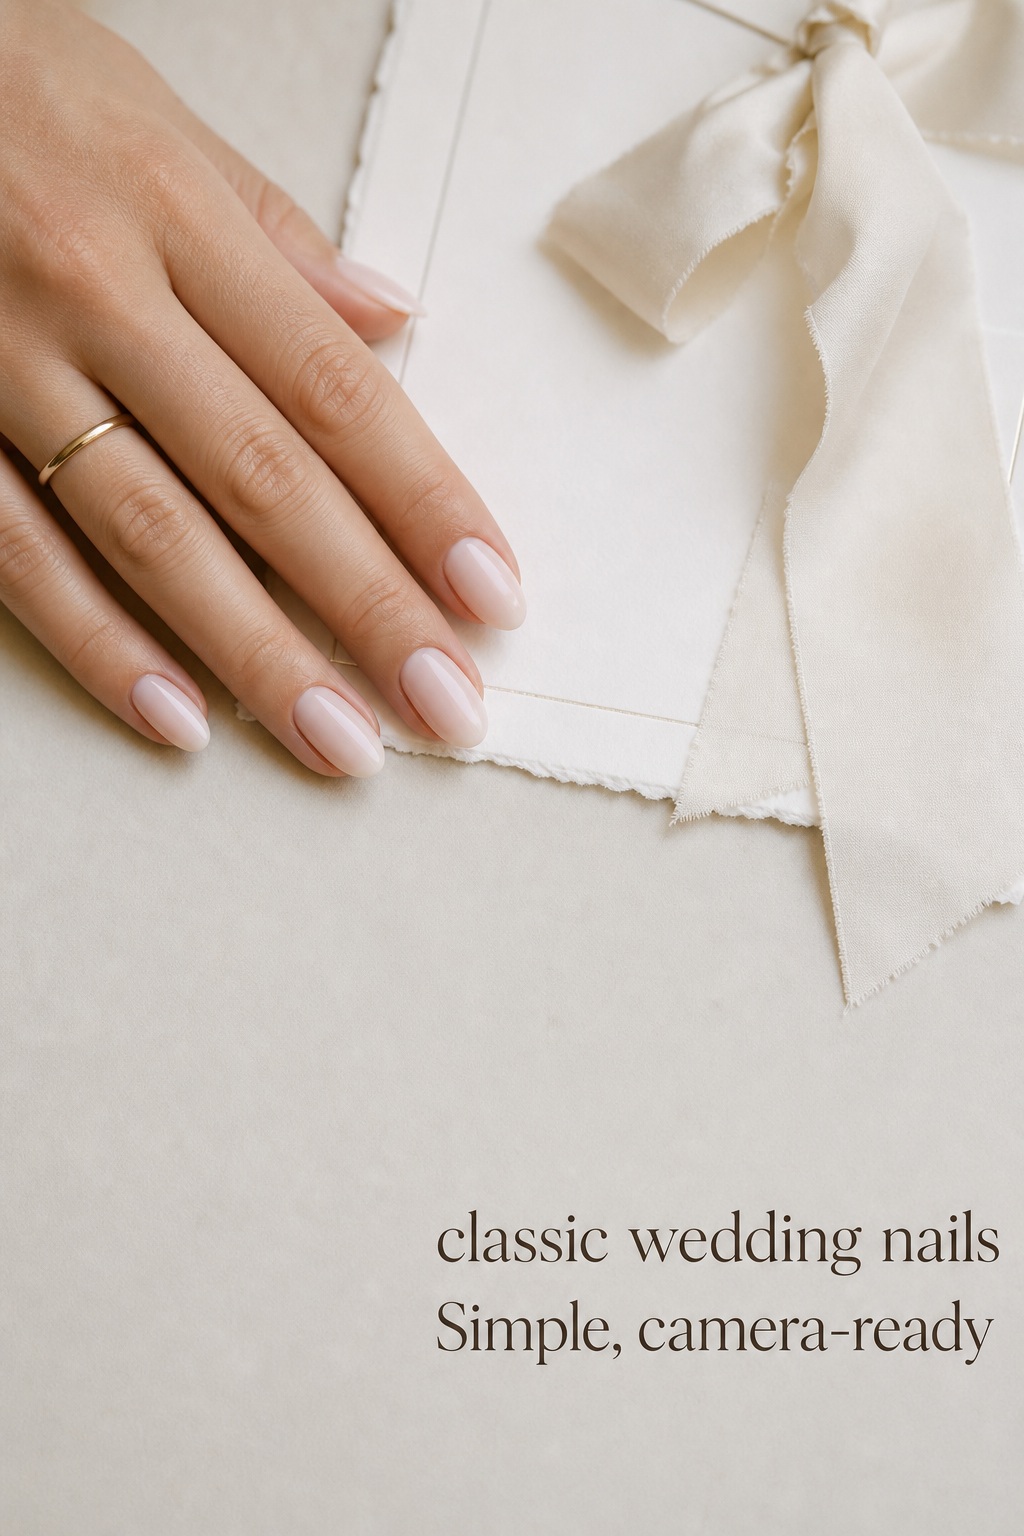
Ask for a short or medium almond shape, one or two thin layers of translucent blush, and a high-shine top coat. Add a very fine pearl or micro-shimmer layer only if you want the manicure to catch sunlight. This is the most versatile formula for a bride who wants her ring, bouquet, and lace to stay in focus. It also adapts well to a courthouse ceremony, engagement photos, rehearsal dinner, or honeymoon.
Its trade-off is that it has less coverage than an opaque pink. If your natural nails have noticeable discoloration or different free-edge lengths, ask whether a slightly milky sheer base would give a more even result. The goal is healthy-looking transparency, not a patchy wash.
Milky pink with a soft French tip
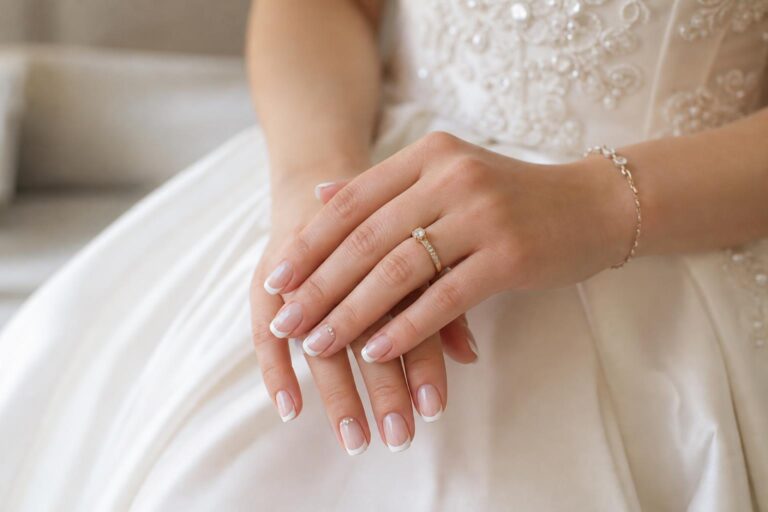
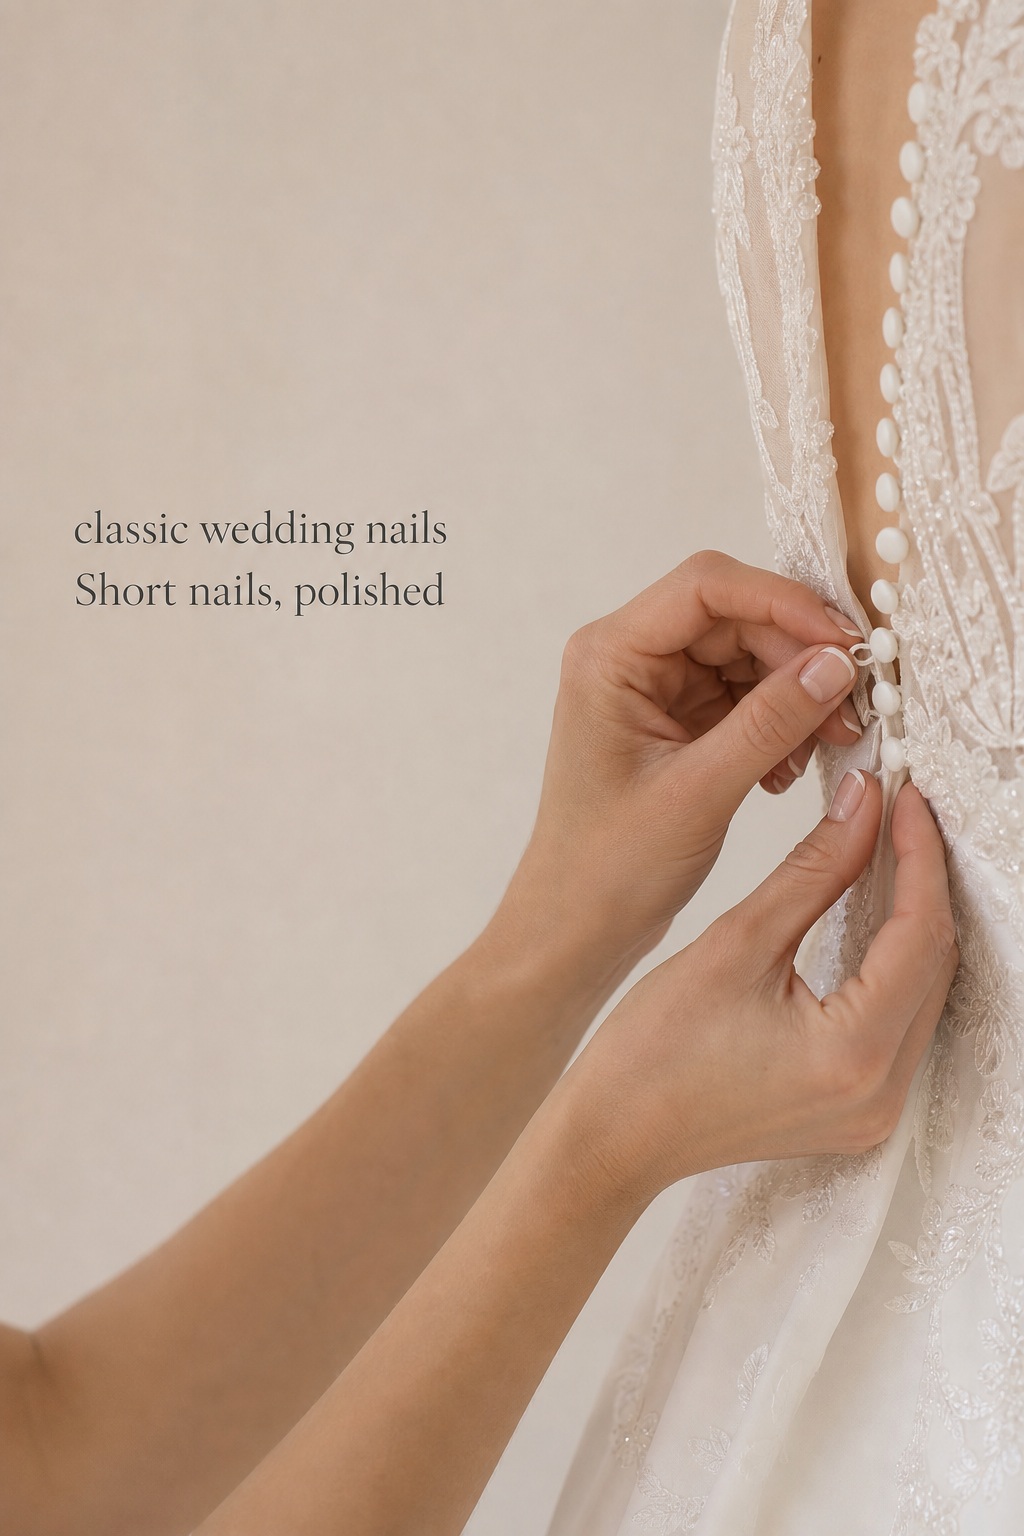
Choose a medium almond base in milky pink, then add a slim white or pale-pink French tip. On shorter nails, keep the line narrow so it does not visually shorten the nail bed. A soft, slightly curved smile line can look more natural than a thick, perfectly geometric band. If you want a little more individuality, use a blush-pink tip over a milky base or add one tiny pearl at the base of each ring finger.
This formula works with almost any gown because it repeats the language of a polished white manicure while keeping the base warmer and more dimensional. It is also easy to describe: “medium almond, milky pink base, very thin French tip, glossy finish, no bulky art.”
Pink-to-white ombre with a bridal shimmer
For a softer alternative to a visible French line, ask for pink fading into white or cream at the tip. The gradient elongates the almond silhouette and photographs smoothly because there is no hard horizontal edge. A fine glitter dusted near the transition or only on the tips adds dimension without turning the entire set into a sparkle manicure.
Ombre is easiest to read on medium or long nails, where the fade has room to develop. On short nails, ask for a shallow gradient and keep the white close to the free edge. Bring a photo taken from a similar length; otherwise, the technician may need to compress the transition and the result can look more like a pale French tip.
Blush pink with pearls or one crystal detail
Start with a glossy blush or milky pink and choose one type of embellishment. Small pearls feel soft and bridal beside pearl earrings or a vintage gown. Clear crystals feel brighter beside a diamond or crystal belt. Place the details near the cuticle or on the ring fingers, where they can be seen in hand photographs without crowding every nail.
Ask for the embellishments to be secured with the product system your technician trusts, and ask how to protect them during the wedding week. Raised pieces can catch on lace, hair, or delicate fabric. If you prefer zero snagging, choose a flat pearl effect, painted dots, or a fine metallic outline instead of a raised charm.
Pink chrome with a restrained modern accent
Pink chrome turns a simple almond shape into a more fashion-forward manicure. Keep the base close to your preferred pink, then use a chrome powder or glazed finish to create reflective depth. To keep it bridal, pair the shine with one quiet detail: a transparent negative-space line, a tiny gold foil flake, or a soft white micro French on two nails.
Chrome is more dependent on application than a plain color. The surface must be smooth, the powder must be sealed correctly, and the cuticle area must be clean. Ask your technician to show you the color under daylight and flash. If the reflective effect feels too cool against your jewelry, a rose-gold or pearl glaze may be more harmonious than a silver-pink chrome.
4. Final Review: Your Salon Brief and Mistake-Proof Plan
Before you book the final service, reduce your choice to one sentence. A strong salon brief includes shape, length, base shade, tip or art, finish, and what you do not want. For example: “I want medium almond nails with a translucent blush-pink base, a very thin milky French, glossy top coat, and one flat pearl on each ring finger; please keep the surface smooth and the tips practical.”
- Bring two or three reference photos, not a collage of unrelated designs.
- State your current natural length and whether you want gel, builder gel, extensions, or a temporary press-on set.
- Show the ring, dress fabric, and any jewelry you want the manicure to complement.
- Confirm the total appointment time, removal plan, repair policy, and aftercare.
- Photograph the finished nails in daylight, indoor light, and with flash before leaving.
Avoid five common mistakes. Do not choose a length you have never worn two days before the event. Do not test a new product system for the first time at the final appointment. Do not add a raised charm to every nail because one reference image looked festive. Do not judge pink under salon lighting alone. Finally, do not let a trend override the details you will actually see in your wedding album.
Pack a small manicure emergency kit: a glass file, cuticle oil, a clean adhesive if you are wearing press-ons, and the shade or top coat information from your technician. Do not glue a lifted enhancement back onto a damaged or painful nail. Ask a professional for help if there is pain, redness, swelling, or persistent lifting.
FAQ
Are pink almond nails a good choice for a wedding?
Yes. Pink almond nails are flexible because the color can be sheer, milky, pastel, dusty, or vivid, while the tapered shape looks polished at short, medium, and long lengths. Choose the shade and finish according to your dress, jewelry, comfort, and photo preferences.
What pink shade looks most bridal on almond nails?
Sheer blush, ballet pink, and milky pink are the safest bridal options because they soften the hand and coordinate easily with white, ivory, and champagne. Test swatches beside your dress and ring because undertones can make the same pink look warmer or cooler.
Can short nails have a pink almond nails design?
Yes. Ask for a short almond with even sidewalls and a gently rounded point. Keep French lines narrow, use a shallow ombre, or choose a sheer pink with one small accent. Your technician may recommend growing a little length first if the nail bed is too short to create a stable taper.
When should I get my wedding manicure?
Schedule a trial early enough to test comfort, wear, and color in photographs. Book the final service close enough to the wedding for fresh cuticles but with enough time to address a chip or adjustment. Your technician can recommend exact timing based on the product, travel, and event schedule.
Are gel or builder-gel nails better for a bridal manicure?
Neither is automatically better. The right system depends on your natural nail strength, desired length, lifestyle, and technician’s expertise. Gel polish may suit a natural overlay, while builder gel can add structure. Ask about removal, allergies, maintenance, and how the system performed during your trial.
How can I add sparkle without making pink almond nails too busy?
Use one sparkle language: fine shimmer, a thin glitter tip, a small crystal, or a pearl accent. Repeat it on one or two nails per hand and keep the rest of the set glossy and simple. This gives the ring photographs a point of interest while preserving a clean overall look.
What should I tell my nail technician?
Describe the exact length and shape, pink family, opacity, finish, accent placement, and your practical limits. Bring a few reference photos plus your ring and dress swatch. Also say what you do not want, such as bulky charms, thick tips, a very cool undertone, or a length that catches on fabric.