Wedding Nails Design: How to Choose Your Bridal Look
Choosing a wedding nails design is easier when you stop treating it as a contest between saved pictures. A manicure can be soft and classic, reflective and modern, delicately decorated, or confidently colorful. The best choice depends on what you need the nails to do: support a detailed gown, make a ring photo feel polished, survive a destination weekend, flatter short natural nails, or give a minimalist outfit one memorable finish.
This comparison guide gives you a practical way to narrow the field. Instead of asking which bridal manicure is prettiest in isolation, compare each option by visual impact, versatility, maintenance, comfort, and how easily your nail technician can adapt it to your hands. You will finish with a clear brief, a realistic timeline, and a wedding nails design that looks intentional rather than borrowed from someone else’s proportions.
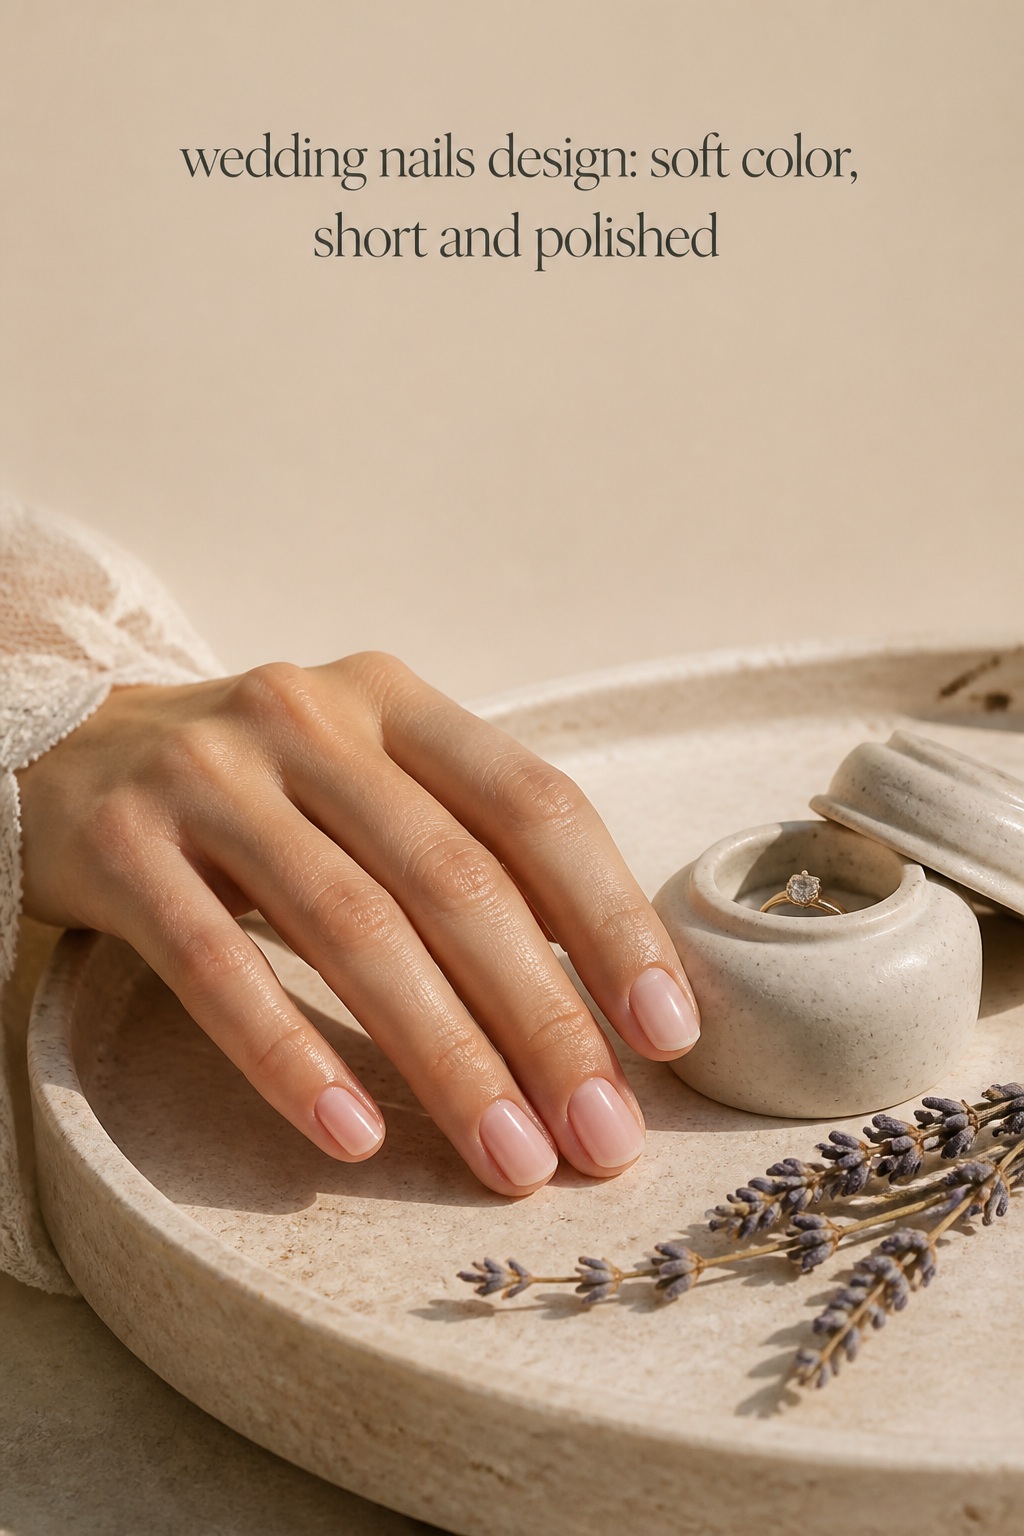
Start With the Decision: What Should Your Wedding Nails Design Do?
Begin with the job your manicure needs to perform. Your hands appear in ring portraits, bouquet photos, dress-buttoning moments, champagne toasts, hugs, and candid gestures. That means the surface needs to look neat from a distance and close up. A complicated design is not automatically more bridal; a smooth shape, clean cuticles, and a finish that catches light can have more impact than several decorations.
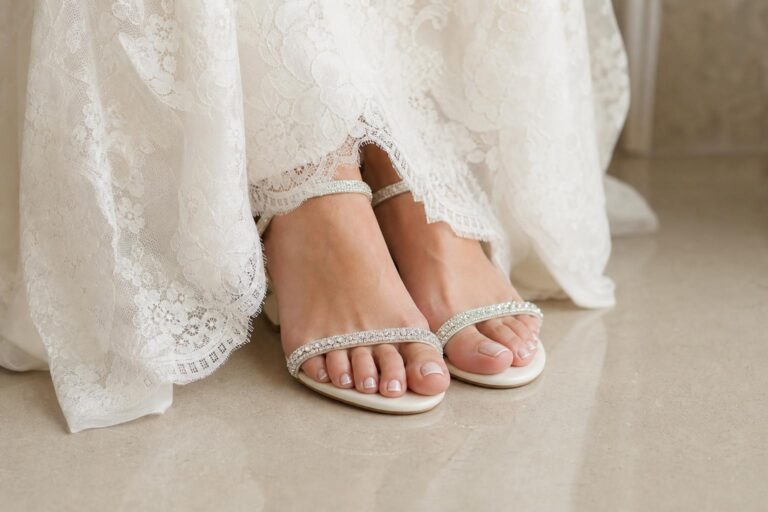
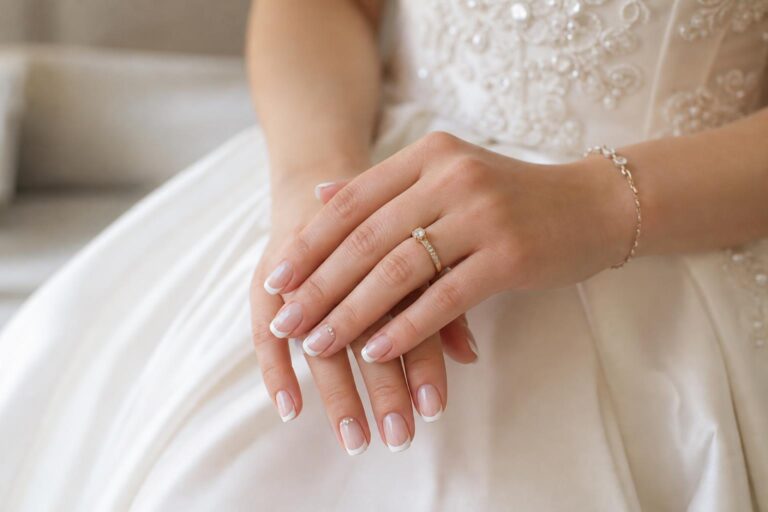
If your gown has lace, beading, embroidery, or a dramatic sleeve, a quieter wedding nails design usually creates balance. Sheer blush, milky neutral, or a soft French tip gives the eye somewhere to rest while still making the hands look finished. If your dress is simple satin or crepe, you have more room for pearl chrome, a thin metallic line, tone-on-tone art, or a deliberate color that echoes the bouquet or shoes.
Your wedding look is only the beginning.
Keep your guest list, vendors, timeline, and every important detail together with Zarellea — so your day feels as considered as your style.
Next, name your practical constraint. Short nails may need a design that respects a small canvas. Fragile nails may need structure before color. A bride traveling between appointments may need immediate curing and a durable surface. Someone who rarely wears polish may prefer a sheer finish that feels recognizable. If you are hosting several events, the wedding manicure may need to work with a rehearsal outfit, welcome-party look, and post-wedding travel clothes.
- For timeless photographs: choose balanced shape, soft contrast, and a finish that will not fight the ring.
- For a detailed gown: edit the manicure to one quiet texture or a restrained French.
- For a simple gown: add interest through pearl sheen, a fine line, or a considered accent color.
- For short natural nails: prioritize proportion, thin detail, and an even glossy surface.
- For a busy wedding weekend: choose a tested product and plan safe removal before the appointment.
Keep your references focused. Save three images that share the same mood, then describe what you actually like about them: the warm nude base, the narrow tip, the reflective finish, the oval shape, or the tiny accent. A photo may show very long extensions, altered lighting, or a filter. Your technician needs the design ingredients, not the illusion that your hands must reproduce someone else’s exact set.
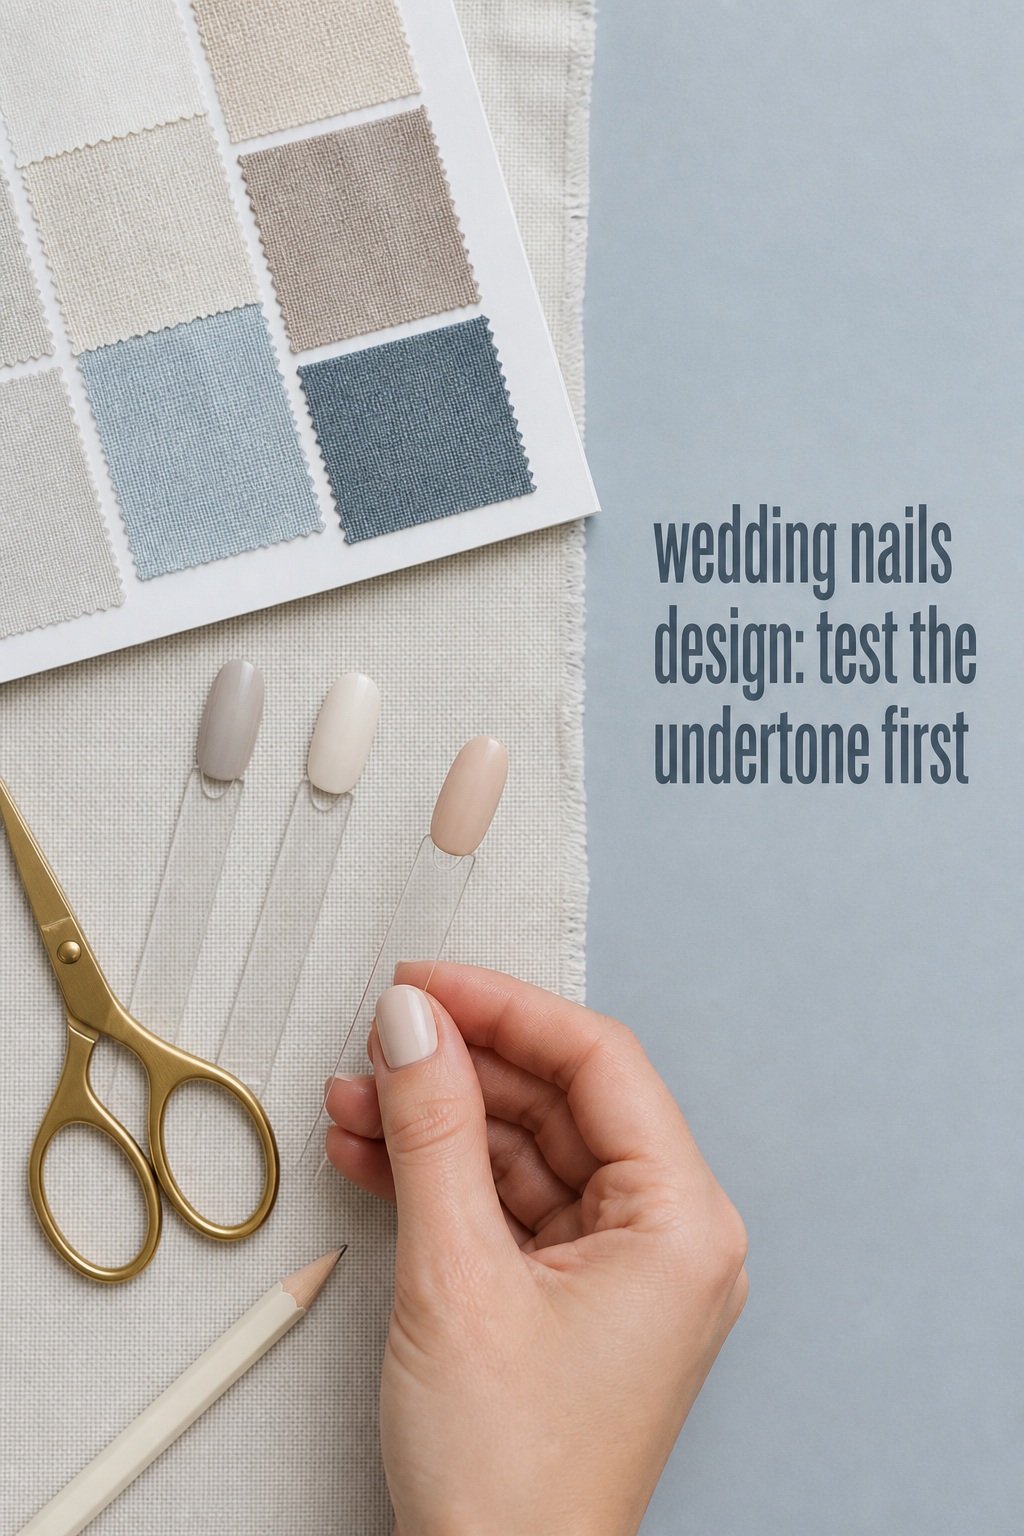
It also helps to photograph your ring and dress fabric together. Bright white, ivory, champagne, and blush can change how a polish reads. A cool white may make an ivory gown appear warmer by comparison, while a peachy nude can disappear beside warm fabric. Use a physical swatch or fabric photo in daylight and indoor light before you commit. That small test prevents a surprisingly common wedding-week disappointment.
Compare Five Wedding Nails Design Directions
Classic French. A French manicure remains popular because it gives the hand a clear outline without filling the entire nail with color. The most flattering version is adapted to your length: a micro tip on short nails, a softly curved tip on oval or almond nails, or a slightly stronger edge on a longer square shape. Ask whether a soft white, ivory, or milky tip will relate better to your dress than a stark white. The French is versatile and easy to coordinate, but a deep or bulky tip can visually shorten small nails.
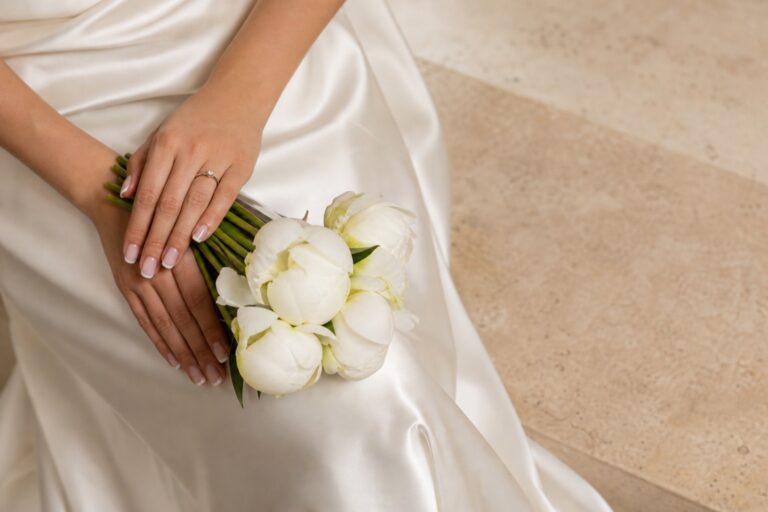
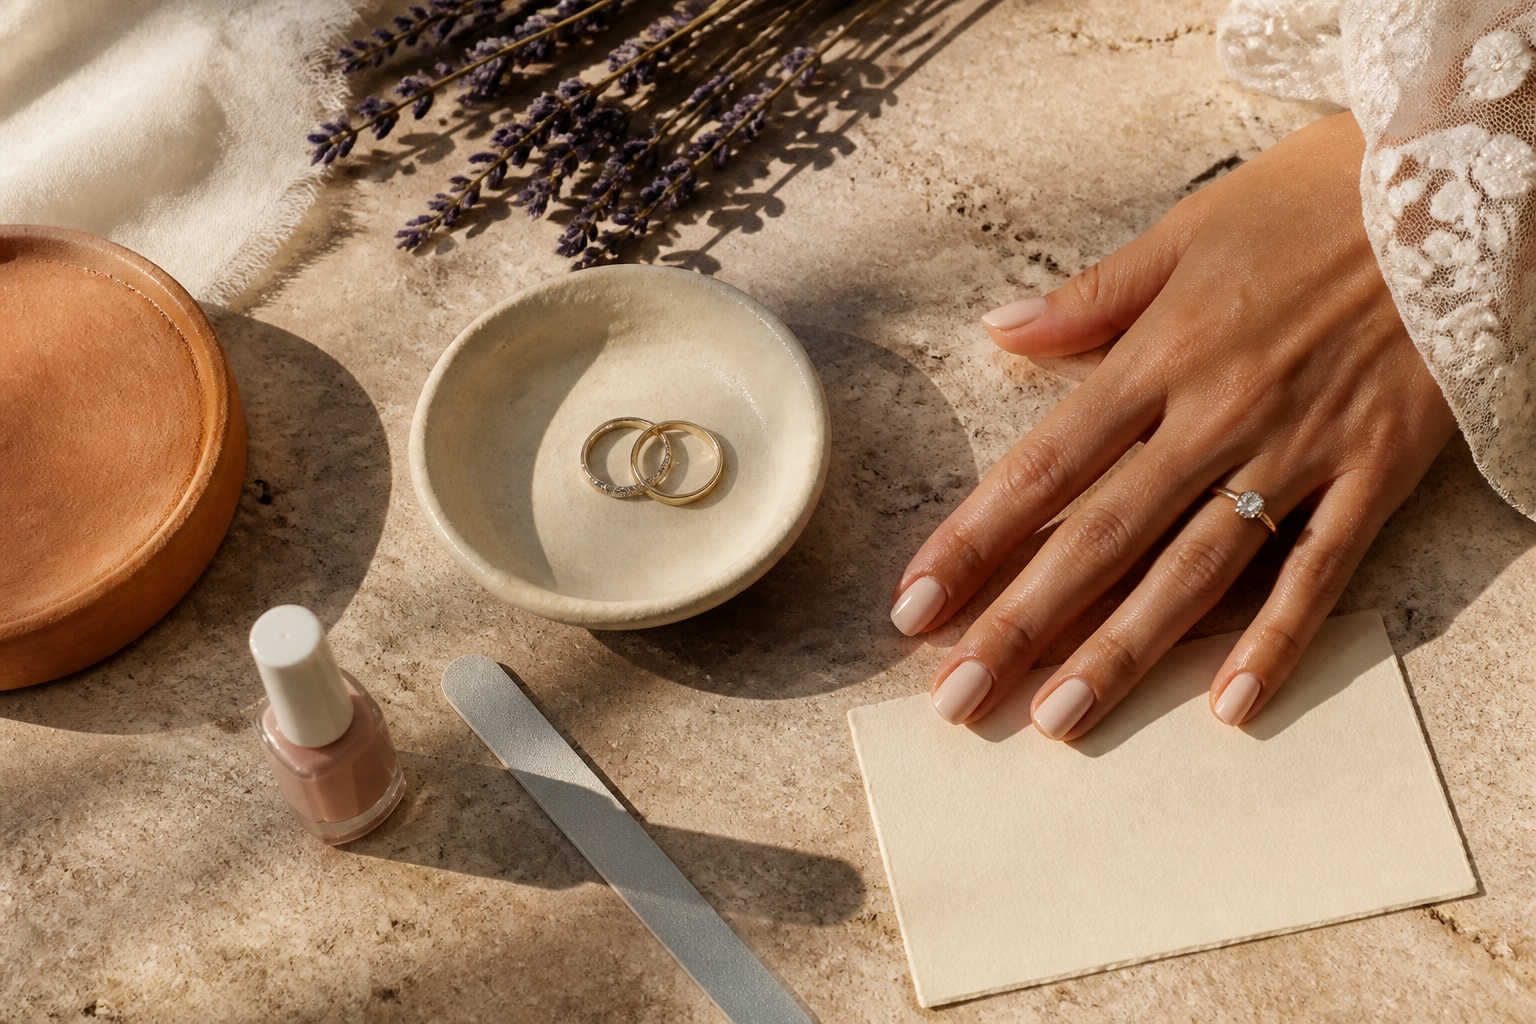
Sheer blush or milky neutral. This is the strongest choice when you want your hands to look freshly cared for rather than visibly decorated. A transparent pink, rosy beige, milky cream, or soft ivory works with almost any jewelry and lets the ring remain the focal point. It is forgiving as the manicure grows out and often suits brides who do not usually wear nail art. The trade-off is that a very sheer base reveals uneven tone or ridges, so preparation and a well-chosen undertone matter.
Pearl chrome or glazed finish. A fine reflective layer adds movement without requiring a pattern. It is especially effective in close-up photographs because the surface picks up daylight, candlelight, and the flash from a camera. Pearl chrome can feel modern over milky white, romantic over blush, or warmer over champagne. Test the powder on your chosen base because the same chrome can look silver, pink, or golden depending on what is underneath. The trade-off is that uneven nail preparation becomes more visible under reflection.
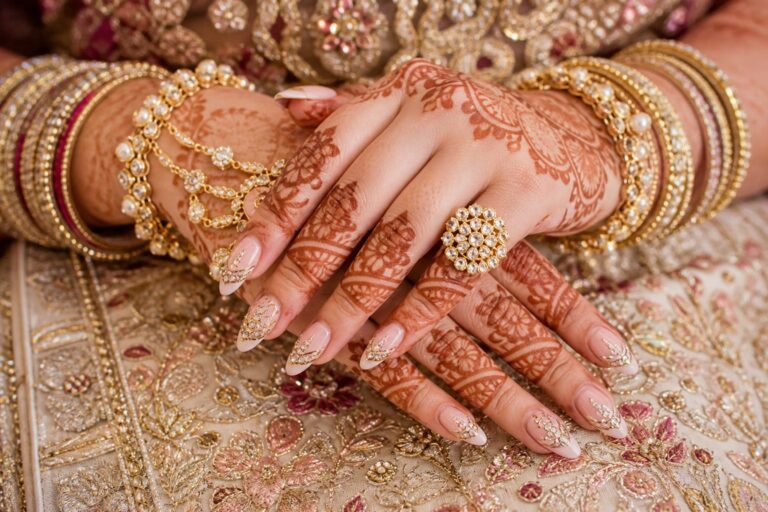
Delicate art. Fine bows, tiny pearls, lace-like lines, micro flowers, white swirls, and a single accent nail can personalize a quiet manicure. The most successful art repeats something already in the wedding design, such as a pearl earring, a bow on the shoes, a floral motif, or a metallic stationery detail. Keep the scale appropriate to the nail. Large charms can catch on fabric, and a different motif on every finger may compete with the bouquet and ring.
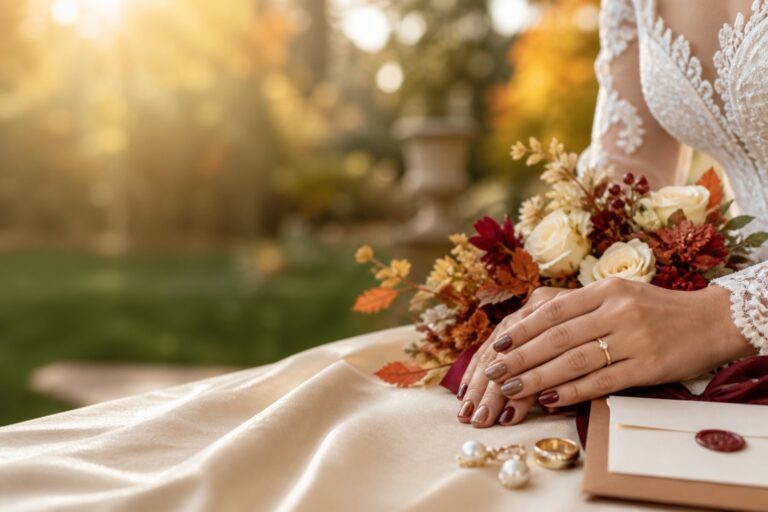
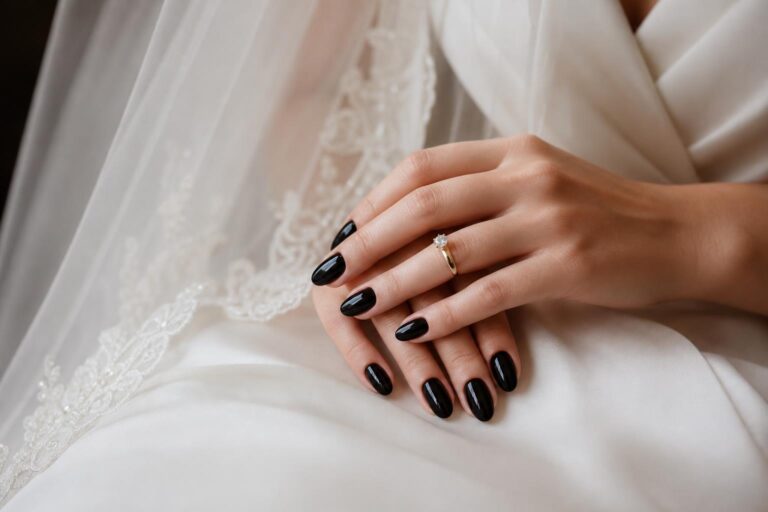
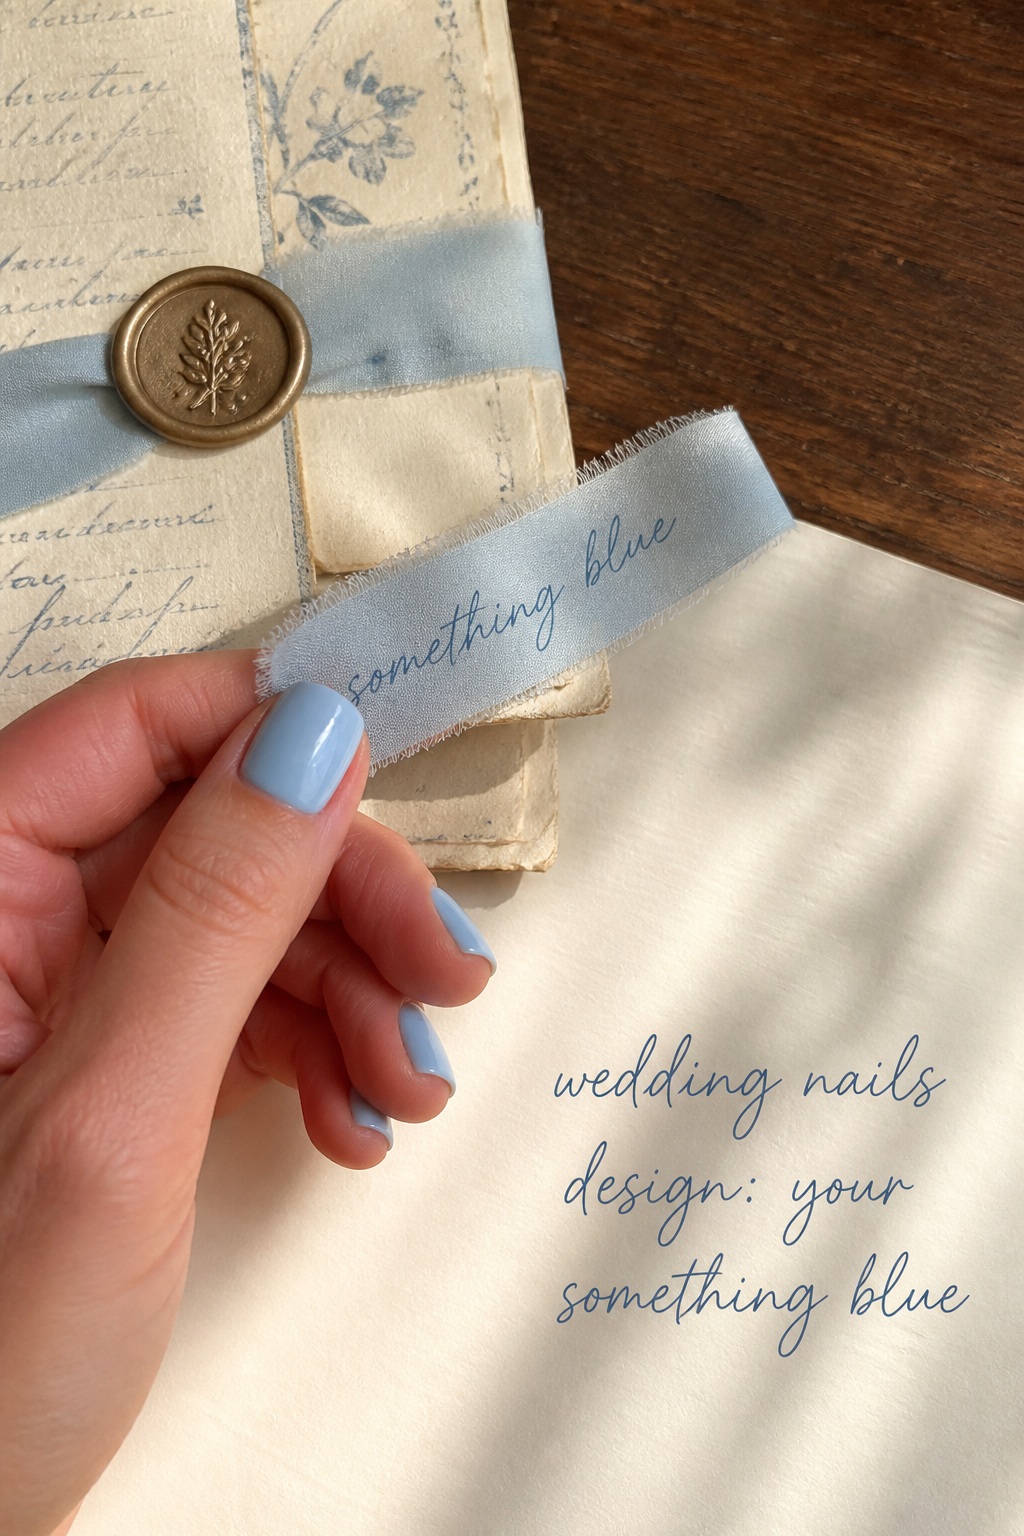
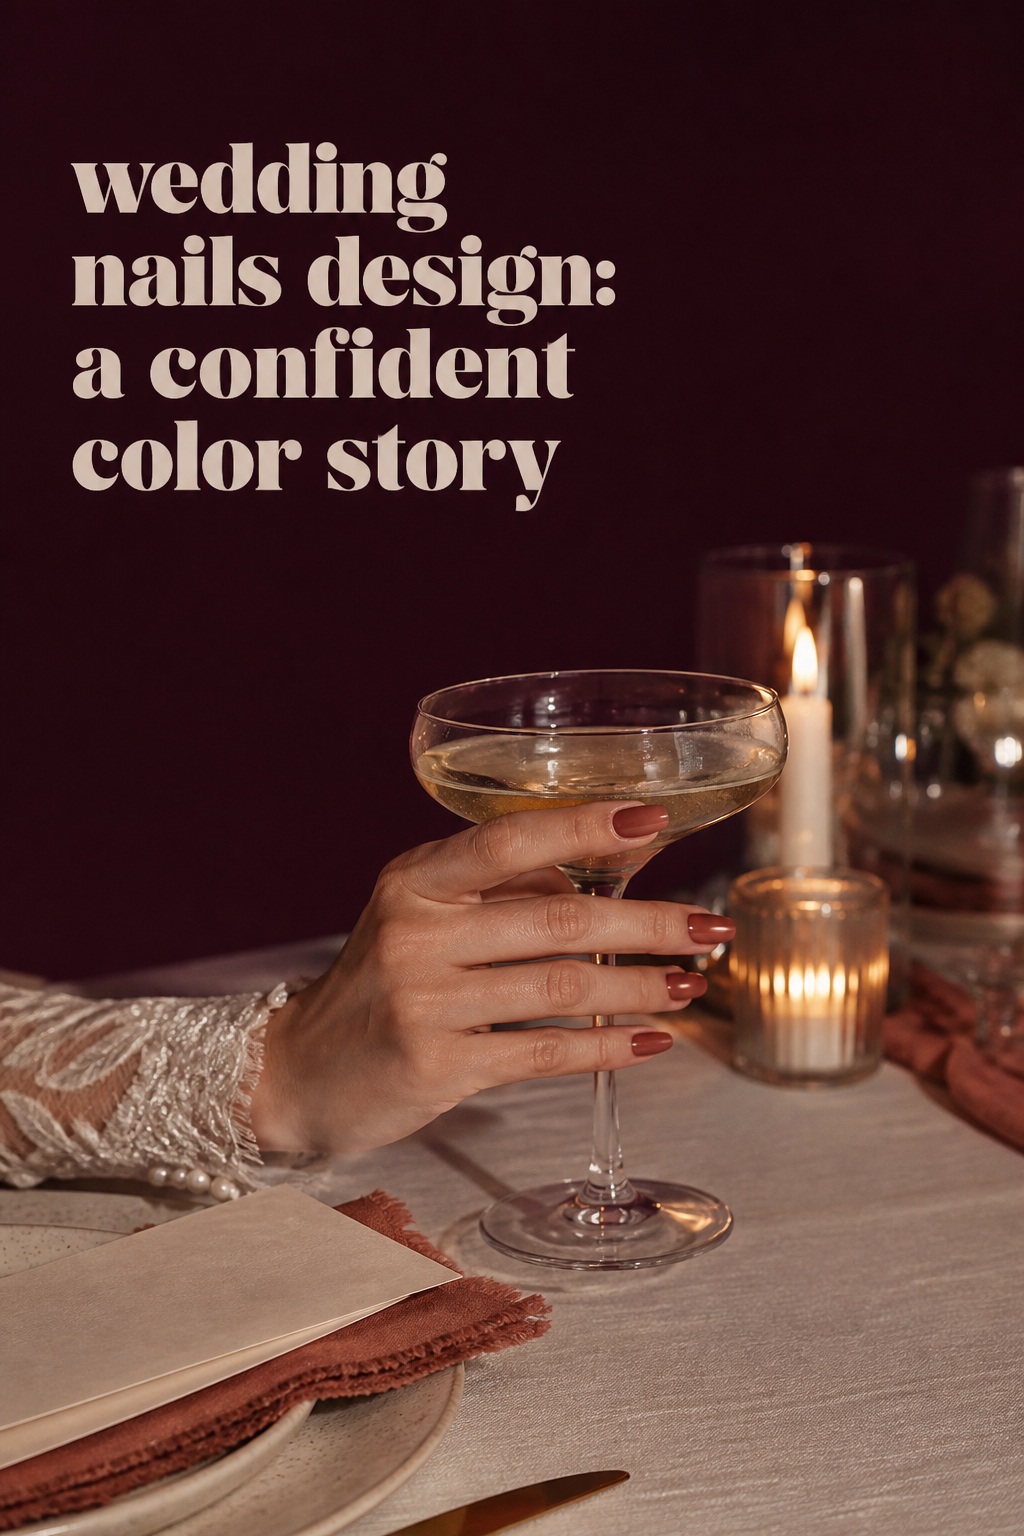
Color-forward bridal polish. Wedding nails do not have to be white or nude. Glossy red, dusty rose, muted berry, pale blue, sage, terracotta, or deep plum can look considered when the shade has a clear relationship to the palette. Use color when you want the manicure to express personality or connect the outfit to flowers, shoes, stationery, or a second-look dress. The trade-off is coordination: a saturated shade deserves a trial beside the gown and may be less flexible if the wedding styling changes.
- Most adaptable: sheer blush, milky neutral, or a soft French.
- Most light-catching: pearl chrome over a smooth translucent base.
- Most personal: a quiet base with one motif or accent that repeats the wedding details.
- Most expressive: a polished color that is intentionally echoed elsewhere.
- Most dependent on preparation: reflective finishes and very sheer colors.
There is no universal winner. If you want low visual risk, start with a sheer or French base and add only one change: pearl, a colored tip, or a fine accent. If you want a fashion statement, decide whether the statement should come from shape, color, finish, or art. Combining all four at once can make the manicure harder to wear and harder to photograph clearly.
Match the Design to Nail Shape, Dress, and Jewelry
Shape changes the proportions of every wedding nails design. Short squoval and round nails are practical, stable, and excellent for sheer color, glossy neutrals, micro-French tips, and tiny centered details. They do not need to imitate a long almond set to look elegant. A clean edge and an even length often appear especially polished when the hand is holding a bouquet or resting beside a ring.
Oval nails create a soft, traditional silhouette and give French lines or pearl finishes room to curve naturally. Almond nails feel more elongated and romantic, but they need enough length to keep the point balanced rather than sharp. If you choose almond extensions, test them early. You should be able to button clothing, carry a bag, fasten jewelry, and hold your partner’s hand without thinking about the tips.
Square and squoval shapes bring a graphic quality to French tips, metallic edges, and geometric art. Softened corners are usually easier to wear than a very sharp square, especially during travel or a multi-day celebration. Tapered square or coffin shapes can support a stronger fashion brief, but the set should be proportionate to your fingers and dress. A dramatic shape is a style choice, not a requirement for a bridal manicure.
Use the dress as a guide to visual weight. Romantic lace pairs naturally with sheer blush, delicate floral art, a soft French, or a pearl veil. Clean satin and minimalist crepe can support milky color, chrome, a crisp micro-French, or one graphic line. Beaded gowns may need a simple glossy base so the hands do not become another competing cluster of sparkle. A colorful or nontraditional dress can welcome a muted matching shade or a contrasting neutral that lets the fabric lead.
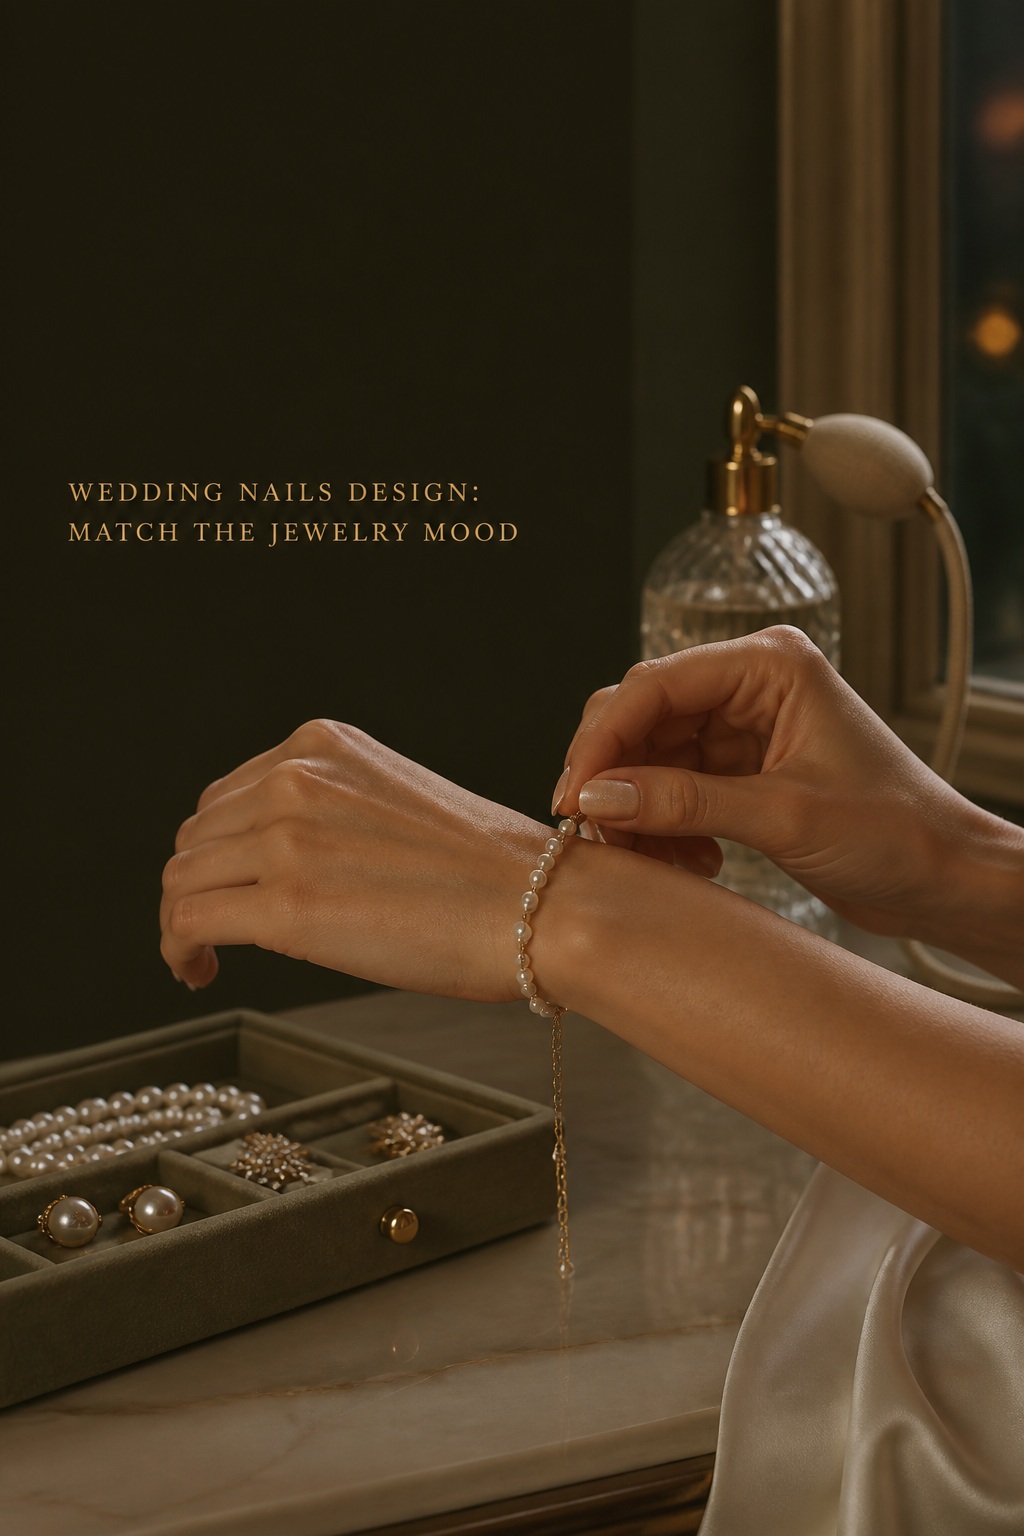
Jewelry gives you another useful reference. Warm gold and champagne stones often look harmonious with peach, beige, caramel, warm ivory, or gold-flecked details. Silver, platinum, and cool diamonds may pair with rosy pink, blue-white, neutral ivory, or silver pearl. This is a guide, not a rule; a mixed-metal wedding can make a simple neutral especially useful. If the engagement ring is elaborate, a quieter nail creates a clean frame around it.
- Short squoval: sheer blush, milky neutral, micro-French, or a small centered accent.
- Oval: traditional French, pearl glaze, soft ombré, or a delicate floral detail.
- Almond: elongated French, chrome veil, fine metallic edge, or restrained lace art.
- Square or squoval: crisp French, colored tip, negative-space line, or graphic minimal art.
Ask for a swatch test whenever the color is pale, reflective, or strongly pigmented. Compare it beside your hand, ring, and dress fabric. Then take a phone photo in daylight and under the light where you will get ready. Photos are not a perfect simulation of the wedding, but they reveal whether the base looks chalky, disappears, turns too yellow, or reflects more strongly than you expected.
Remember that a manicure should support movement. The wedding day is not a still-life shoot. You will lift a glass, adjust a veil, sign something, hug people, and probably open a few packages. A beautiful design that makes you hold your fingers rigidly is the wrong design for you. Comfort is part of polish, especially when the photographer captures unscripted hands.
Compare Product, Durability, and Wedding-Week Timing
Choose the product after you have chosen the look, not before. Regular polish gives you straightforward removal and broad color flexibility, but it needs drying time and can smudge or chip. Gel polish cures immediately and is often convenient for a busy wedding weekend, yet it still needs professional or otherwise safe removal. Builder gel or a structured overlay may support some natural nails, while acrylic or full-cover extensions can create uniform length. The right service depends on your nail condition, comfort, allergies, and technician’s expertise.
Do not use the wedding appointment as an experiment. If you are new to gel, extensions, chrome powder, nail art, or a particular salon, schedule a trial early enough to observe wear and comfort. A trial should answer practical questions: Does the shape catch on clothing? Does the length change how you hold a bouquet? Does the finish remain attractive after several days? Can the product be removed without damaging the natural nail?
For many brides, the final manicure falls one to three days before the wedding, adjusted for product, travel, rehearsal events, and the technician’s advice. A fresh gel set may be comfortable close to the ceremony because it cures under the lamp. Regular polish may deserve more protection and drying time. If you are flying or driving to a destination, build in a buffer rather than scheduling the appointment immediately before a long trip.
In the weeks before the wedding, keep care predictable. Use cuticle oil and hand cream, wear gloves for harsh cleaning, and avoid peeling off product. Do not introduce an aggressive home treatment or unfamiliar adhesive days before the ceremony. If a nail is weak, broken, or irritated, tell the technician before the service. A shorter, balanced set is safer and more elegant than forcing damaged nails into an ambitious length.
Pack a small rescue kit with a fine file, cuticle oil, hand cream, a polish reference or matching color, and any repair item your technician recommends. Smooth a minor rough edge instead of repeatedly filing the whole set. Never pull off lifting gel or an extension. Pain, redness, bleeding, or nail separation calls for professional attention, not a last-minute cosmetic fix.
- Four to eight weeks out: test shape, color, product, finish, and comfort.
- Two weeks out: keep nails protected and avoid untested removals or extensions.
- One to three days out: schedule the final service with travel and repair time in mind.
- After the wedding: remove enhancement products safely and follow your technician’s advice.
Give the salon a written brief. Include your maximum length, shape, base shade, tip or art placement, finish, product preference, and what you do not want. Add a photo of the gown fabric or ring if useful. Clear constraints help a technician translate inspiration into a set that is balanced, wearable, and distinctly yours.
Make the Final Choice Without Overthinking It
When two designs still appeal to you, compare them using the same five questions. Which one looks best with your actual dress and ring? Which one feels comfortable at your real length? Which one will still make sense if the lighting changes? Which one can your technician execute consistently? Which one resembles an elevated version of your usual style rather than a costume?
If you are torn between a classic French and a pearl finish, combine them carefully: use a soft French with a fine glaze, not a thick tip plus heavy chrome plus multiple charms. If you are choosing between a neutral and color, make the color repeat one intentional detail. If you love art but fear visual overload, place the motif on one or two nails and keep the rest smooth. A clear edit usually looks more expensive than an accumulation of ideas.
Your wedding nails design should also leave room for the rest of the day. A ring photograph benefits from a clean hand pose, moisturized skin, and a surface with enough shine to catch light. A bouquet portrait benefits from a shape that does not disappear into the flowers. An emotional candid benefits from fingers that move naturally. Think of the manicure as part of the visual styling, but never let it become another performance you have to manage.
- Bring one final reference, not a folder of unrelated screenshots.
- Approve the shape before the color and the color before the art.
- Photograph the finished trial in daylight, indoor light, and with your ring.
- Confirm safe removal and the appointment buffer before booking.
- Choose the design you will enjoy seeing on your hands, not only the design that wins a scroll.
There is a reason the most memorable bridal manicures often look simple. Simplicity gives proportion, workmanship, and the bride’s own style space to show. Whether you choose milky neutral, classic French, pearl chrome, delicate art, or a polished color, the strongest result is one with a clear point of view and realistic planning behind it.
FAQ
What is the most timeless wedding nails design?
Sheer blush, milky neutral, soft French tips, and fine pearl finishes are among the most adaptable choices. Timelessness comes from balanced proportions, a shade that suits your undertone, and a design that supports your dress and ring rather than copying a trend.
What wedding nails design works best for short nails?
Short squoval, round, or softly tapered nails work well with sheer color, milky neutral, micro-French tips, glossy finishes, and small centered details. Keep lines thin and art well-spaced so the design respects the smaller canvas.
Should bridal nails match the wedding dress?
They do not need to match exactly. They should relate to the dress, jewelry, bouquet, or overall palette. Compare polish swatches with the actual fabric because bright white, ivory, champagne, and blush can shift a color’s appearance.
When should I get my wedding manicure?
Many brides schedule the final manicure one to three days before the wedding. Adjust that window for regular polish versus gel, travel, rehearsal events, nail growth, and your technician’s recommendations. Leave enough time for a repair if needed.
Do I need a nail trial before my wedding?
A trial is especially useful for extensions, chrome, nail art, a new product, an unfamiliar technician, or a significant change in length. Wear the trial through normal activities and photograph it with your ring and dress fabric before finalizing the brief.
Can I wear red or another bold color as a bride?
Yes. A glossy red, berry, blue, sage, or other saturated shade can look bridal when it connects to the wedding palette or your personal style. Keep the shape tidy, test the shade beside the gown, and simplify the art so the color feels intentional.