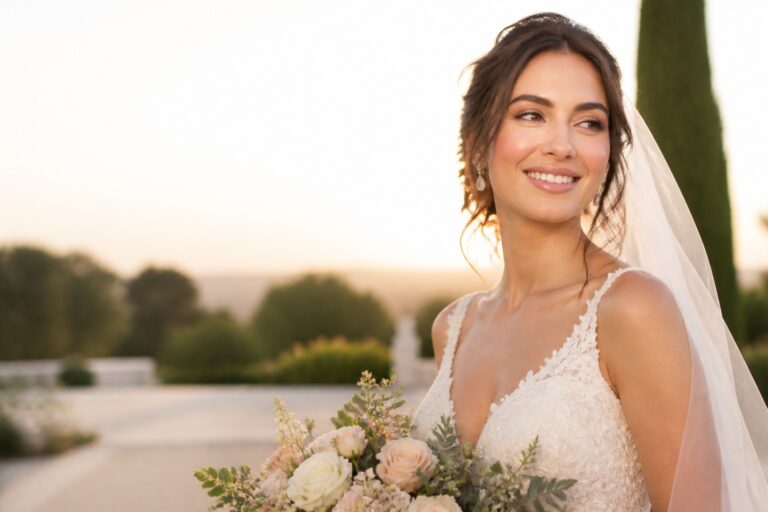
Bridal Eye Makeup: A Practical Wedding-Day Guide
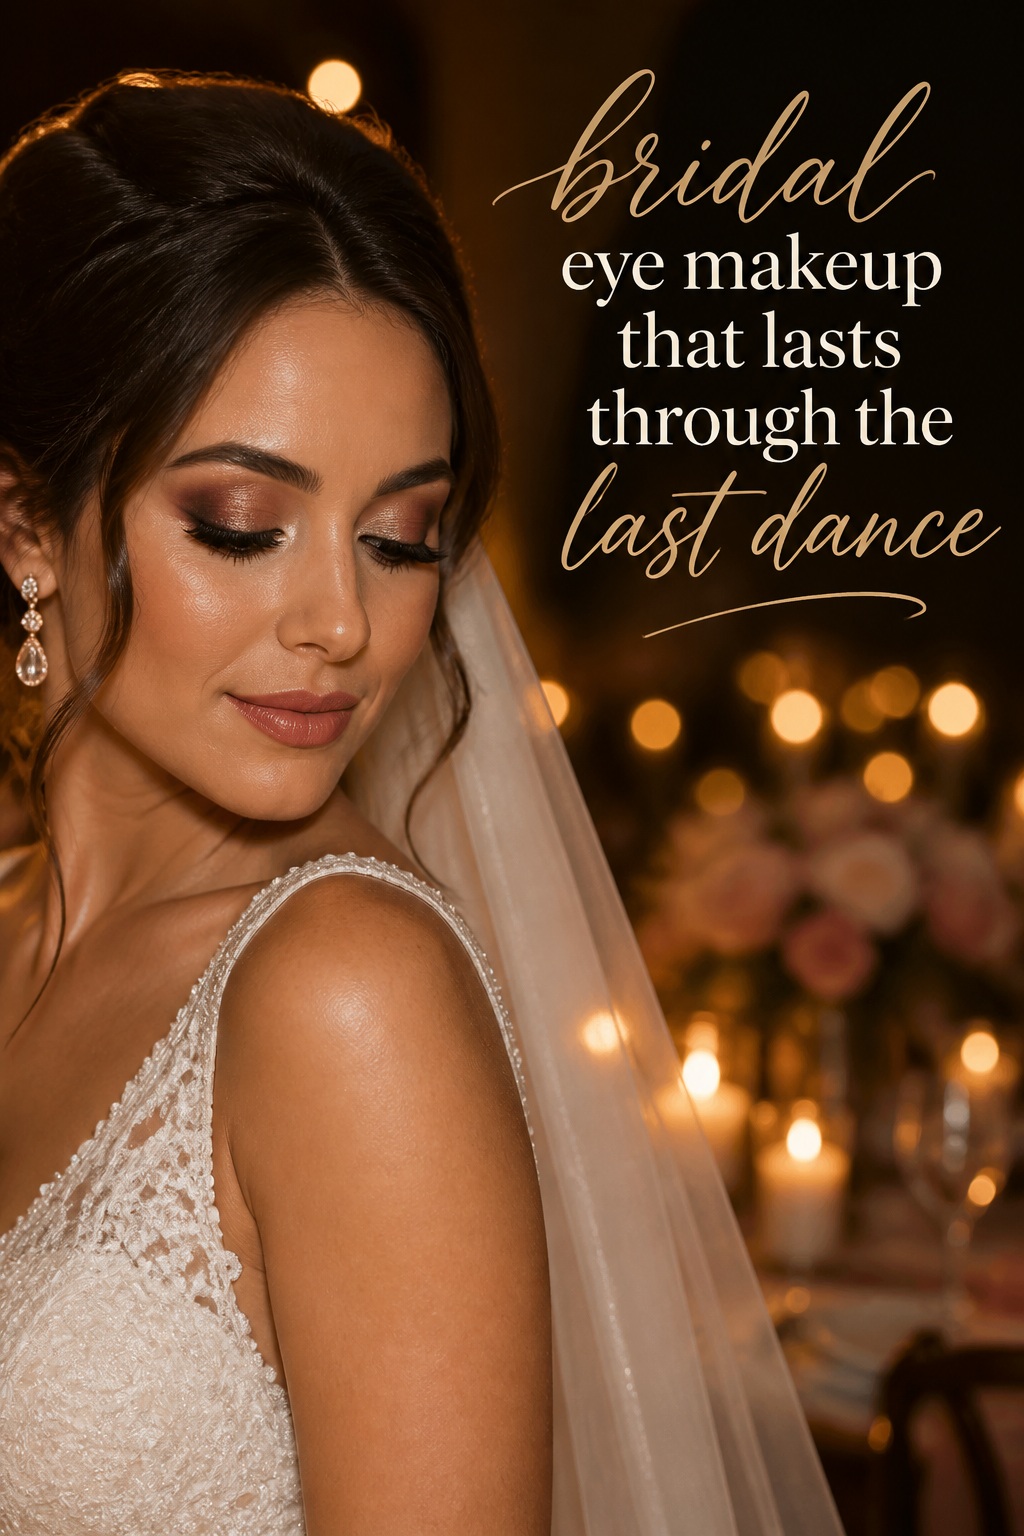
Great bridal eye makeup should do three things at once: look like you, show up in photographs, and remain comfortable through an emotional, very long day. That does not mean choosing the darkest shadow or the fullest lashes. It means building a clear plan around your eye shape, personal style, dress, lighting, and the way you expect to move through the celebration.
Use this guide to choose a direction, explain it to your makeup artist, or practice it yourself. The most reliable approach is soft definition with deliberate placement, thin layers, and a trial that tests the look in real conditions. You can make the same base feel natural for a daytime garden ceremony or more polished for an evening reception simply by adjusting depth, liner, and lashes.
Why bridal eye makeup needs a different plan
Everyday makeup is often seen for a few hours and from a short distance. Wedding makeup has a much harder brief. Your eyes need to look balanced in close-up portraits, bright outdoor images, dim reception light, phone videos, and candid moments when you are laughing or crying. The finished look also has to survive hugs, heat, humidity, blinking, dancing, and the natural oil or dryness of your eyelids.
That is why bridal eye makeup is best treated as a system rather than a single trend. A soft brown eye can be the right choice for one bride and disappear on another. A dramatic wing may look elegant on a lifted outer corner but feel crowded on a hooded lid. Shimmer can add beautiful dimension, yet a large amount of reflective glitter can compete with the eye itself in flash photography. The goal is not to follow a universal formula. The goal is to make the important features readable and intentional.
Your wedding look is only the beginning.
Keep your guest list, vendors, timeline, and every important detail together with Zarellea — so your day feels as considered as your style.
Start with the wedding day, not only the inspiration photo
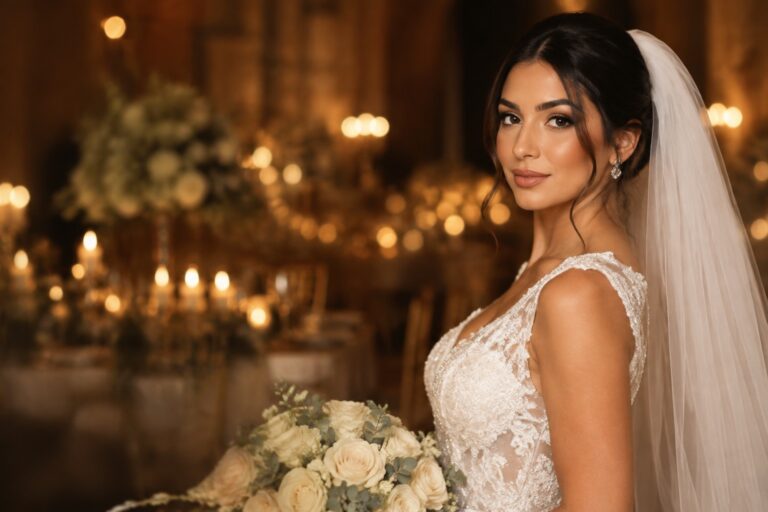
Before saving a look, consider when and where you are getting married. A sunny outdoor ceremony usually benefits from controlled shine, a soft crease, and liner that remains visible without looking harsh. A candlelit or evening reception can support a little more depth on the outer corner, a satin lid, or a fuller lash. A beach celebration calls for wind-resistant lashes and a lighter lower lash line. A formal ballroom can handle more contrast, but the makeup still needs to look refined in daylight during portraits.
Think about your dress and accessories as well. A clean satin gown may pair beautifully with taupe, champagne, and a precise brown line. Lace, pearls, or floral embroidery can echo softly through rose, mauve, or warm neutral shadow. If the dress or jewelry is already highly detailed, keeping the eye textures smoother often creates a more polished result. Your eye makeup should join the whole look, not compete with it.
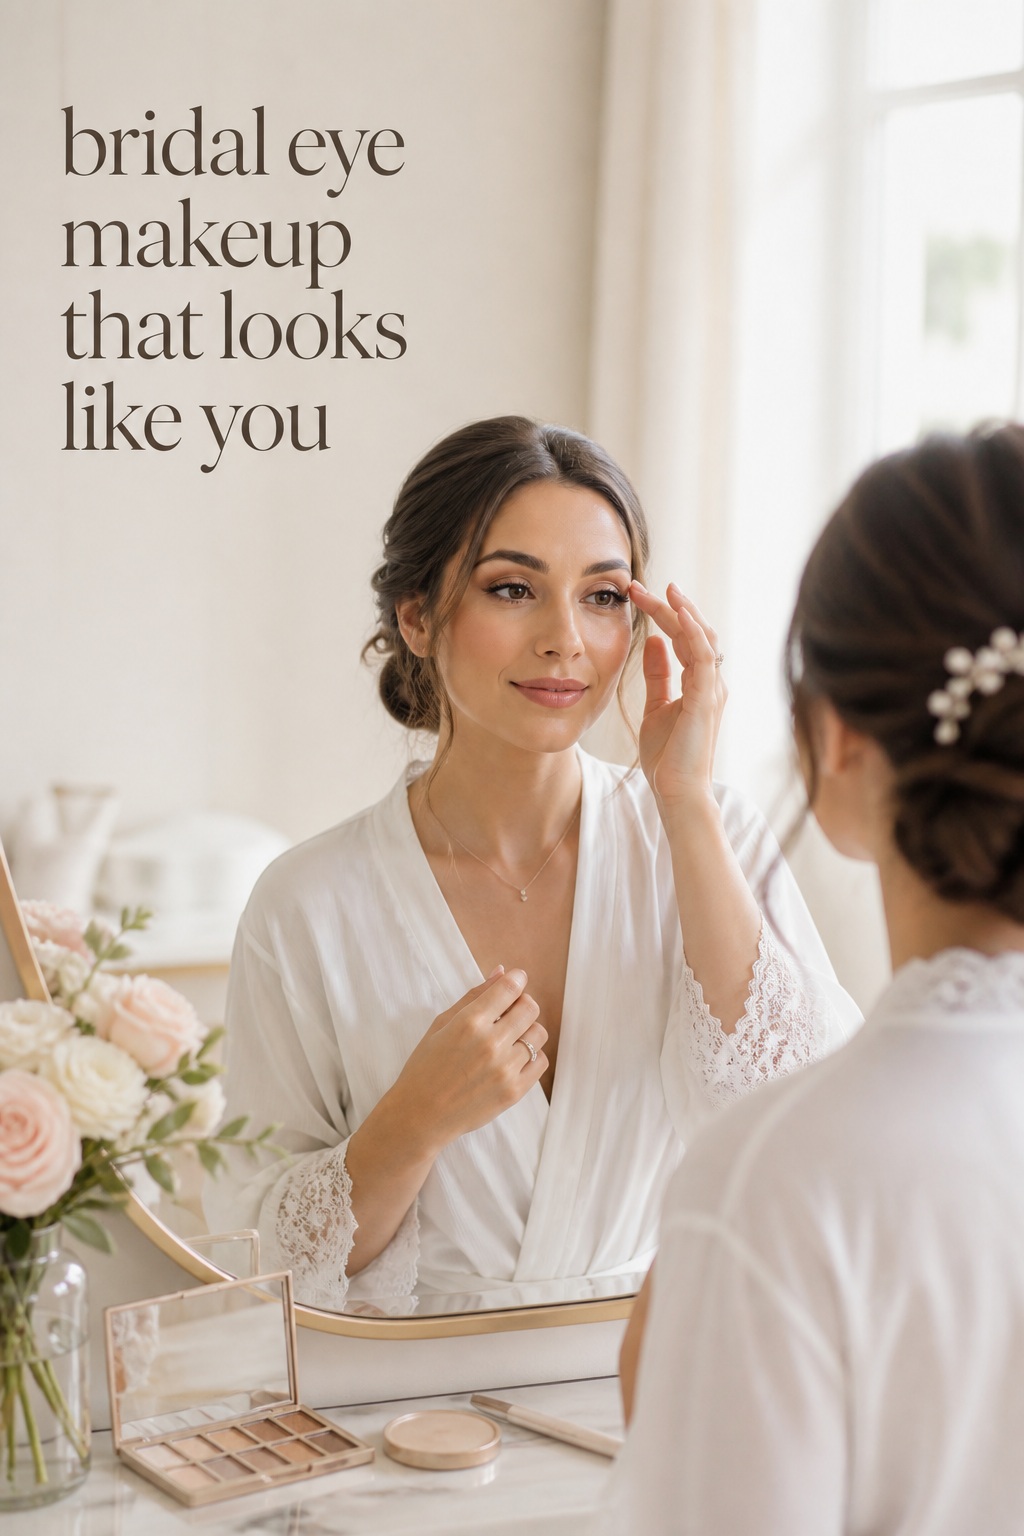
Core principles for shape, color, texture, liner, and lashes
The strongest bridal eye makeup looks are customized in small, practical ways. You do not need a complicated palette. You need a transition shade that gives structure, a lid color that reflects the mood, a deeper shade that anchors the lash line, and a method for keeping each layer in place.
Adapt placement to your natural eye shape
For almond eyes, most classic techniques work well. Keep the inner corner lighter, deepen the outer third, and let the liner follow the natural lash line. For round eyes, extend the shadow and liner slightly outward rather than concentrating all the depth in the center. This creates a longer, elegant impression. For downturned eyes, lift the outer shape by keeping the wing short and angled toward the end of the brow rather than following the corner downward.
Hooded eyes need a different map. When the eye is open, the natural crease can disappear beneath the fold, so a shade placed only inside that crease may not be visible. Blend a matte transition color slightly above the natural fold while looking straight ahead. Keep the lid color thin and place the deepest definition close to the lashes. Avoid a thick line that takes up the mobile lid. A small cluster lash at the outer edge may lift the look more effectively than a dense strip.
For monolids or very little visible crease space, focus on a gradient that changes from light near the inner area to deeper at the lash line. For deep-set eyes, keep the brow-bone transition soft and avoid placing too much darkness high above the eye. These are starting points, not rules. The best test is to check the makeup with your eyes open, relaxed, smiling, and looking in several directions.
Choose a color story that supports your features
Neutral bridal eye makeup does not have to mean flat beige. Warm taupe, soft brown, champagne, rose brown, peach, bronze, mauve, and plum can all remain bridal when the edges are blended and the intensity is controlled. Brown is often gentler than black and gives definition that still looks natural in daylight. A rose or mauve undertone can connect beautifully with pink blush and a rose lip. Bronze and peach are especially useful for a warm, sunlit celebration.
Use eye color as a guide, not a limitation. Copper, bronze, and plum can make green eyes look vivid. Navy, chocolate, bronze, and warm taupe can bring dimension to blue eyes. Brown eyes can carry almost any neutral, from soft champagne to rich plum, so the decision can focus on the dress, jewelry, and the level of drama you enjoy. Test the actual shades beside your dress fabric because undertones can look different against ivory, bright white, blush, or champagne.
Use texture and contrast with restraint
A matte transition shade creates shape, a satin or soft shimmer shade catches light, and a deeper matte or satin shade gives the lash line weight. This three-texture balance is usually enough. Place shimmer where you want light to land, commonly the inner lid or center of the lid, and keep the brightest point away from the deepest crease. Very chunky glitter can scatter in photographs and may irritate watery eyes, so fine pearl or satin is usually easier to wear.
Contrast should be visible at the distance of a photograph. If every shade is pale and every edge is soft, the eye can look unfinished. Add definition close to the lashes, deepen the outer corner slightly, and check a test image from several feet away. On the other hand, a very dark lower lash line can make the eyes look smaller or tired. Use a soft pencil or shadow on the outer half when you want definition without heaviness.
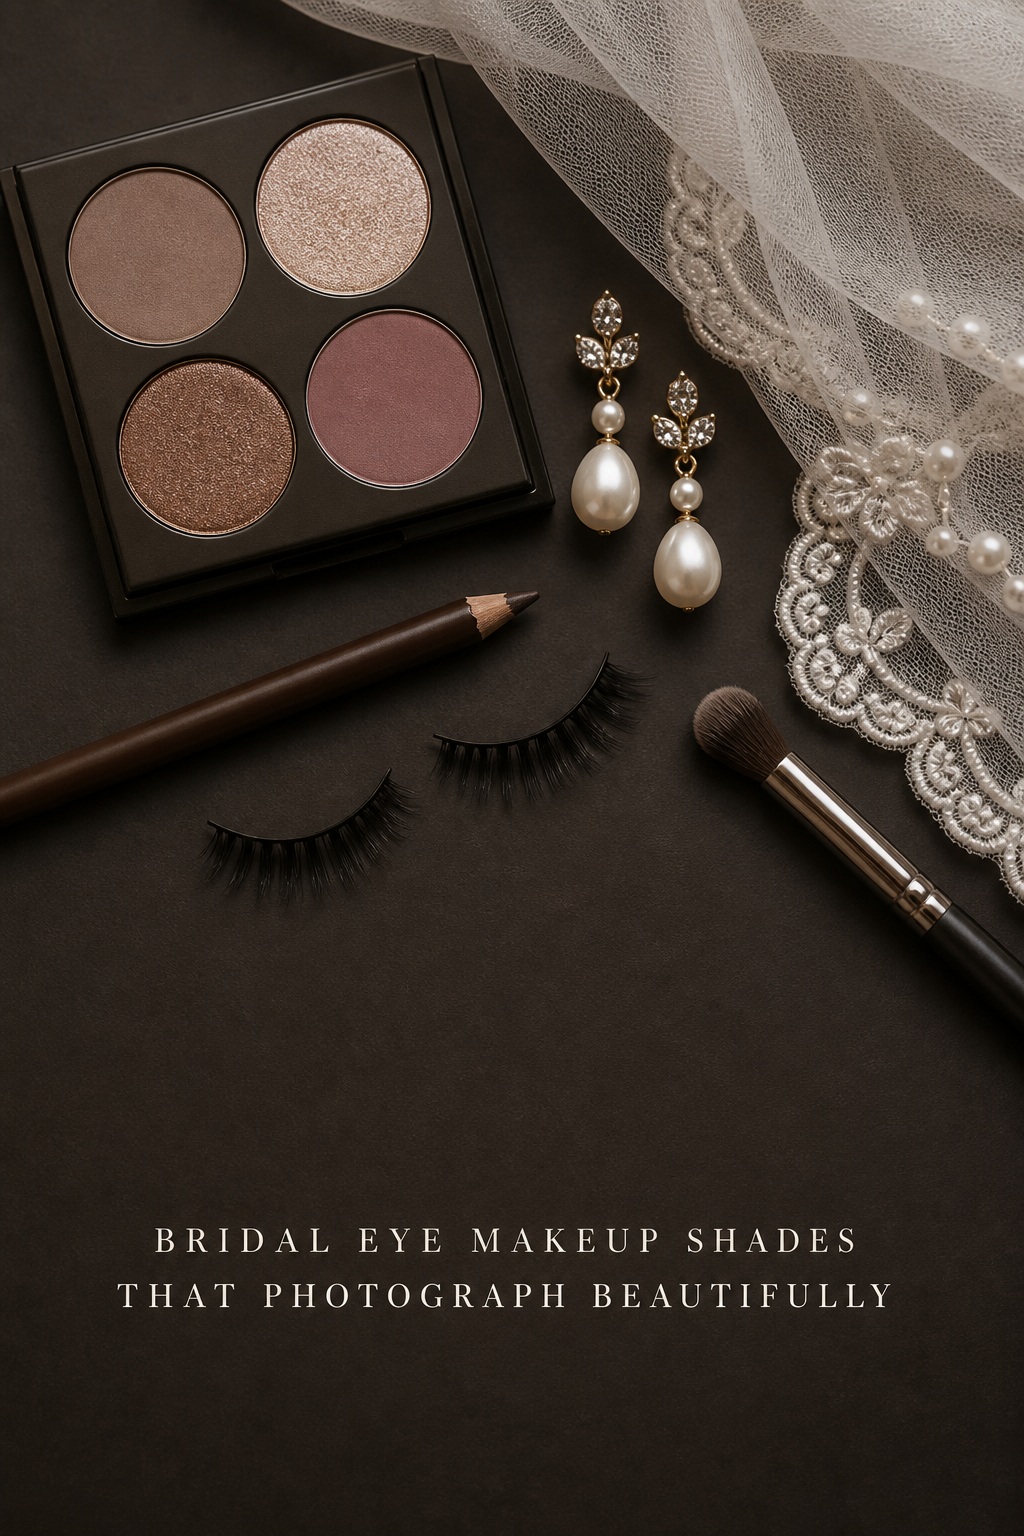
Step-by-step bridal eye makeup ideas
Once you have chosen the direction, build the look in a repeatable order. The following sequence works for a professional application or a carefully practiced DIY routine. Adjust products to your skin and follow your artist’s instructions if you have a specialist doing the makeup.
- Prepare the area. Arrive with clean, comfortable skin and avoid introducing a new eye cream, exfoliant, or active product immediately before the trial or wedding. If your lids are oily, use a small amount of eye primer and allow it to set. If they are dry, use only enough lightweight hydration to prevent tightness.
- Map the soft structure. With your eyes open, place a matte transition shade where it remains visible. Blend the outer corner upward and outward without taking the color too close to the brow.
- Add the lid tone. Press champagne, rose, taupe, peach, or bronze onto the lid instead of sweeping away the pigment. Keep the inner corner bright and the outer corner slightly deeper.
- Define the lash line. Use dark brown for a softer result or black for stronger contrast. Keep the line thin at the inner corner and slightly fuller toward the outer third. A short wing is easier to keep symmetrical and usually photographs more gracefully than an exaggerated flick.
- Balance the lower eye. Repeat a small amount of the transition shade along the outer lower lash line. Add the deeper color only where you need definition. Leave the inner lower corner open or brighten it with a subtle champagne or nude tone.
- Finish brows and lashes. Brush brows into place and fill gaps with hair-like strokes. Curl lashes if appropriate, then use waterproof mascara or the tested lash option. Individual clusters can look light and seamless, while a well-fitted strip can provide more impact.
- Check the result in context. Look at the eyes from the front, in profile, with a smile, and with your eyes open in direct light. Take a flash photograph and a video. If the lid color disappears, add placement or contrast rather than simply adding more shimmer.
For a natural direction, use a matte taupe transition, soft champagne on the lid, brown pencil at the upper lashes, and separated mascara. For soft glam, deepen the outer corner with chocolate or bronze, add a satin highlight to the center, and use a slightly fuller lash. For romantic color, replace the neutral lid with dusty rose or mauve while keeping the liner and lower lash line controlled. For evening drama, add depth gradually and keep the lip or cheek color coordinated so the face still feels balanced.
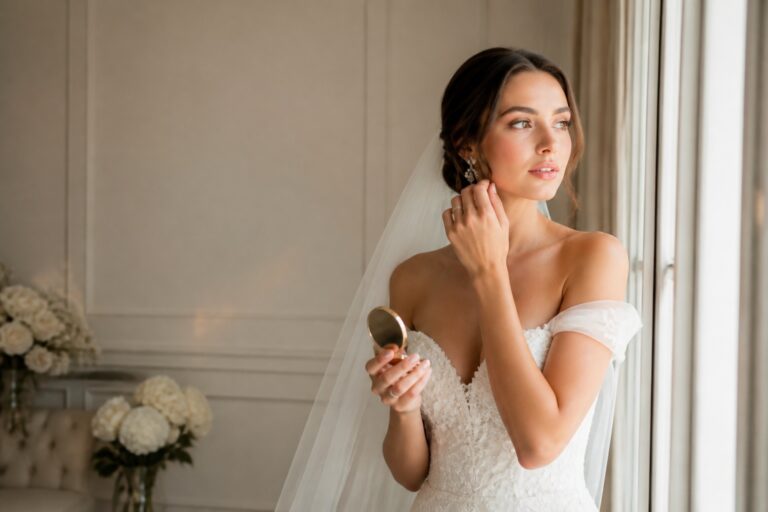
Waterproof does not mean indestructible, so build a repair plan. If tears start, dab gently with a clean tissue rather than rubbing. Allow the area to dry, then use a tiny amount of concealer or primer, set it lightly, and repair the liner with a small brush. Keep cotton swabs, a compact mirror, pressed powder, the lip color, lash adhesive if needed, and a clean pencil or brush with your trusted person. A practical kit protects your calm more than a crowded bag of unused products.
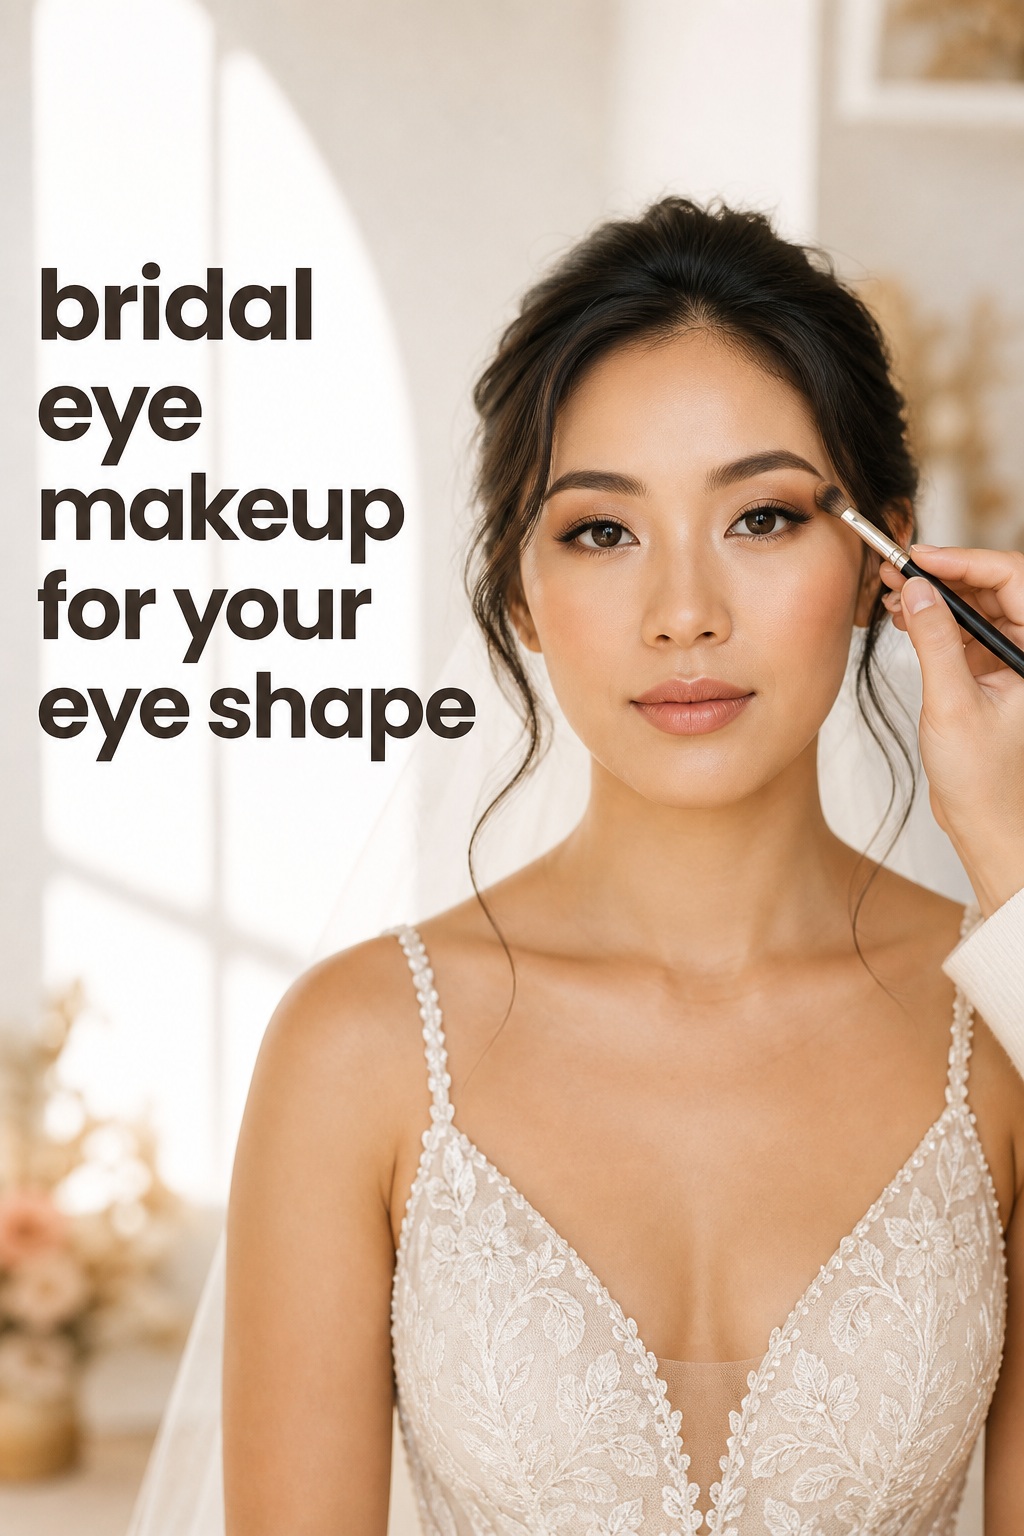
Mistakes to avoid and how to test the look
The most common mistake is choosing an inspiration photo only because it is beautiful. The model may have a different eye shape, brow structure, skin texture, lash density, or lighting setup. Save several images with a similar mood, then ask what you actually like: the lifted outer corner, the soft color, the clean lash line, the shimmer, or the overall level of definition. This gives your artist useful information without asking for an exact copy.
Do not wait until the wedding morning to test comfort
A trial should test more than whether the first ten minutes look attractive. Wear the makeup for several hours. Move through indoor and outdoor light, take photographs with and without flash, and notice whether the lashes feel heavy or the liner transfers. If you have sensitive or watery eyes, test the exact eye products and adhesive in advance. Ask about fragrance, glitter, and removal if those are concerns for you.
Schedule the trial early enough to make thoughtful changes. Many brides find six to eight weeks useful because there is time to refine the shape, order products, practice small parts of the routine, and coordinate the look with hair and accessories. Do not make a major change the night before the wedding because of a trend seen online. A tested look gives you confidence, and confidence reads beautifully in photographs.
Do not confuse more product with more definition
Heavy layers can crease, transfer, emphasize texture, and make touch-ups harder. Build in thin layers and pause between them. If a color looks muddy, remove a little and reset the transition rather than covering the problem with more pigment. If the eye looks flat, add a targeted point of light or deepen the lash line. If the makeup looks too strong, soften the edges and reassess the balance with the rest of the face.
Finally, give your photographer a sense of the makeup direction. A natural eye can look different from a dramatic eye under the same exposure. Your photographer can plan portrait light and angles accordingly. This is especially helpful for glasses, strong brow styling, reflective shimmer, or an outdoor ceremony where the sun changes quickly.
FAQ
What is the best bridal eye makeup for a wedding?
The best bridal eye makeup is the version that suits your eye shape, personal style, dress, venue light, and comfort level. A softly defined neutral eye with a controlled lash line is versatile, but you can adapt it with rose, bronze, plum, stronger liner, or fuller lashes. Choose a look you can test and still recognize as yourself.
How early should I have a bridal eye makeup trial?
A trial around six to eight weeks before the wedding gives you time to test wear, photography, lashes, and color, then make calm adjustments. If you have sensitive eyes, plan additional product testing earlier and do not introduce unfamiliar formulas on the wedding day.
How can I keep bridal eye makeup from creasing?
Start with comfortable, non-greasy preparation, use a suitable eye primer, apply thin layers, and set cream products with a compatible powder when needed. Test the routine on your own eyelids because oil, humidity, hooded folds, and blinking all change how long makeup lasts.
Should I wear waterproof mascara and eyeliner for a wedding?
Waterproof or water-resistant formulas are sensible if you expect tears, heat, humidity, or long hours. They still need testing for comfort and removal. A makeup artist can also recommend a lash design that gives definition without relying on a thick liner or several heavy coats of mascara.
What should I do if my eyes water and the makeup smudges?
Dab tears gently instead of rubbing. Let the area dry, tidy the smudge with a clean cotton swab or small brush, then use a tiny amount of concealer or primer and set it lightly before repairing the liner or shadow. Keep the essential products with a trusted person and seek medical advice if watery eyes are persistent or painful.