Glowy Bridal Makeup: A Wedding-Day Checklist
Glowy bridal makeup looks effortless in the mirror, but the best version is carefully planned. A luminous finish has to work with your skin type, dress, veil, venue, weather, camera flash, and a wedding schedule that may last twelve hours. The goal is not to make every part of the face shiny. It is to create healthy-looking dimension, keep the center of the face controlled, and make sure the glow still looks intentional after hugs, tears, dancing, and dinner.
Use this checklist before your trial, during the wear test, and on the wedding morning. It will help you describe the look to a makeup artist, choose where to spend time, and spot problems before they become difficult to fix. The plan is built around light layers, strategic radiance, soft definition, and simple touch-ups rather than a long list of products.
1. Decide What Your Glow Needs to Do
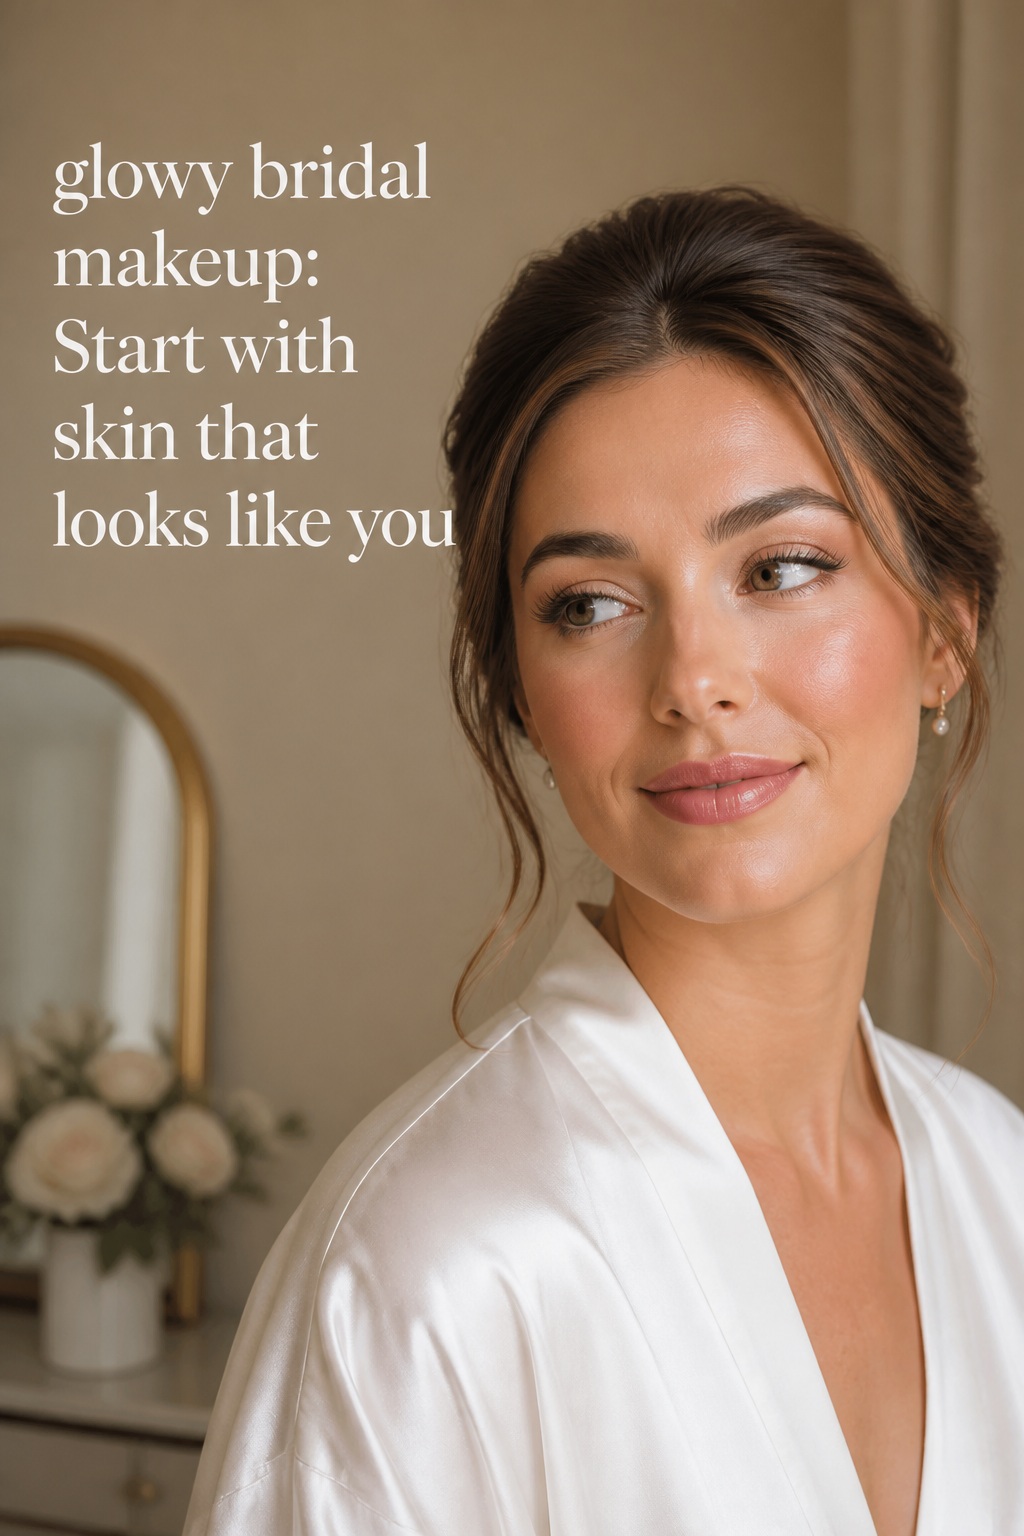
Start with the result you want people to notice. Some brides want skin that looks fresh and almost bare. Others want a polished soft-glam finish with luminous cheeks, defined eyes, and a satin lip. Both can be glowy bridal makeup, but they require different amounts of coverage, contrast, and powder. Saying only that you want to look dewy leaves too much room for interpretation.
Your wedding look is only the beginning.
Keep your guest list, vendors, timeline, and every important detail together with Zarellea — so your day feels as considered as your style.
- Choose three mood words: for example, fresh, romantic, and refined, or warm, polished, and modern.
- Choose your focal feature: luminous skin, lifted eyes, rosy cheeks, or a defined lip should lead the look.
- Choose your comfort limit: decide whether you want to see real skin, medium coverage, or a more perfected base in person.
- Choose your finish: satin, dewy, soft matte with highlighted high points, or glossy only on selected areas.
- Choose your maintenance level: be honest about whether you will touch up your lips, blot shine, or prefer a look that fades quietly.
Save reference photos that show the makeup clearly, not only the dress or flowers. Look for images with a similar skin depth, eye shape, hair color, and lighting situation. A photograph taken in soft window light may make a very reflective base look beautiful, while the same finish can look oily under direct flash. Bring several references that show the complexion, eye makeup, blush, and lip separately so your artist can identify the parts you actually like.
Write down your real wedding conditions. An outdoor summer ceremony needs a different balance from a cool indoor celebration. Note the length of the day, whether you will be photographed in bright sun, whether the reception has warm candlelight, and whether you are prone to watery eyes or forehead shine. These details are more useful than choosing a product because it is popular online.
2. Complete the Skin-Prep and Complexion Checklist
Glow begins before foundation. A calm, hydrated surface lets thin layers blend more evenly and reduces the need to cover every variation in texture. Keep your regular skincare routine consistent in the weeks before the wedding. Do not introduce a strong exfoliant, peel, retinoid, fragrance, or unfamiliar facial treatment close to the event because irritation can be harder to disguise than a small blemish.
Build a predictable prep routine
On the wedding morning, cleanse only as much as your skin needs, then use the products you already know your skin tolerates. Hydrating layers should be thin enough to settle before makeup. If your moisturizer remains slippery, wait a few minutes and press away excess with a tissue. The objective is supple skin, not a wet film that causes foundation to move.
- Keep the morning routine familiar and avoid last-minute experimentation.
- Use a moisturizer that suits the climate and your skin type.
- Let each layer settle before adding primer or complexion makeup.
- Tell the artist about sensitivity, flaking, oiliness, acne medication, and allergies.
- Bring the products used during the trial if the artist has approved them for the wedding day.
Choose coverage by zone
A luminous base does not need identical coverage everywhere. Use more coverage where redness, discoloration, or blemishes need support, and less where the natural texture already looks even. This keeps the face dimensional. A thin skin tint or light foundation can cover the broad areas, while concealer handles the specific places that need extra help.
Ask your artist to check the base in daylight and with flash. Some formulas look perfect in a bathroom mirror but turn flat or overly reflective in photographs. A finish that shows a little real skin often looks more believable than an opaque layer that removes every natural variation. If you need fuller coverage, keep the radiance in the cheekbones, temples, and bridge of the nose rather than spreading highlighter across the entire face.
Control shine without erasing the glow
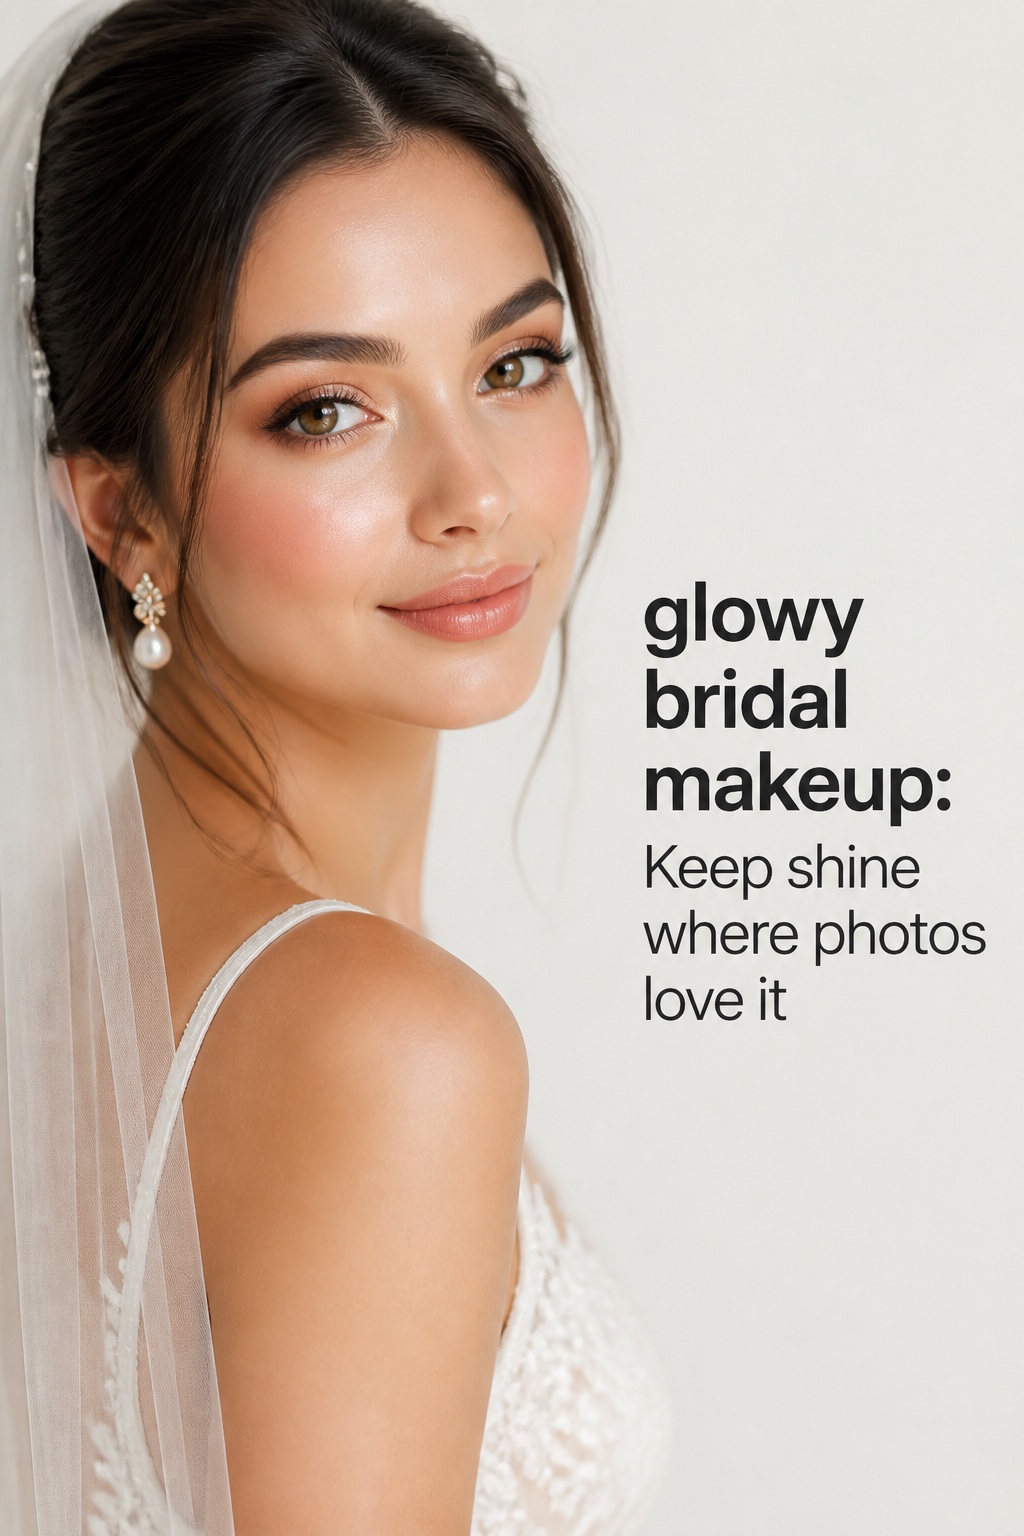
Powder is not the enemy of glowy bridal makeup. Used selectively, it protects the structure of the look. The sides of the nose, the center of the forehead, the chin, and the area under the eyes may need more control than the outer cheeks. Ask for a small amount of finely milled powder where makeup tends to crease or separate, then leave the high points more luminous.
Think in terms of contrast. If every surface reflects light, the face can look flat and greasy. If every surface is matte, the complexion can lose life in photographs. A controlled center with softly radiant perimeter areas gives the camera enough dimension to read the face clearly.
3. Place the Glow, Blush, Eyes, and Lips for Photographs
Once the base is even, decide where light and color should guide the eye. Placement matters as much as shade. The ideal locations depend on your face shape, hairstyle, veil, and the way you want your features to appear in portraits. Ask to see the makeup from a normal conversation distance, not only in a close-up mirror.
Use cream radiance on high points
A cream or liquid illuminator can look skin-like when it is pressed into the high planes of the face. Try the tops of the cheekbones, the temples, and a small amount at the inner corners of the eyes. A touch on the cupid’s bow can connect the lip to the complexion. Avoid placing a strong reflective stripe over visible texture, where it can draw attention to pores or dry patches.
Choose the color according to your complexion and the overall palette. Champagne, pearl, soft gold, rose, and bronze can all work, but the product should melt into the skin rather than sit as a separate metallic patch. For a warm venue, a soft gold may look harmonious. For a cooler palette, pearl or neutral champagne can keep the result clean.
Let blush create healthy color
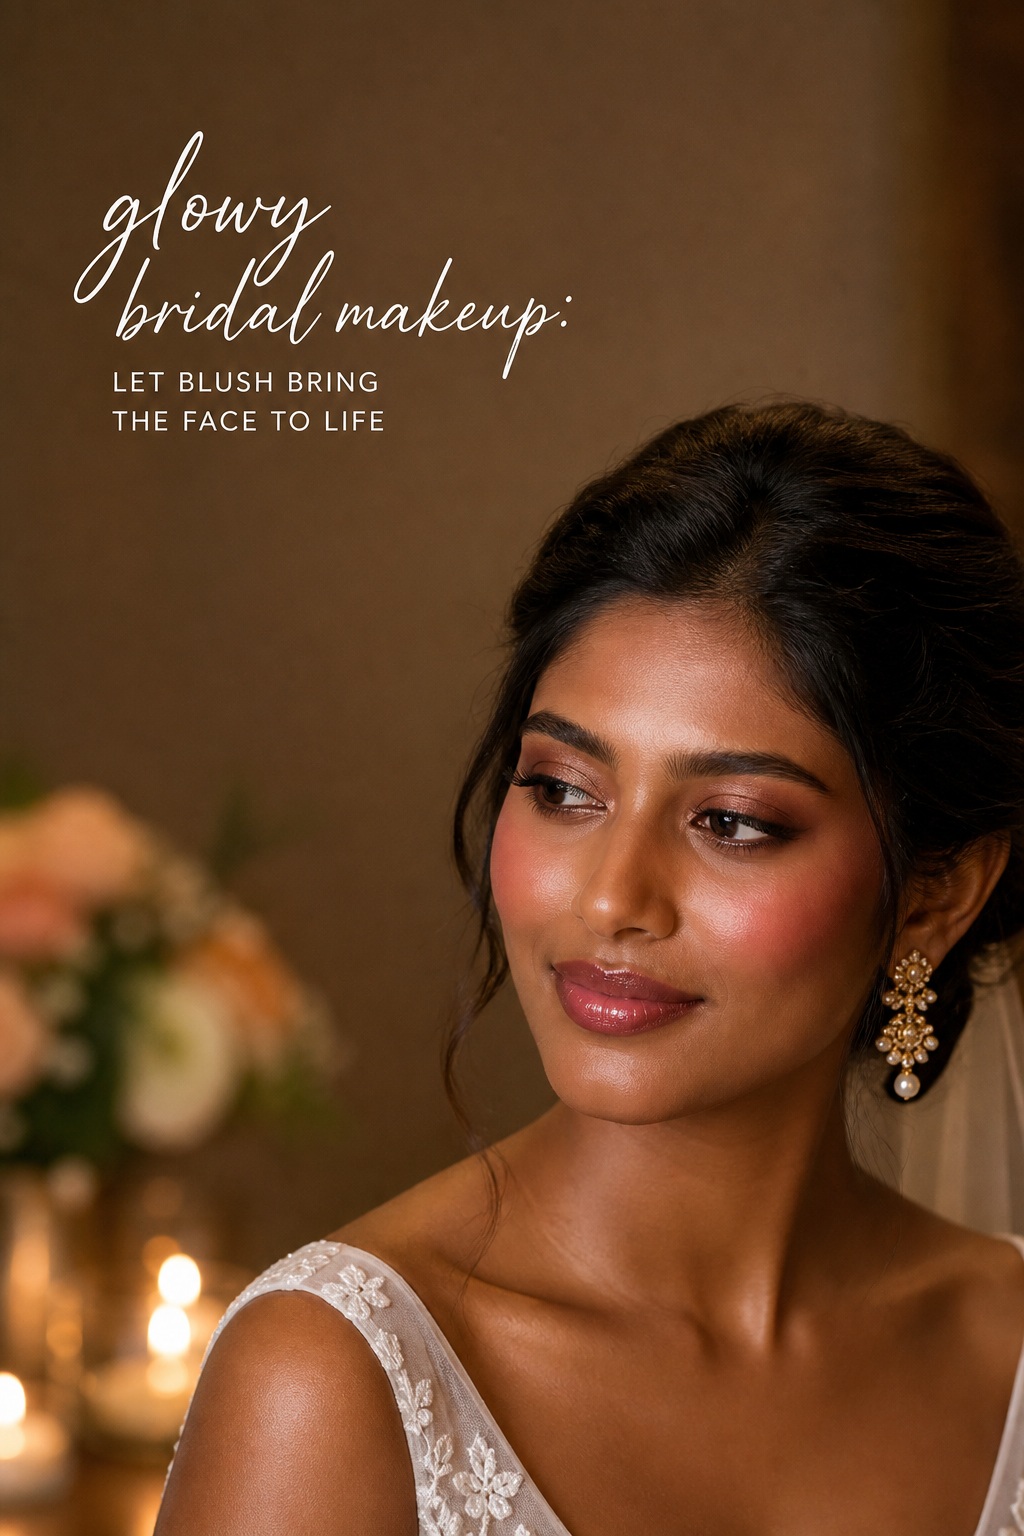
Blush gives luminous makeup its sense of life. Peach, rose, muted berry, terracotta, and pink can all be beautiful when their depth matches the complexion. Higher placement toward the outer cheekbones can create a lifted effect, while a soft flush closer to the apples can feel youthful and romantic. Blend the edges so the blush appears to come through the skin.
- Fair skin: try sheer petal, cool rose, soft peach, or translucent pink.
- Medium skin: consider apricot, warm rose, coral, mauve, or peachy terracotta.
- Deep skin: look for rose, berry, fuchsia, burnt coral, plum, or rich terracotta with enough pigment to remain visible.
- Oily skin: test a cream blush under a compatible powder formula if extra hold is needed.
- Dry skin: keep the base flexible and avoid over-powdering beneath a cream blush.
Define the eyes without making them heavy
Soft brown, taupe, bronze, champagne, rose, and muted plum can add definition while keeping the complexion bright. Place shimmer where you want the light to catch, then use a matte or satin neutral to create shape. A thin brown or deep-plum lash line can photograph more softly than a thick black line, although black liner can work when it suits your usual style and the rest of the face has enough balance.
Check whether the eye design remains visible when your eyes are relaxed. A beautiful lid color can disappear beneath a fold or lash. If you wear false lashes, test them during the trial. Dense lashes may hide a luminous eye and can feel uncomfortable by the reception. Waterproof mascara, tested adhesive, and a reliable setting method matter more than adding extra shimmer.
Choose a lip that supports the glow
A satin rose, peachy nude, pink-brown, berry stain, or soft coral can complement glowy bridal makeup. Use lip liner to give the shape a clear edge and help the color fade evenly. Gloss can look fresh for the ceremony, but consider how often you want to reapply it and whether your veil or hair will touch your lips. A satin lipstick or stain topped with a small amount of balm is often easier to maintain.
Do not choose a lip in isolation. Compare it with the blush in daylight and with your dress, bouquet, and jewelry. The lip can echo one color family without matching it exactly. If the eyes are reflective and the cheeks are bright, a quieter lip may create the most polished balance. If the eyes are soft and neutral, a more defined lip can become the focal feature.
4. Run the Full-Day Wear Test and Wedding-Morning Plan
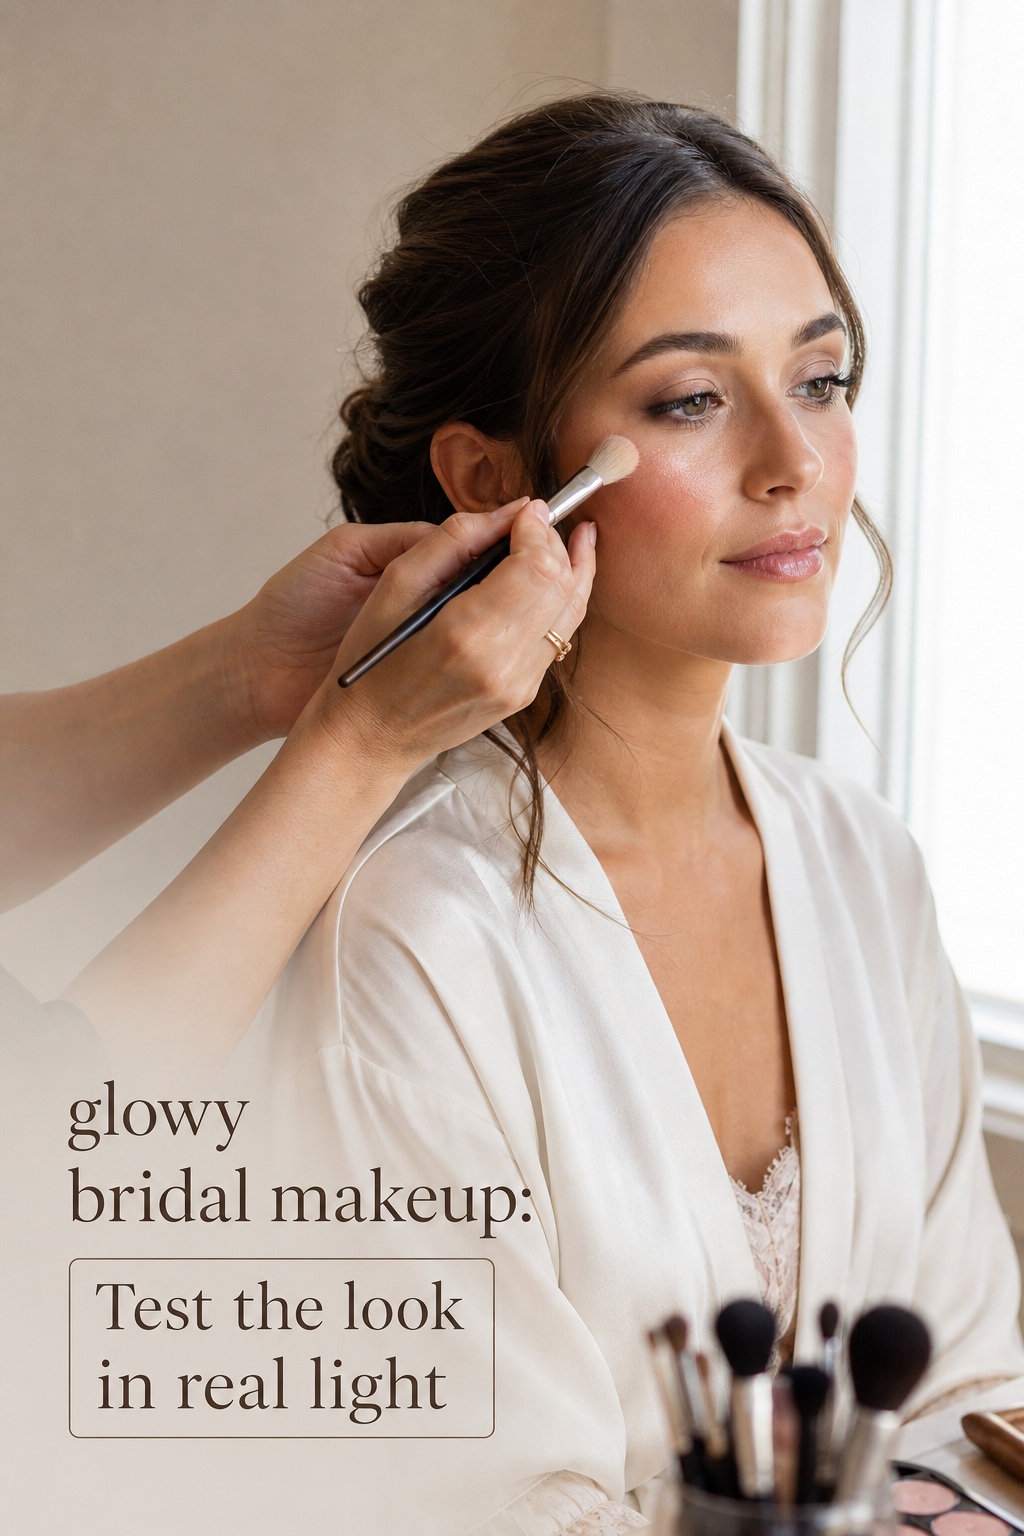
A trial is not complete when the makeup looks good after one hour. Wear the full look through a normal day, including talking, eating, outdoor air, indoor heat, and photographs. If possible, keep it on for six to eight hours. Note where the base separates, where the glow becomes excessive, whether the blush fades, and how the lip looks after a meal.
- Take photos in window light, shade, warm indoor light, and direct flash.
- Smile, talk, cry if you can, and move your face normally.
- Check the under-eye area after several hours for creasing or dryness.
- Blot the T-zone once and observe whether the makeup returns to its intended finish.
- Eat and drink normally to test the lip and the areas around the mouth.
- Wear the veil, earrings, neckline, or hairstyle that will affect how the face is framed.
- Write down the products and order of application while the plan is fresh.
Use the test to make small, specific changes. If the forehead becomes shiny, powder that zone more lightly or change the primer there. If the cheeks lose their glow, use a more durable cream and powder combination. If the skin looks flat in flash, add dimension through blush, bronzer, or a soft highlight rather than simply applying more foundation. If the lip disappears, adjust its depth or use liner as a base.
Prepare the wedding-day timeline
Build enough time for skin prep, drying or setting between layers, eye makeup, complexion corrections, and a final check in the actual getting-ready light. Tell the artist when you need to be dressed and when portraits begin. If the ceremony is outdoors, leave time to check the face after moving between rooms or locations.
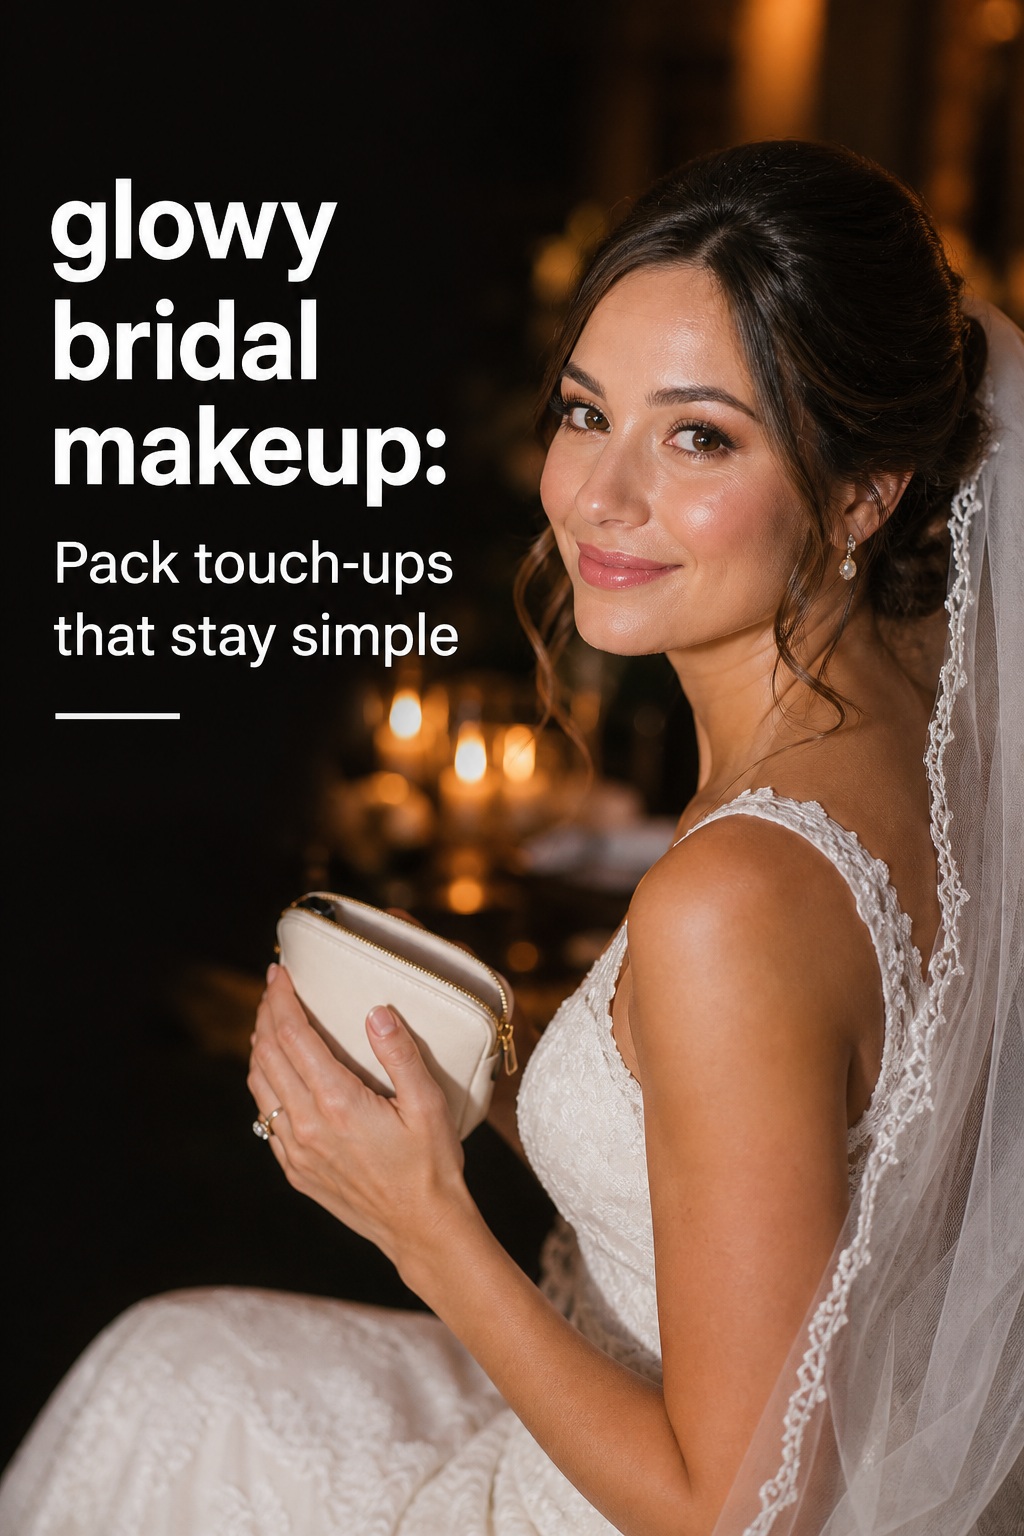
Keep the touch-up plan simple. Ask a trusted person to carry a small kit with your lip color, liner, tissues, blotting sheets, cotton swabs, and any lash product your artist approves. Touch up after eating, before formal portraits, and before the reception if the lighting changes. Blot first, then add color. Layering powder over oil or adding highlighter to an already shiny area can make the finish heavier.
Final Review Before You Approve the Look
- Does the complexion look radiant in person and dimensional in photographs?
- Is the center of the face controlled without making the outer cheeks dull?
- Does the coverage allow some natural skin to show where it looks flattering?
- Is the blush visible after flash without becoming a separate stripe?
- Can you identify one clear focal feature?
- Do the eyes remain defined when your face is relaxed?
- Can you wear the lashes, liner, and lip comfortably for several hours?
- Does the makeup suit the dress, veil, jewelry, bouquet, and venue lighting?
- Do you know what will be in the touch-up kit and who will carry it?
- Have you photographed the finished look after eating, moving, and waiting several hours?
The most reliable glowy bridal makeup plan is specific, comfortable, and tested. It uses hydration to support the base, cream products to create believable radiance, powder only where it improves control, and enough definition for the camera to read the face. When the finish has been checked in real light and worn through a realistic schedule, the glow becomes part of a complete wedding-day system rather than a last-minute layer of shine.
FAQ
What is the difference between glowy and dewy bridal makeup?
Glowy bridal makeup usually means a luminous, dimensional finish with controlled shine. Dewy makeup can suggest more moisture or reflectivity across a larger area of the face. The best wedding version often combines a radiant perimeter with a softly powdered center so the skin looks fresh rather than oily.
Can glowy bridal makeup work on oily skin?
Yes. Use skin prep and complexion products that suit your oil level, then powder the areas that tend to separate or shine. Keep the highlighter on the cheekbones and other high points instead of applying reflective products everywhere. Test the combination for several hours before the wedding.
How do I stop bridal glow from looking greasy in photos?
Control the center of the face, use thin layers, and check the makeup with flash. Blot before adding powder, and avoid placing strong highlighter over textured areas. A soft blush and bronzer can create dimension so you do not need to solve every lighting problem with more shine.
When should I have my glowy bridal makeup trial?
Schedule the trial early enough to change the artist, shade, finish, or focal feature if needed. Bring your dress, veil, jewelry, and reference photos when possible. Wear the makeup for several hours and photograph it in more than one type of light before approving the final plan.
Which blush colors suit luminous bridal makeup?
Peach, rose, pink, coral, mauve, berry, and terracotta can all work. Choose based on skin depth, undertone, outfit colors, and the desired mood. The shade should be strong enough to remain visible in photographs but blended enough to look like natural warmth.
Should I use powder with glowy bridal makeup?
Usually, yes, but selectively. Powder can set the under-eyes, sides of the nose, forehead, and chin while leaving the cheekbones and temples luminous. The amount depends on your skin type, climate, and the wear test. The goal is controlled contrast, not a fully matte face.
What should I keep in my bridal touch-up kit?
Keep your lip color, liner, tissues, blotting sheets, cotton swabs, a small mirror, and any approved lash product in a compact kit. Add powder only if your artist recommends it. Ask a trusted person to carry the kit and to check your lip and T-zone before portraits and the reception.