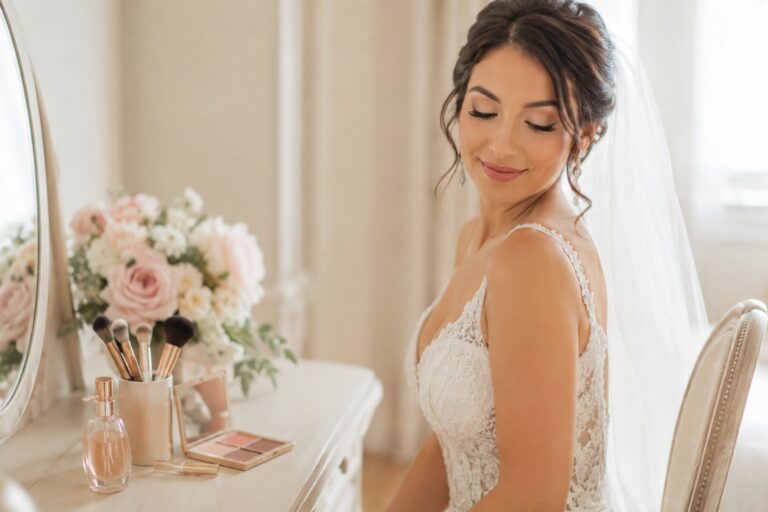
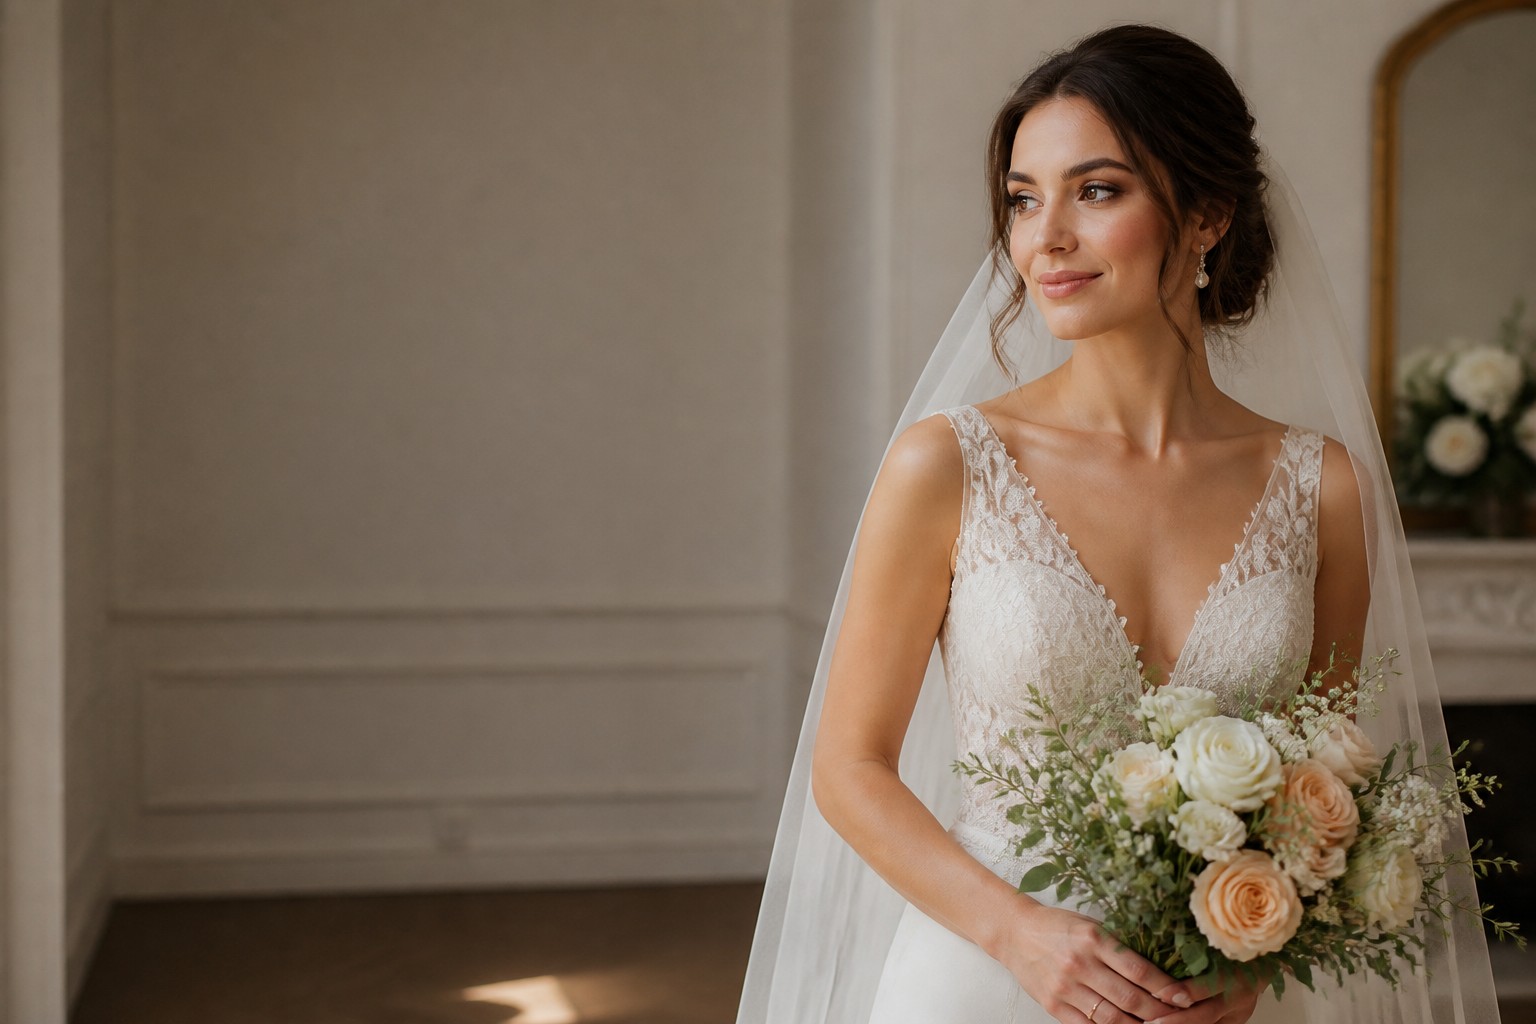
Simple Bridal Makeup: Choose Your Perfect Look
Simple bridal makeup is not one fixed face. It can mean barely-there skin tint and mascara, polished natural makeup with softly defined features, or a restrained soft glam look that still feels like you. The best choice depends on how much makeup you normally wear, how you want to look in photographs, your venue and weather, your skin’s behavior, and whether you will apply everything yourself or work with a makeup artist.
This guide compares three useful levels of simple bridal makeup so you can make a confident decision instead of collecting dozens of unrelated inspiration photos. You will see what changes across the complexion, eyes, brows, cheeks, and lips, how to match a look to the day, and how to test it before the wedding. The goal is a face that feels comfortable in person, has enough definition for photographs, and remains recognizable when you look back years from now.
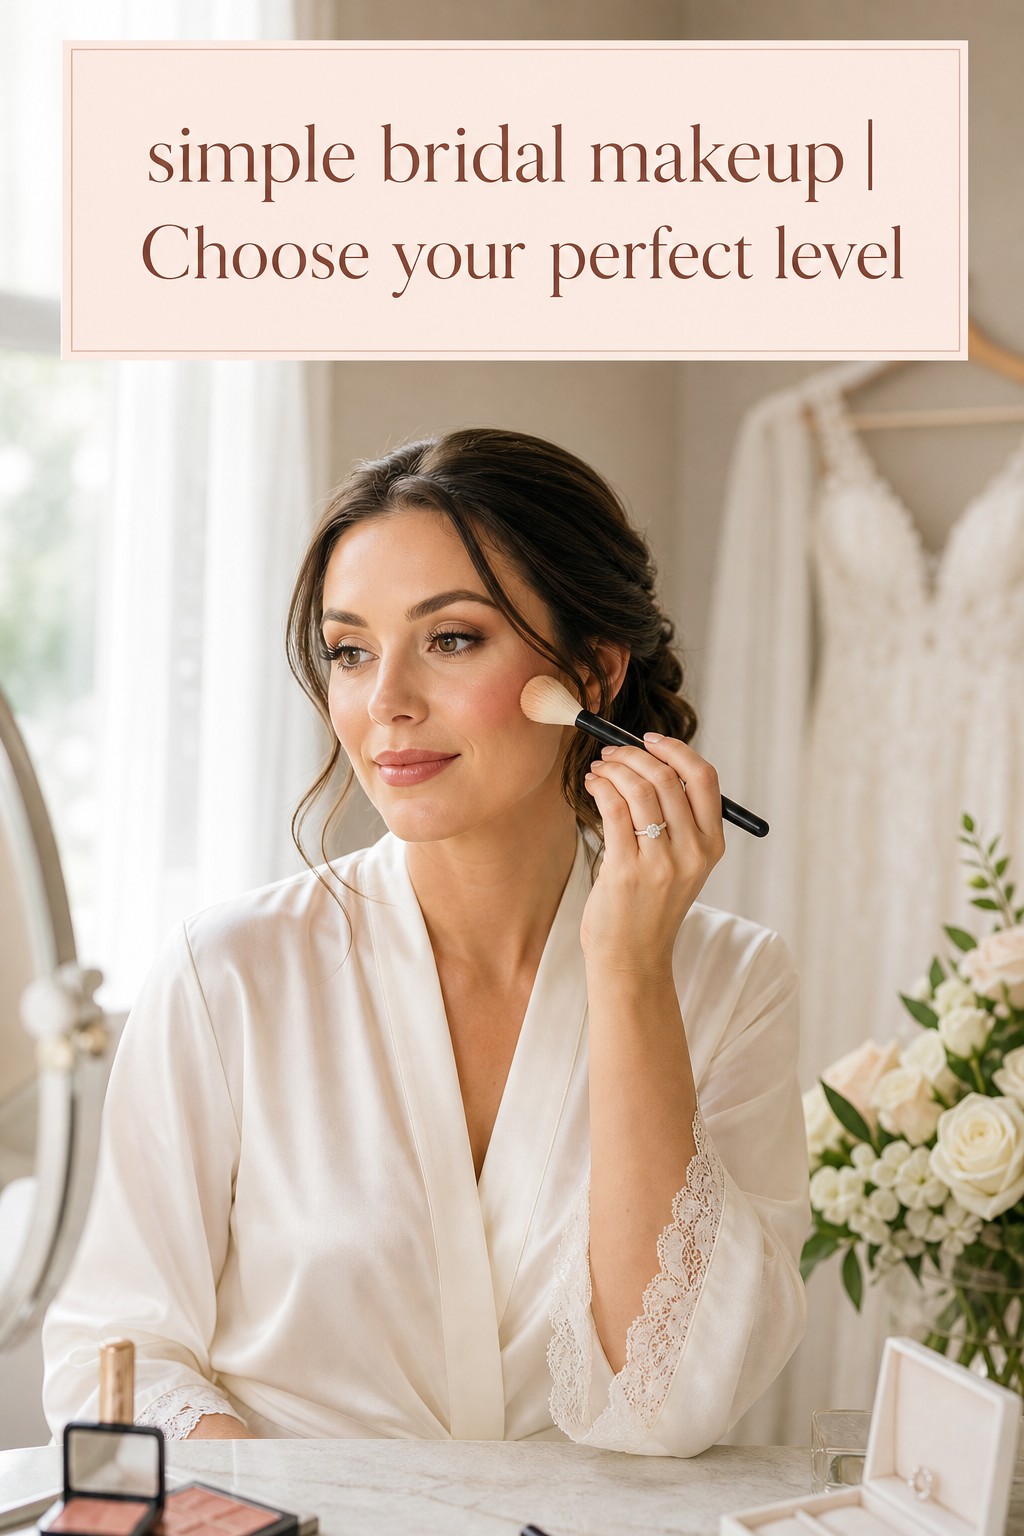
Choose Your Simple Bridal Makeup Level
Start by choosing the amount of visual definition you want, not by choosing a product. A simple bridal makeup plan becomes much easier when every detail supports the same intensity. If you want a clean, almost invisible result but add dramatic lashes at the last minute, the face can feel disconnected. If you love a softly sculpted eye but choose an ultra-sheer base that disappears in photographs, you may feel underdone. Think of the three levels below as a practical scale rather than strict categories.
Barely-there and skin-first
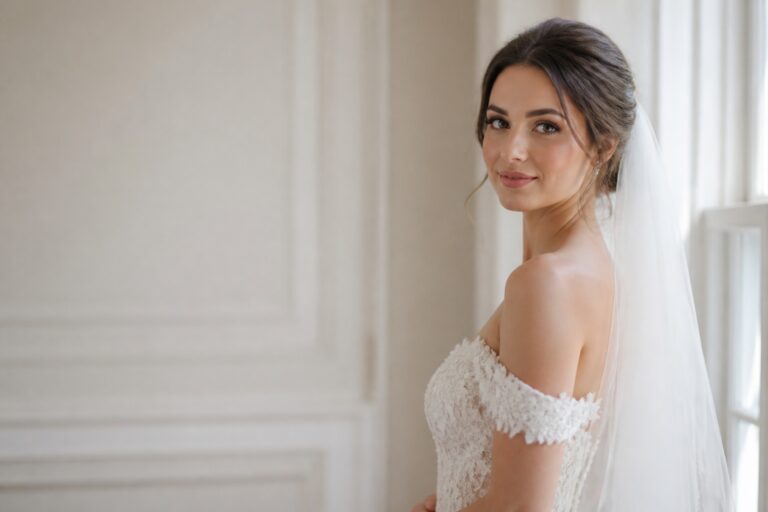
This is the closest option to a no-makeup makeup look. The complexion is evened out only where needed, natural texture remains visible, brows are brushed into place, lashes are lifted with mascara, and lips stay close to their own color. A sheer tint, spot concealer, cream blush, and clear or tinted balm may be enough. This approach suits brides who rarely wear makeup, intimate ceremonies, outdoor settings, and anyone who wants guests to notice their expression before their makeup.
Your wedding look is only the beginning.
Keep your guest list, vendors, timeline, and every important detail together with Zarellea — so your day feels as considered as your style.
The trade-off is that barely-there makeup requires excellent placement and realistic expectations. Unevenness cannot be hidden under a heavy layer, and a very glossy finish can reflect light unevenly. You may need a little more brow, lash, or cheek definition than you wear on an ordinary day so your features do not fade in wide photographs. Ask for a photo test in the actual lighting, then decide whether the result needs one small increase in contrast.
Polished natural and balanced
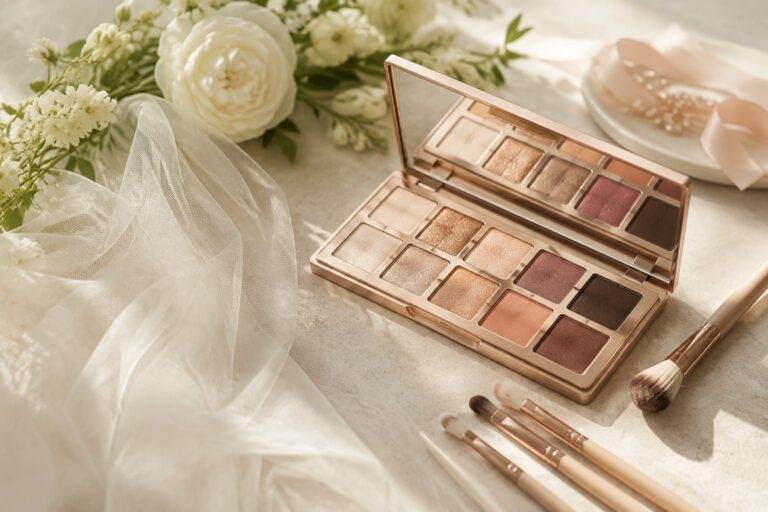
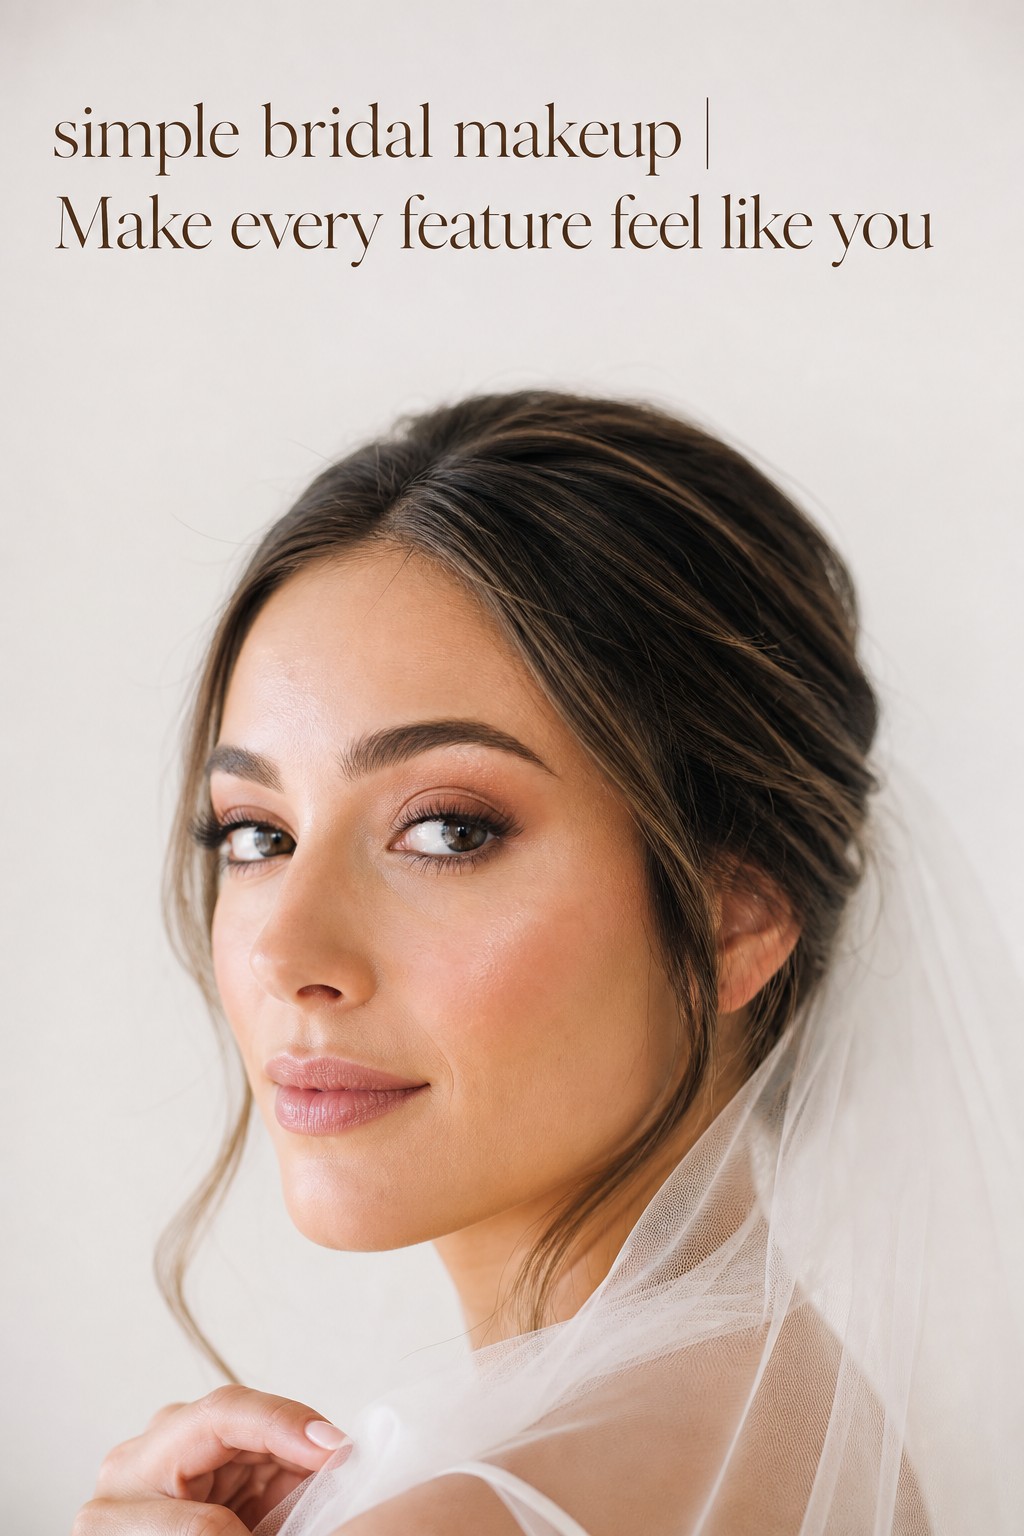
Polished natural is the most adaptable level for many brides. It keeps the skin looking like skin, but adds a reliable base, soft contour, blush, neutral eyeshadow, gently shaped brows, mascara, and a lip color that is slightly stronger than your everyday shade. The finish is often satin or softly luminous rather than intensely dewy. You can still recognize yourself, but your eyes and cheekbones have enough definition to hold their shape during a ceremony, reception, and photo session.
This approach works especially well when you want a simple bridal makeup look that feels elevated without looking trendy. Brown liner can define the lash line more softly than black, while a neutral taupe, champagne, rose, or warm brown shadow creates dimension without turning into a smoky eye. Individual lashes are optional. A sheer pink, rose, peach, or neutral nude lip can be blotted and reapplied easily throughout the day.
Soft defined and camera-ready
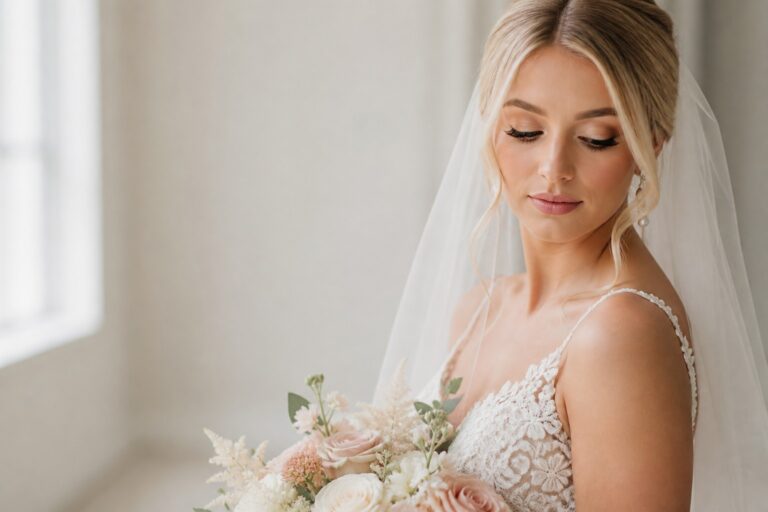
Soft defined makeup is still simple because it uses a limited, coordinated palette, but each feature has a clearer role. The base may be medium coverage applied in thin layers, the eyes may include a softly smoked outer corner, and the cheeks may have visible bronzer, blush, and a controlled highlight. Lashes can be more noticeable, and lips may use liner plus satin color. This level suits evening receptions, formal gowns, dramatic hair, dim venues, and brides who already enjoy makeup.
The risk is adding intensity in too many places at once. If the eyes are softly smoked, the lips can stay fresh and uncomplicated. If the lip is stronger, keep the cheeks and eyes quieter. Simple bridal makeup looks intentional when the eye travels smoothly across the face. It becomes heavy when high coverage, strong contour, dark liner, full lashes, shimmer, and a bold lip all compete for attention.
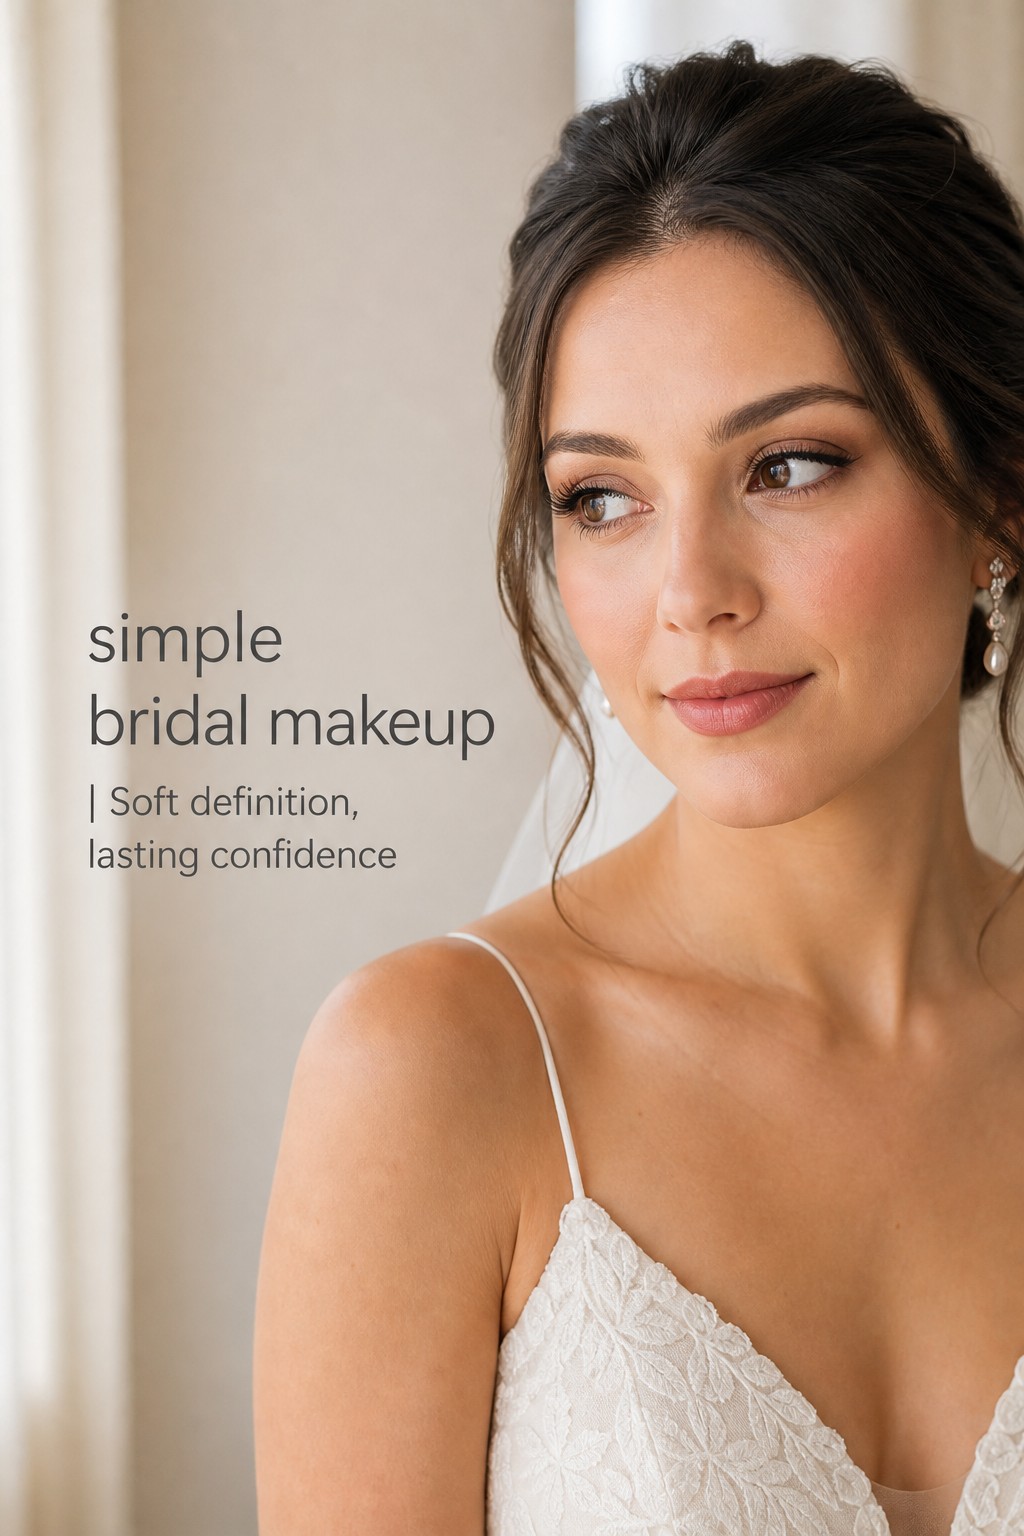
Compare the Base, Eyes, Cheeks, Brows, and Lips
Once you know your preferred intensity, compare the individual parts. You do not need to copy a complete look from one photograph. You can borrow the skin finish from one reference, the eye shape from another, and the lip color from a third, as long as the choices belong to the same intensity level. Bring those decisions to a trial and explain the result you want in plain language: fresh, satin, softly defined, recognizable, long-wearing, or more polished than everyday.
- Base: Barely-there looks use skin tint or strategic concealer. Polished natural looks use sheer to medium buildable foundation. Soft defined looks can use fuller coverage only where needed, applied in thin layers.
- Finish: A satin finish is a dependable middle ground. Keep radiance on the high points and lightly set areas that crease or become shiny. All-over highlighter can look textured in close photographs.
- Eyes: Choose brown or soft charcoal definition for a gentle effect. Neutral matte shadow adds shape, while a small amount of satin or champagne color can brighten the lid without overwhelming it.
- Brows: Brush brows upward and fill only gaps that need structure. A natural brow usually looks more timeless than a sharply blocked shape, especially beside minimal makeup.
- Cheeks: Cream blush melts into skin and works beautifully for a fresh result. Add powder blush or bronzer only after testing how the formulas layer and wear in your climate.
- Lips: A balm or tint is easy and comfortable, gloss looks fresh but needs frequent attention, and a satin lipstick with liner gives more definition and staying power. Choose a shade that remains visible in photos without feeling unlike you.
For the base, preparation matters more than adding another layer. Cleanse gently, moisturize with a product you have already tested, and allow each layer to settle. If your skin is dry, a hydrating routine can prevent foundation from catching on flaky areas. If you are oily, use a lighter moisturizer and place primer or powder only where you need control. Do not introduce an aggressive peel, unfamiliar acid, or new prescription close to the wedding simply because a social post promised instant glow.
For eyes, waterproof does not have to mean severe. A waterproof brown pencil smudged close to the lashes can give soft definition, and waterproof mascara protects against tears. If you use false lashes, individual clusters often look lighter and more customizable than a dense strip. Test them while smiling, blinking, and looking down. A lash that feels fine for ten minutes may become distracting during a long ceremony.
For cheeks and lips, consider the full schedule. Cream products can create a natural flush, but they need a compatible base and a light setting strategy. Lip gloss is comfortable for a short ceremony, while a stain or satin lipstick may be easier for dinner, hugs, and photographs. Keep the exact lip product or a close touch-up version with a trusted person. A simple makeup look is easier to maintain when the touch-up steps are obvious.
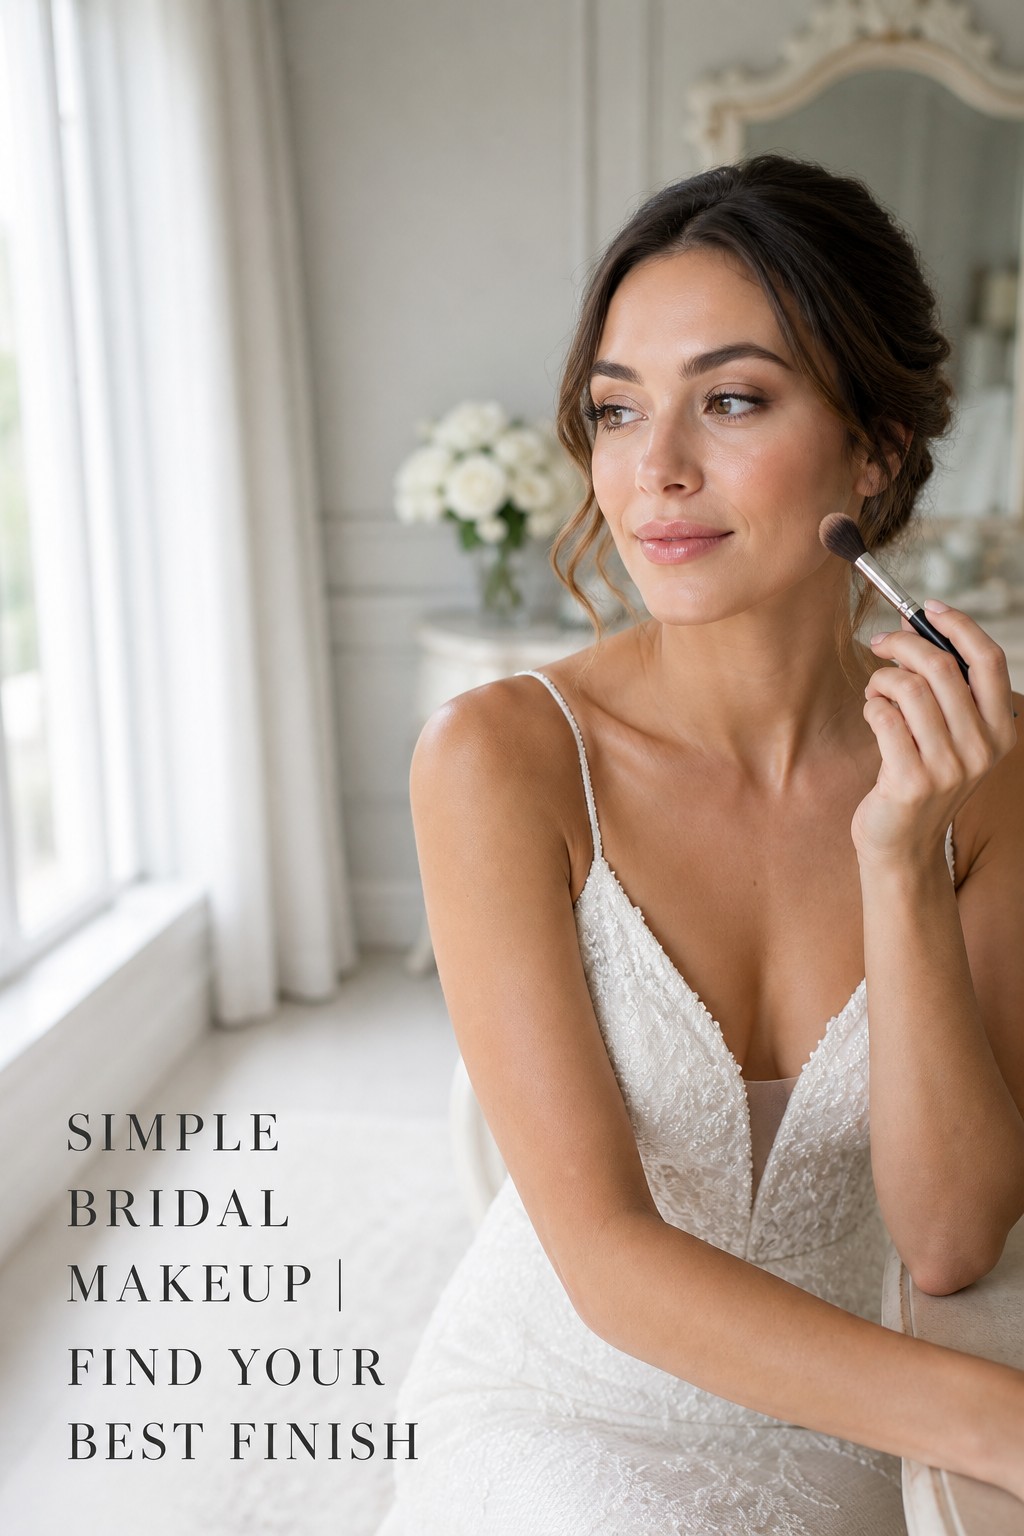
Match the Look to Skin, Season, Venue, and Photos
Your ideal simple bridal makeup look is not determined by a trend alone. It must cooperate with the conditions around it. A luminous cream-heavy face may be beautiful for a cool indoor ceremony but slippery at a humid garden wedding. A fully matte base may control shine at a summer reception but look flat or emphasize texture under winter flash. The best plan uses finish strategically rather than labeling the entire face dewy or matte.
Dry, combination, oily, and textured skin
Dry skin usually benefits from thin hydrating layers and cream color placed with a light hand. Avoid piling powder over every area. Combination skin can use glow on the cheeks and targeted setting through the T-zone. Oily skin may need a long-wearing base, oil-control primer in selected areas, and pressed powder for the center of the face, but heavy powder everywhere can make the makeup look older as the day progresses. Textured or blemish-prone skin often looks better when the base is evened strategically instead of completely covered.
Time of day and wedding location
Daylight exposes texture and strong edges, so soft transitions and a controlled satin finish are usually flattering. An evening venue can support more eye definition and a little extra lip contrast because the ambient light is lower. For an outdoor ceremony, plan for wind, heat, humidity, and changing light. For a beach or destination wedding, water-resistant eye makeup, breathable layers, and a compact touch-up plan matter more than a complex eye palette. A courthouse or city hall ceremony may suit polished natural makeup with one memorable detail, such as a defined brow or a soft berry lip.
Dress, hair, and photography
Makeup should balance the visual weight of your clothing and hair. A clean bun and minimalist dress can support a slightly stronger lip or softly sculpted eye. A detailed gown, veil, or ornate accessories may feel more harmonious with restrained makeup. Take trial photographs from several distances, with and without flash if possible. Check the face in a full-length image, a close portrait, a side angle, and a candid smile. A look can appear perfect in a bathroom mirror yet lose the eyes or cheeks in a wide image.
Be careful with products that contain a lot of reflective particles. A subtle sheen can make skin look healthy, while large glitter or excessive highlighter may create bright spots under flash. This does not mean you need a flat face. Use radiance on the cheekbones, inner corners, or cupid’s bow, then observe the result under the type of lighting your photographer will use. Ask for unfiltered images when reviewing the trial so you can judge the makeup rather than a beauty effect.
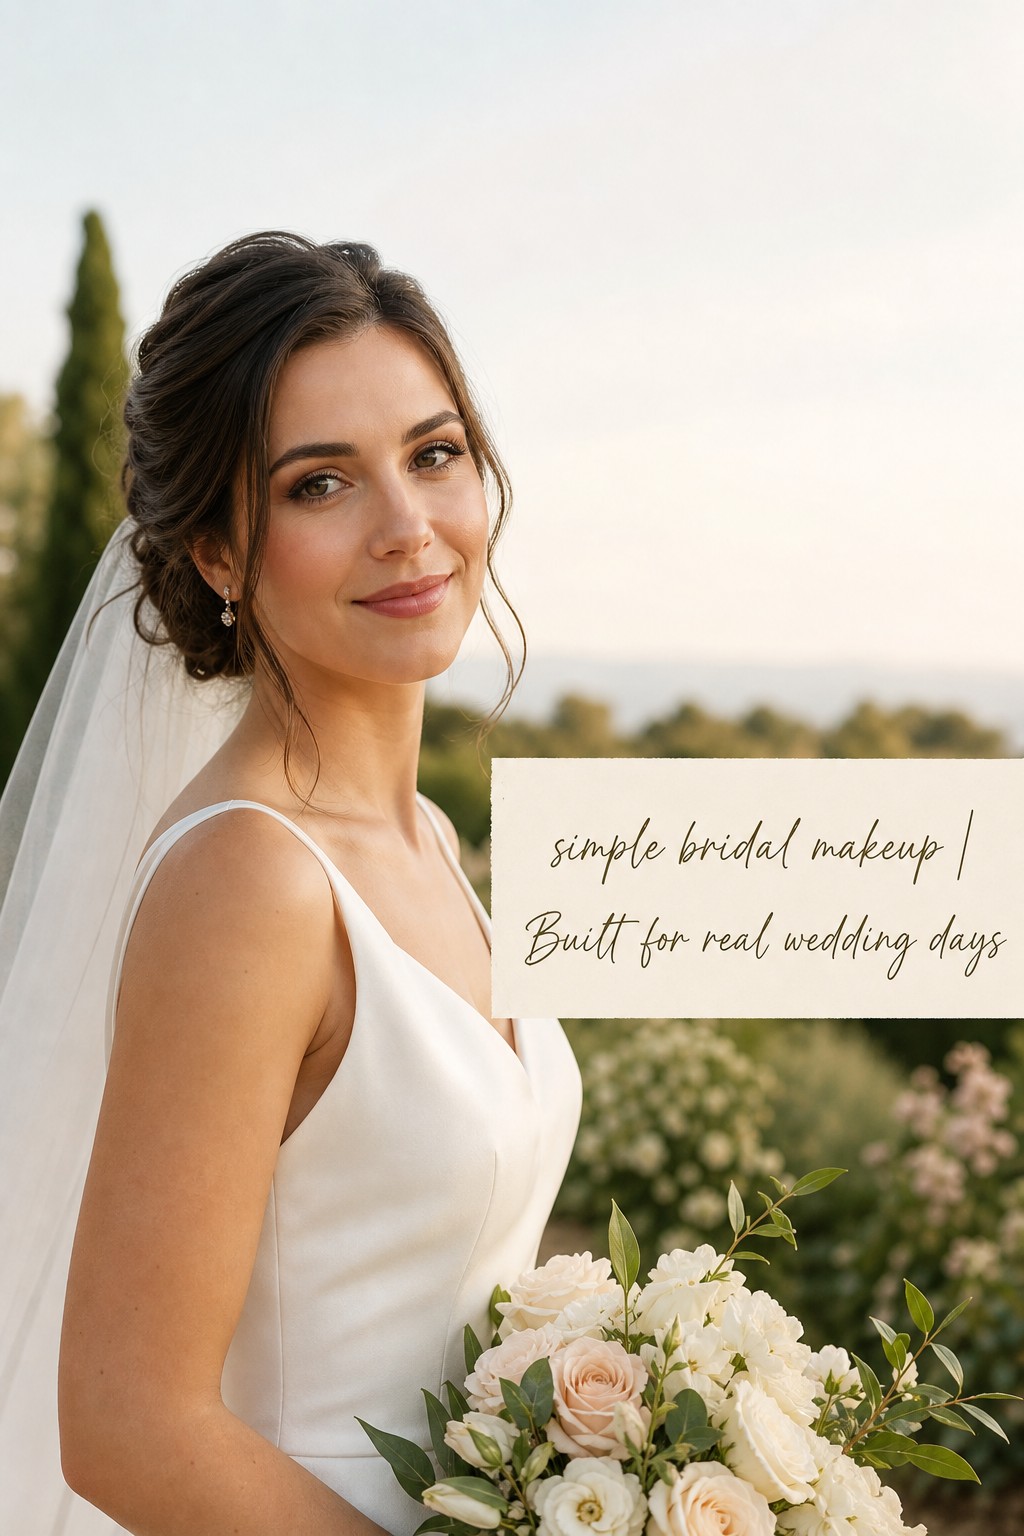
Build a Wedding-Day Plan That Keeps Makeup Simple
A simple bridal makeup look becomes dependable through testing and order. Schedule a trial early enough to make changes, but close enough to the wedding that your hair, veil, jewelry, and overall styling decisions are clear. Bring reference images that show the makeup itself, not only a model with a different face shape. Tell the artist or your helper what you dislike, too. Saying that you do not want heavy under-eye coverage or sharp black liner is as useful as naming a favorite look.
- Before the trial: Follow a calm skincare routine, note any sensitivities, and gather the foundation shades, lip colors, and products you already know work for you.
- During the trial: Test the complete face, including brows, lashes, lip, setting method, and the amount of coverage you intend to wear. Wear a similar neckline or a white top if that helps you judge the balance.
- After the trial: Photograph the makeup in daylight, indoor light, and flash. Wear it for several hours and record creasing, shine, dryness, lash comfort, and lip fade.
- On the wedding morning: Keep skincare simple, allow moisturizer to settle, and avoid rushing the base. Apply thin layers and pause before deciding that you need more.
- For touch-ups: Pack blotting papers or a clean tissue, a small powder, lip color, cotton swabs, and a tiny brush or sponge. Touch up only the areas that changed.
If you are doing your own makeup, practice the entire routine at least twice, including the timing. One practice should happen in the same general part of the day as your wedding application. Write down the order, amounts, and tools that worked. Do not plan to learn a new complex technique while getting dressed. Simple bridal makeup rewards repeatable movements: thin base, targeted concealer, soft brow structure, controlled blush, gentle eye definition, and a lip you can reapply without a mirror.
When choosing between a professional and DIY application, consider stress as part of the result. A professional can manage shade matching, sanitation, timing, and adjustments for photography, while DIY can provide comfort and control for someone who knows their face well. A hybrid option can also work: book a lesson, practice the routine, and reserve professional help for lashes, complexion, or the final polish. There is no virtue in choosing the harder route if it makes the morning anxious.
Use a final decision rule if you are stuck between two versions. Choose the lighter option if you normally wear little makeup and the trial still photographs clearly. Choose the polished natural option if you want a visible bridal upgrade with low risk. Choose soft defined if you enjoy makeup, your clothing and venue carry more visual weight, or your features need additional contrast for evening photographs. In every case, remove one detail if the face starts to feel busy.
FAQ
Is simple bridal makeup enough for wedding photos?
Yes, when it includes intentional definition. Even a minimal look should balance the complexion, brows, lashes, cheeks, and lips so the features do not disappear in distance or changing light. Test the complete face with your photographer’s typical lighting. If the eyes or cheeks fade, add one controlled layer rather than replacing the entire look with heavy coverage.
What foundation is best for simple bridal makeup?
The best foundation is one that matches your skin, cooperates with your skincare, and can be built where you need coverage. Sheer or medium buildable formulas are versatile for a natural bridal look. A fuller formula can also work if it is applied sparingly. Test for oxidation, creasing, flash response, and wear over several hours instead of choosing only by the first mirror impression.
Should I wear false lashes with simple bridal makeup?
False lashes are optional. If you want extra definition without a dramatic effect, try individual clusters or a few accents on the outer corners. They should feel secure when you blink and look down. Waterproof mascara and a curled natural lash can be enough for a barely-there look. Always test the exact lash style during your trial, especially if you do not normally wear eye makeup.
How can I keep simple bridal makeup from looking flat?
Use several soft finishes rather than adding more product everywhere. A satin base, cream blush, gentle bronzer, softly defined brows, and a small amount of highlight can create dimension. Brown liner or neutral shadow can shape the eyes without harsh edges. Keep powder strategic, because an all-over heavy matte layer can remove the natural variation that makes a simple look feel alive.
When should I have my bridal makeup trial?
Schedule the first trial early enough to make meaningful changes and a final trial once your dress, hair direction, and accessories are known. Many brides benefit from wearing the makeup for several hours after the appointment. This reveals how the base behaves, whether the lashes stay comfortable, and how quickly the lip fades. Bring clear notes to the next appointment instead of relying on memory.
Can I do my own simple bridal makeup?
You can, especially if you choose a routine you already understand and practice it in full. Use familiar products, write down the order, and photograph the result in several types of light. Consider a professional lesson if shade matching, lashes, or long-wear technique makes you uncertain. The most important DIY rule is to avoid experimenting on the wedding morning.
What should I carry for simple bridal makeup touch-ups?
Pack your lip product, a small powder or blotting option, cotton swabs, tissues, and any lash adhesive your artist recommends. A tiny brush or sponge can soften a crease without disturbing the rest of the face. Ask a trusted person to hold the kit and check the makeup before major photographs. Small targeted corrections are usually better than repeatedly adding product throughout the day.