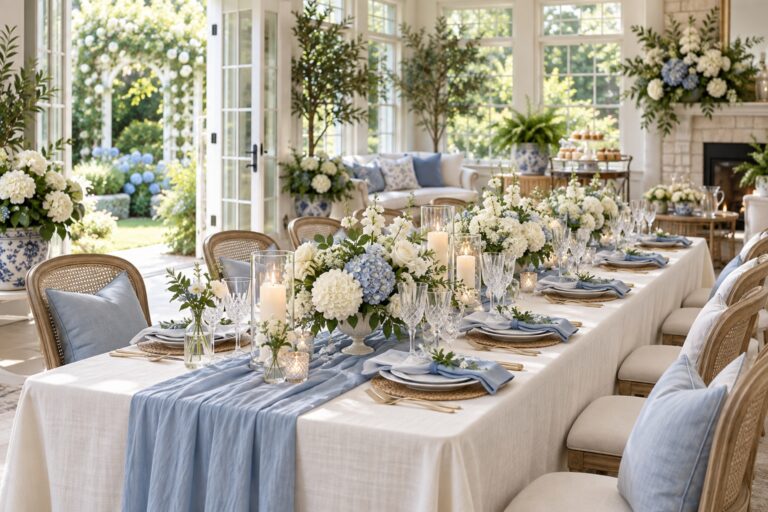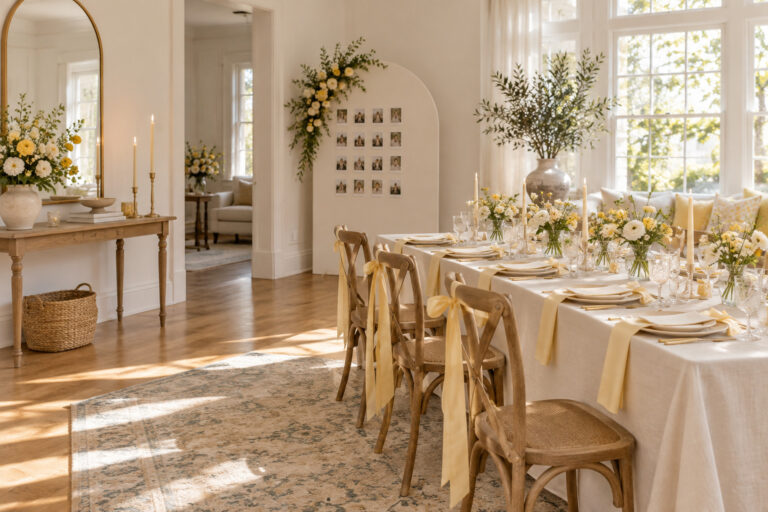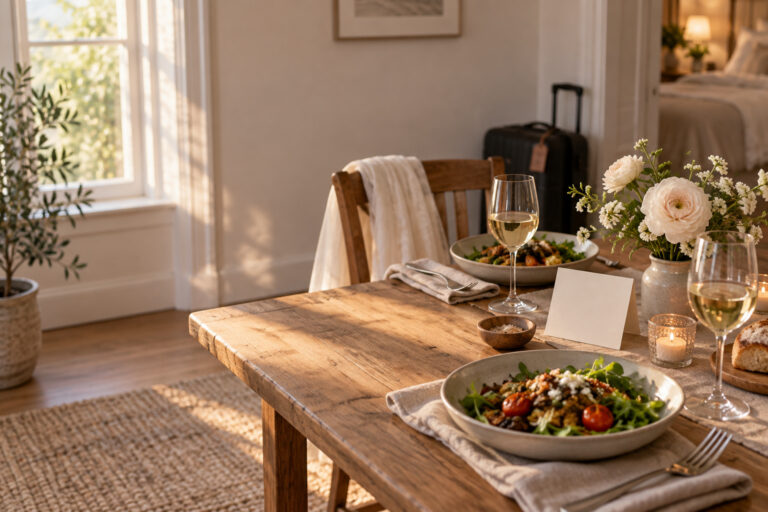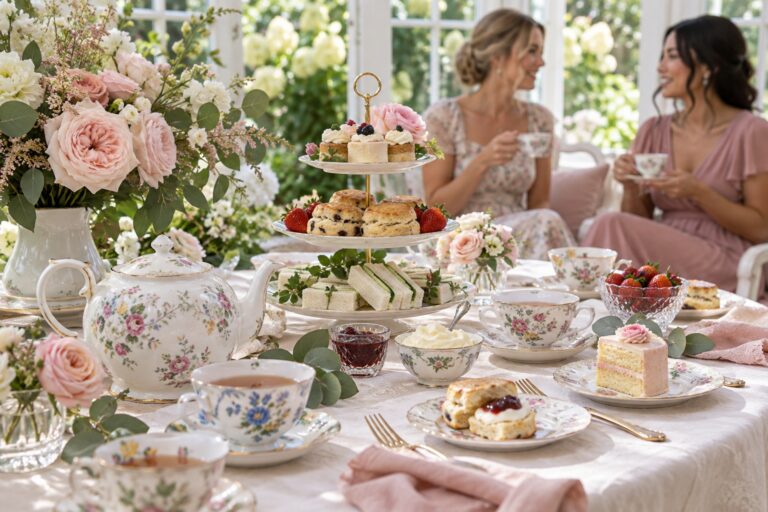
Bridal Shower Decorations That Set Up Easily
A room can look completely different once the decorations are out of their boxes, but the hard part often comes before the first ribbon goes up. A restaurant may forbid tape, a rental room may offer only a short setup window, and a lovely backdrop can become a problem if it blocks a doorway. Good bridal shower decorations should suit the space and the people setting them up as much as they suit the celebration.
Start with the venue’s rules, measurements, available support, and cleanup expectations. Then choose pieces that can stand, hang, or attach safely within those limits. This guide helps you plan a simple installation for a home, restaurant, rented room, or outdoor setting, then take everything down without leaving a mark or a pile of unlabeled supplies.
Start with a venue check before shopping
Before adding anything to a cart, ask the venue contact or household host what the room allows. A quick walk-through with a phone camera and a tape measure can answer questions that product photos cannot. If you cannot visit in person, request current photos, room dimensions, and setup rules in writing. A decoration that depends on a wall, ceiling, outlet, or table is useful only if that feature is available when you arrive.
Confirm what can be attached and what must stay untouched
Ask specifically about adhesive hooks, painter’s tape, removable strips, pins, nails, fishing line, ceiling clips, and balloon adhesives. Do not assume that a product described as removable will be safe for painted walls, wallpaper, wood, glass, or rented linens. The venue may have a policy that covers all adhesives, even ones that seem gentle. For a home shower, check with the person responsible for the walls and furniture before you test anything.
Your wedding look is only the beginning.
Keep your guest list, vendors, timeline, and every important detail together with Zarellea — so your day feels as considered as your style.
Write the answer beside each planned decoration. For example: “welcome sign, tabletop easel”; “garland, freestanding frame”; “menu cards, place setting”; “backdrop, venue-approved stand.” This makes the plan understandable to a helper who did not attend the venue call. If a decoration has no permitted support, choose another way to display it instead of improvising on event day.
Also ask who is responsible for moving furniture, returning tables to their original positions, and removing tape or debris. Some venues expect the host to leave the room as it was found. That affects the number of pieces you can manage and which materials should come with you.
Measure the useful surfaces and the route into the room
Measure the table or wall that will actually hold each focal piece, not only the largest surface in the room. A sign that looks small online may cover a menu board, thermostat, window, or artwork once it is in place. For a backdrop, note its width and height and check whether the stand’s feet will fit without sitting in a walking route. Include the space needed behind the stand if it uses rear legs or a stabilizing weight.
Check the path from the loading area to the event room. Tall frames, heavy bases, large floral vessels, and long rolls of fabric can be awkward through narrow doorways or up stairs. If parking or elevator access is limited, favor compact pieces that can be carried in one trip. Photograph the route if the setup helper is a different person from the shopper.
A simple measurement note can include:
- Table width and depth for the sign, centerpiece, cake stand, or gift display.
- Clear wall width and ceiling height for any backdrop or banner.
- Door width, stairs, elevator access, and the distance from drop-off to the room.
- Usable floor area around chair legs, serving stations, and door swings.
- Fixed items that should remain visible, such as exit signs, switches, or venue artwork.
These measurements help you choose a size before purchase and reduce last-minute rearranging. Leave a margin around a decoration so it does not need to fit perfectly edge to edge.
Check light, power, and material restrictions
Look at the light at the time of day the shower will take place. A window can make a sign hard to read if it is directly behind the text, while a photo backdrop may need to face a brighter part of the room. If you are considering plug-in lights, ask whether outlets are available and whether cords may cross a path. Battery-powered lights avoid a cord route, but still need a safe place for the battery pack and a switch that a helper can reach.
Ask about candles, open flame, confetti, glitter, petals, helium, and anything that could leave residue or create extra cleaning. Policies vary, so get the answer for the actual location. If a material is not allowed, replace it with a similar effect that is easier to collect, such as paper shapes attached to a permitted stand instead of loose scatter on the floor.
Record the setup start time, the time the room must be ready, the event end time, and the cleanup deadline. Ask whether someone can receive boxes in advance or if everything must arrive with the host. These details will determine whether a multi-part balloon installation is realistic or whether a preassembled sign and a few tabletop pieces are a better fit.
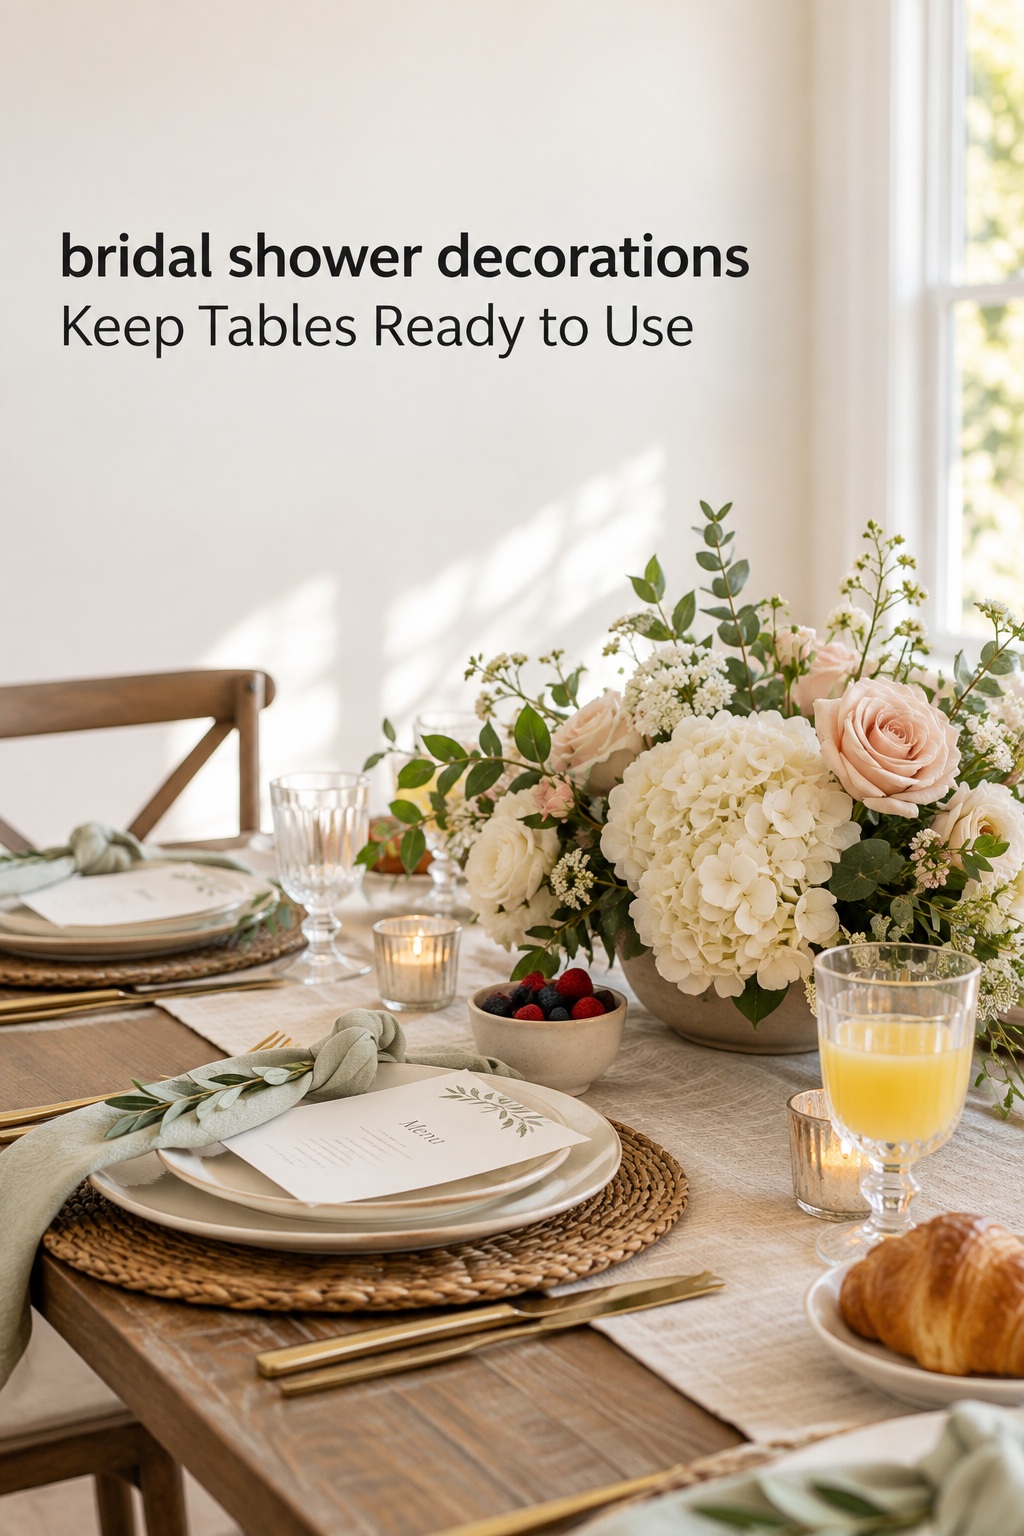
Choose bridal shower decorations by how they stand, hang, or attach
Once you know the rules, sort each decoration by the support it needs. This is more useful than starting with a theme because two items with the same look can have very different installation needs. A paper banner may need an approved hanging point, while a framed sign can stand on a table. A balloon garland may need a frame, a wall attachment, or a helper to hold it while it is secured.
Use tabletop pieces when surfaces are available
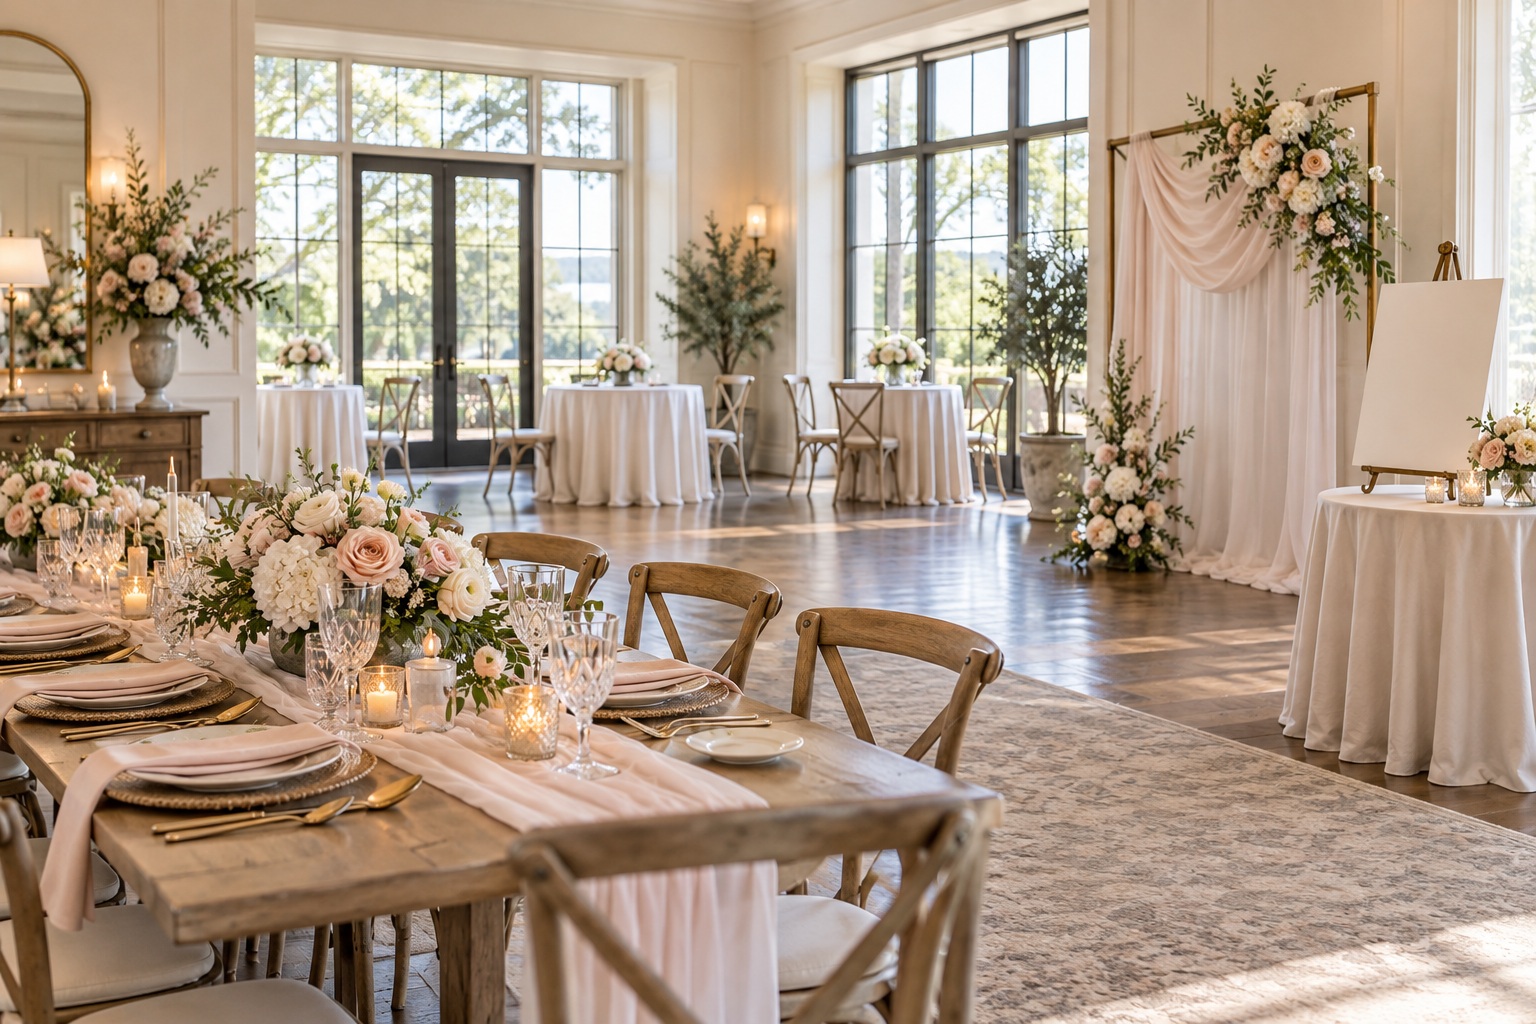
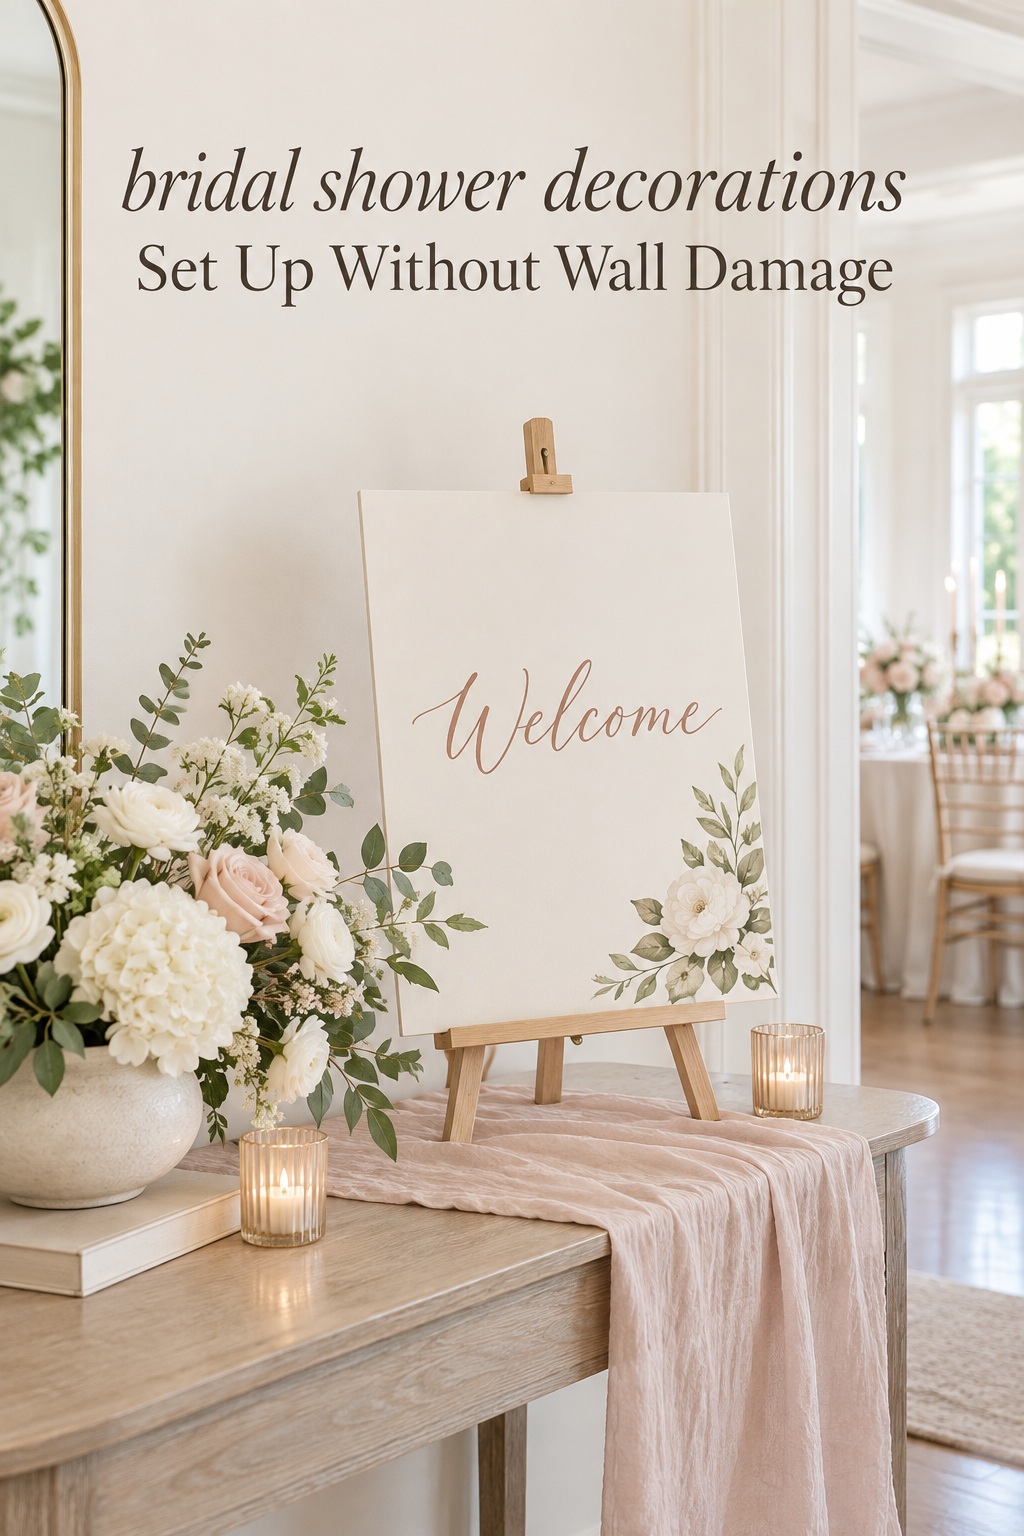
Tabletop decor is often easy to install because it can use furniture already in the room. Signs on easels, a compact arrangement, framed photos, menus, place cards, and a cake topper can be placed without attaching anything to a wall. The tradeoff is table space. Keep serving dishes, drinks, gifts, and guest belongings in mind before filling a surface with decorations.
Make a quick paper layout for any table with several jobs. Mark the usable area, then reserve a zone for what guests need to reach. Keep tall pieces away from the center of a dining table if they interrupt conversation or block sightlines. A narrow arrangement or a low set of bud vases can make a table feel finished while leaving more room for plates and glasses.
Give each item a stable base. A lightweight frame can tip if it is placed near a door or busy serving area. A small object can slide on a polished or covered table. Test the display at home with the actual stand, frame, vessel, and base you plan to bring. If the item needs a hidden weight, pack that weight with it and label the container.
Use freestanding supports for focal pieces
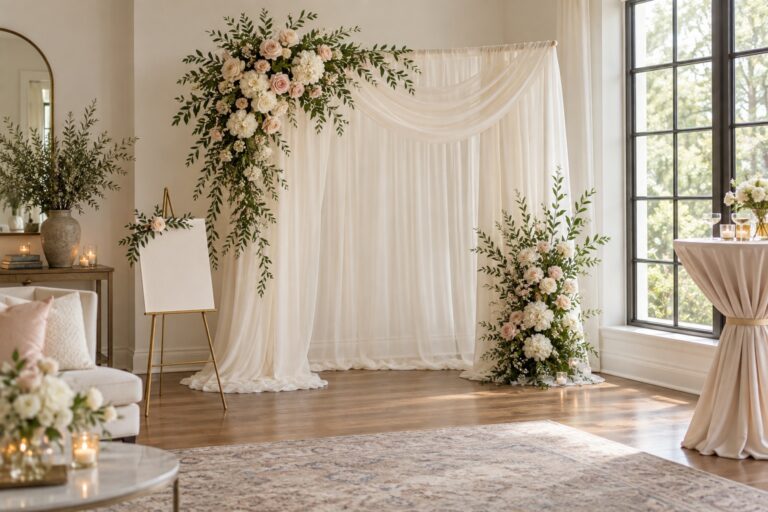
Freestanding easels, garment racks, backdrop frames, and weighted stands can create a focal point without relying on venue walls. They are helpful when a location restricts adhesives or has surfaces you do not want to alter. Before buying or borrowing one, check its assembled dimensions, weight, base footprint, and the way it breaks down for transport.
A stand needs a level surface and enough room for its feet, braces, and any stabilizing weight. Keep it away from a door swing, a serving queue, and places where guests will step backward for a photo. Consider whether a base or cable creates a trip point. A smaller focal display against an existing wall can be more dependable than a tall installation that needs a large clear area.
When the display will be used for a group photo, test the camera view from the spot where the photographer is likely to stand. Look for an exit sign, busy artwork, a bright window, or a line of chairs appearing in the background. Adjust the position before decorating the frame. Do not cover required safety signs or block access to an exit to improve a photograph.
Hang or attach only when the venue approves the method
If the venue allows a hanging display, clarify the exact method and where it may be used. A banner on a door frame may be acceptable while a balloon garland on a painted wall is not. Ask whether the host must supply hardware and whether decorations need to be removed immediately afterward. Keep the answer with the setup notes so a helper does not substitute a different adhesive at the last minute.
Bring only the approved fasteners, plus the small tools they require. If a display needs scissors, ribbon, hooks, a step stool, or a specific clip, pack it with the item instead of relying on the venue to have it. Keep adhesive away from fabric, artwork, and finished surfaces unless the responsible person has approved the material and test location.
For hanging paper or fabric, check that the piece cannot fall across a doorway or onto a food surface. For balloons, consider where they will drift if a string loosens. Secure loose tails and keep the installation clear of lights, fans, heat sources, and anything the venue identifies as a hazard. A simple freestanding version is a useful backup if the approved hanging point is unavailable.
Match loose details to the cleanup you can handle
Small details such as confetti, petals, ribbon scraps, and table scatter can look appealing in a styled photograph but take time to remove. Before using them, ask who will collect them and where they can be disposed of. Avoid loose pieces if the venue requires a quick room turnover or if the decor will be near food, walkways, or outdoor drains.
Favor reusable pieces that can be gathered in a labeled container: fabric runners, framed signs, battery lights, and weighted holders are easier to count than many tiny props. If you use paper items, decide whether they go home with the host, are recycled, or are given to guests. A pack-out plan prevents a pretty display from turning into a cleanup puzzle.
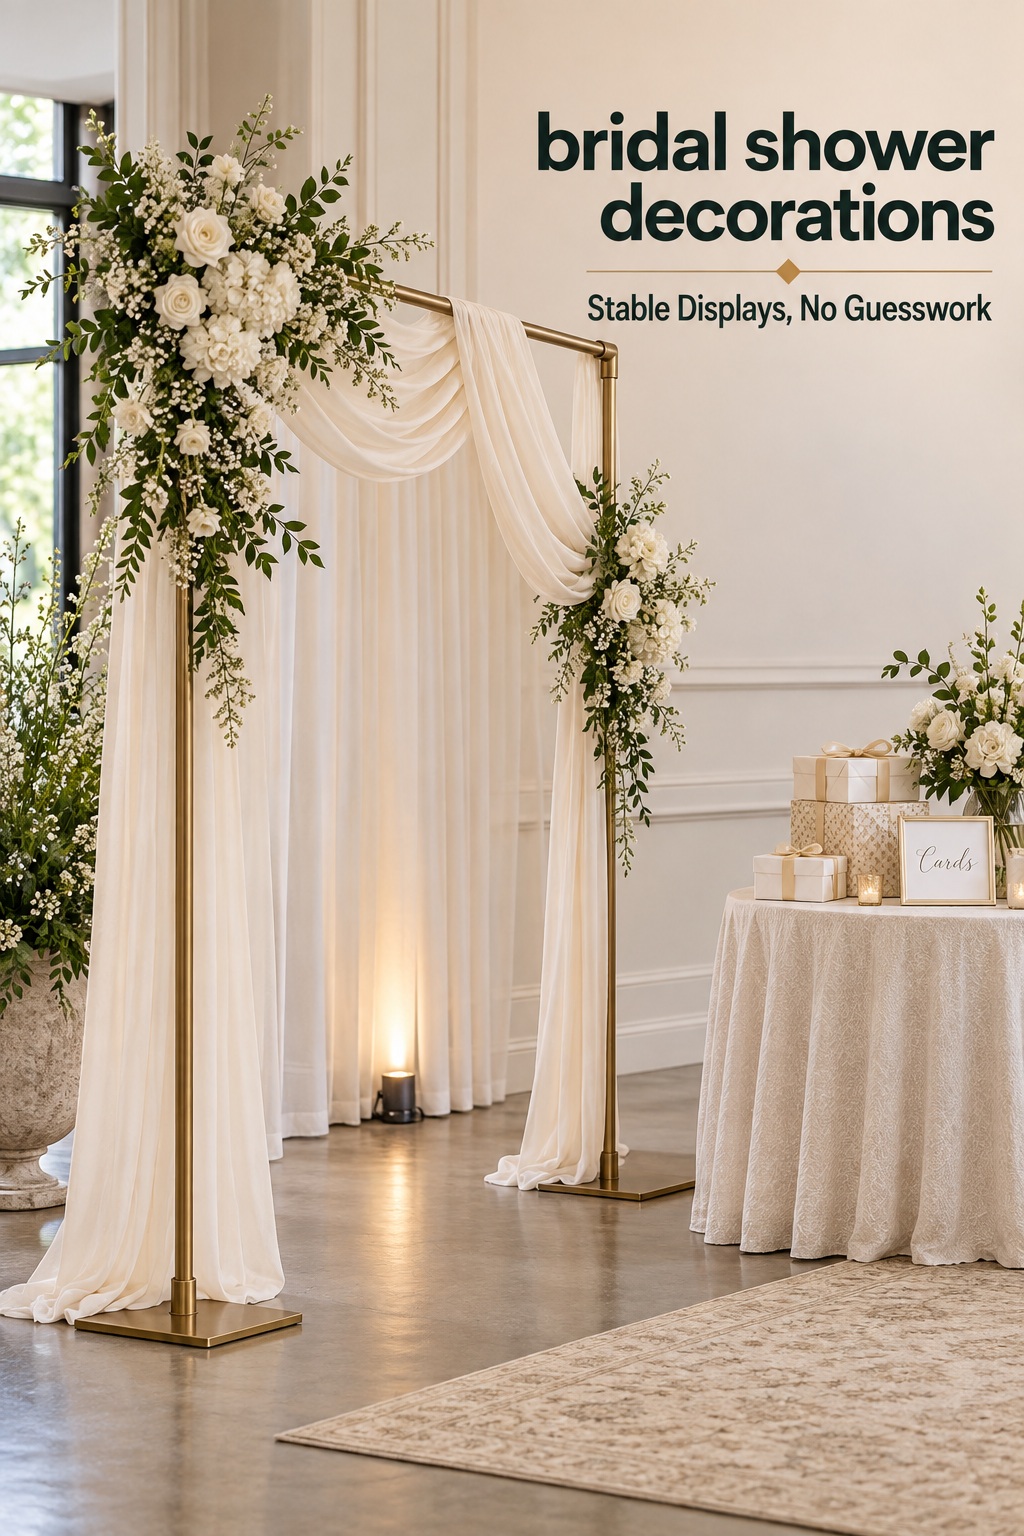
Adapt the installation to a home, restaurant, rental room, or outdoor spot
The same decoration can be easy in one setting and complicated in another. Think about what is fixed in the room, what the host may move, and how long the setup crew will have. Choose an approach that fits those practical conditions before deciding how many pieces to bring.
At home, protect surfaces and work around existing furniture
A home usually offers familiar tables and shelves, but the host may not want tape on the walls or furniture moved. Ask which rooms and surfaces are available, then build the display around them. A tabletop sign can welcome guests on a console, while a small freestanding frame can add a photo background without taking over a living room wall.
Protect delicate finishes with a clean, stable base. Do not place damp flower vessels on wood without a coaster or tray. Keep cords away from a walkway and avoid hanging items from light fixtures or curtain rods unless the homeowner has approved it. If a chair or side table is moved for the shower, photograph its original position so it is easy to put back.
Choose pieces that can be carried in and out without a complicated installation. A basket of labeled items, an easel, and a few preassembled tabletop details may be easier than a large structure that requires tools, a ladder, or multiple helpers. Keep a small bag for packaging and scraps so they do not spread through the house during setup.
At a restaurant, ask what can be placed on the table
A restaurant may already provide linens, centerpieces, candles, or table numbers. Ask what will be on the tables when you arrive and whether it can be moved. Find out if the host can bring outside decor, where a sign can be placed, and whether anything may be attached to a wall, chair, or window. Policies can differ even within the same restaurant, depending on the room and event package.
Keep guest tables clear enough for dishes and drinks. Small signs, place cards, and a modest centerpiece can add a bridal touch without competing with service. If the restaurant is serving a meal, avoid a display that must be moved every time plates arrive. Give the coordinator a short list of what you plan to bring so staff know which pieces belong to the event.
Do not count on arriving early to rearrange furniture or set up a large backdrop. Ask for the access time and the staff contact on the day. If there is no approved photo display area, use a decorated tabletop sign or one movable framed piece that can be placed where the coordinator directs.
In a rented room, make the setup self-supporting and portable
A community room, hotel event room, or rented hall may have strict rules about walls, ceilings, floors, and cleanup. Confirm the allowed materials before packing. Favor decorations with their own stands or stable bases, and choose items that can be assembled without power tools or special venue equipment.
Preassemble as much as possible at home. Put each sign, stand, fabric piece, clips, and weights in one container. Label it with its intended location and setup steps. Keep instructions short enough for another helper to follow. If an item needs a second person to hold it while it is assembled, assign that helper before event day.
Ask when the room becomes available and when it must be cleared. Arrange installation in order of dependency: set large frames first, then place tables and linens, then add smaller tabletop details. This avoids building a display that must be taken apart when a table needs to move. Pack a small floor-safe cleanup kit and keep the coordinator’s instructions with it.
Outdoors, plan for movement and a weather alternative
An outdoor spot introduces wind, uneven ground, sun, and changing weather. Use stable bases and weights approved for the site. Avoid light signs and tall unsupported pieces where a breeze can catch them. If a backdrop frame needs to be anchored, ask the property owner which anchoring method is allowed and how it must be removed.
Test placement on the actual surface when possible. A stand that is stable on a flat indoor floor may rock on grass or pavers. Keep decor away from paths, food service, and any area where guests need to walk. Bright sunlight can make printed text difficult to read, so check the direction of light at the event time and move the sign if needed.
Decide what happens if rain or stronger wind arrives. A covered backup should have room for the same small set of decorations, or the plan should identify which pieces will stay packed away. Bring a container for items that need to move indoors quickly. An event can still feel intentional with fewer pieces if the weather makes a tall or delicate installation impractical.
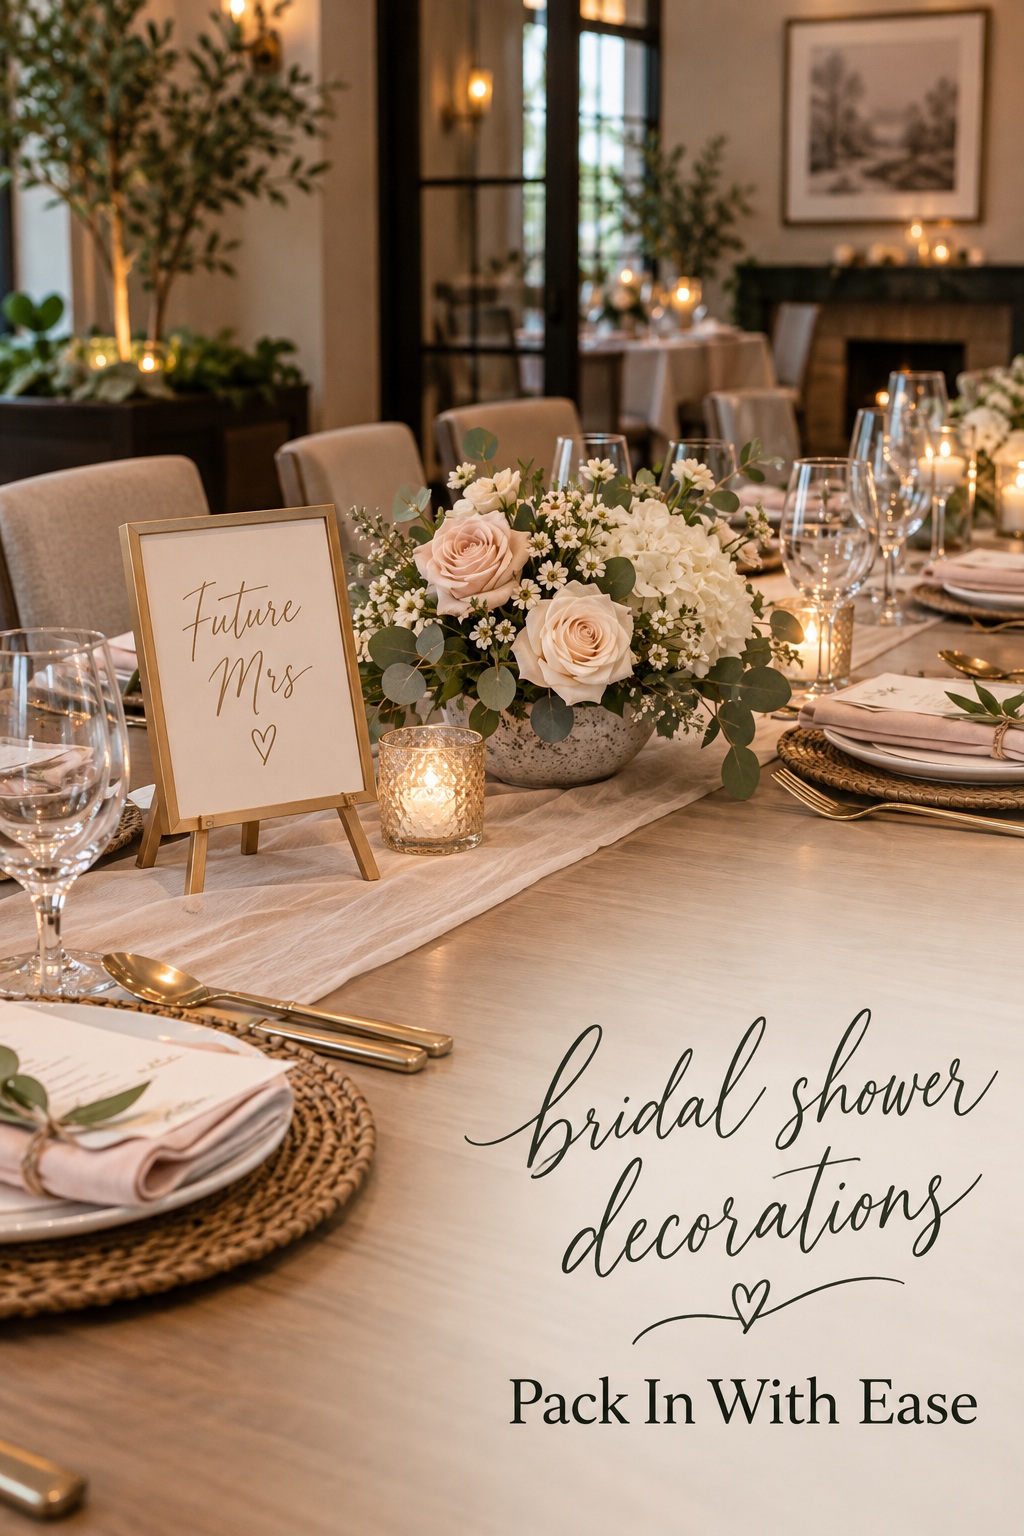
Set up and take down the room in a calm sequence
A short written order is easier to follow than a collection of inspiration photos. Share it with anyone helping so each person knows what to carry, where to place it, and when the room needs to be ready. Keep the plan flexible enough to respond to the actual venue when you arrive.
Assign a person and a container to each display
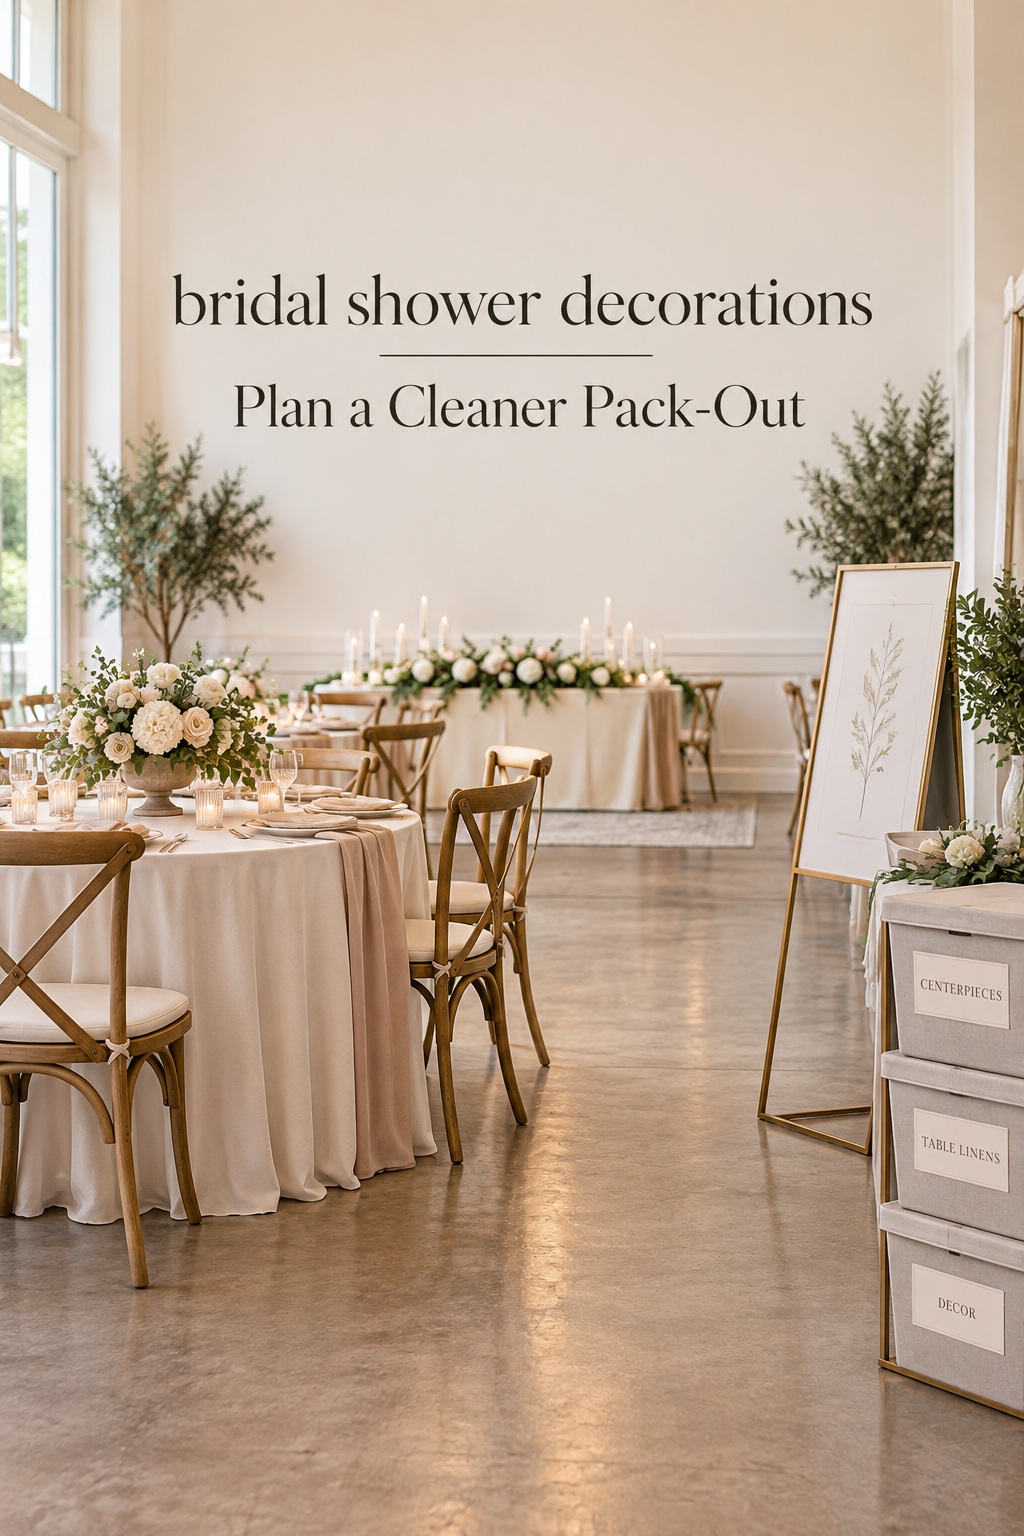
Group related pieces together before leaving home. A welcome sign kit might include the sign, its stand, approved clips, a weight, and a small cloth for cleaning the surface. A table kit could hold the runner, place cards, menus, and centerpiece pieces. Keep fragile items padded and separate from tools or heavy bases.
Give each container a plain label such as “entry sign,” “guest tables,” “photo frame,” or “cleanup.” Assign one person to carry or assemble each display. That person should know which surfaces are approved, what order to use, and where the display belongs. This avoids several helpers unpacking the same items or waiting for someone to decide what goes where.
Keep a short inventory on paper or in a phone note. List the item, its location, its support, and who will take it home. Add a note for any borrowed object, such as “return to host” or “give to coordinator.” A quick inventory at pack-out helps make sure nothing is left behind.
Install the largest structures before the small details
Start with items that need the most floor space or another person’s help. Assemble and stabilize stands first, then set tables and linens, then add smaller signs, arrangements, and paper details. Keep approved supplies nearby until each display is secure. Remove empty boxes and packing material as you go, storing them in one designated place.
Once the large pieces are stable, walk through the room as a guest. Check that doors open fully, chairs can move, serving staff can reach tables, and no stand foot or cord crosses a walking route. Look at the main photo views and read signs from a natural distance. Make adjustments before placing tiny details that would have to be moved later.
Add fragile items and personal details last. A frame, vase, or battery light can be bumped while the room is still changing. Keep food-contact surfaces clear and follow venue instructions for candles and electrical items. Take a few setup photos once everything is in place; they can help the host restore the room or remember where borrowed pieces belong.
Build a schedule from the access time, not the event start
Ask when you may enter the room and how much time you have before guests arrive. Work backward from the required ready time and reserve a final check period. If your plan cannot fit into the confirmed window, simplify it before event day. One stable focal display and a few prepared tabletop items are easier to manage than several structures that all need adjustment.
Do not assume a venue will store boxes or provide tools. Confirm drop-off, storage, elevator access, and the contact person. If the venue allows early delivery, label every container with the event name and contents. If everything arrives with the host, plan enough trips and vehicle space for the assembled size of stands and frames.
Have a backup version that uses fewer pieces and no wall attachment. This is useful if a room changes, a helper is late, or an approved spot is occupied. The backup should still use the same signs and table details so the celebration looks considered without requiring a fresh shopping trip.
Take down in reverse order and restore the room
Before the event, decide who will pack each display and when that work can happen. Some items can be gathered as guests leave, while a venue may ask that the full room be cleared at one time. Do not start removing decor while guests are using the area or while staff need the tables for service. Follow the host’s or coordinator’s timing.
Take down small details first, then remove signs and tabletop displays, and finish with larger stands or frames. Collect clips, weights, batteries, and small tools in the labeled cleanup container. Fold fabric dry and place reusable pieces together. For approved adhesive, follow the venue’s removal instructions and inspect the surface before leaving.
Return moved furniture and borrowed items to their original places. Check tables, floors, corners, and the route back to the exit for tape backing, balloon ties, paper scraps, and forgotten containers. A final photograph can document that the room was restored. The host can then take home a compact, organized set of reusable decorations instead of a pile of mixed supplies.
Sources and methodology
We reviewed The Knot’s bridal shower decorations checklist and category guide to confirm the common decor types hosts are searching for, including signs, balloons, table settings, and photo backdrops. Martha Stewart’s bridal shower planning guide informed the advice to adapt decor to the location and keep the gift-opening area photo-ready. The installation and pack-out framework is practical guidance for venue constraints, not a claim that one decoration style fits every event.
FAQ
What decorations do you need for a bridal shower?
Start with the items the venue allows and the event needs: a welcome sign, a few table details, and one focal display are enough for many rooms. Add balloons, flowers, or a backdrop only after confirming how each item will stand or attach.
How can I decorate a bridal shower without damaging the walls?
Use tabletop signs, easels, freestanding frames, and stable floor displays. Ask the venue or homeowner before using tape, hooks, pins, or adhesive strips, and follow its approved method. Do not test an attachment on a visible surface without permission.
What should I ask the venue before bringing decorations?
Ask which attachment methods and materials are allowed, what furniture can move, when setup can begin, when the room must be cleared, and where boxes can be stored. Also check rules for candles, confetti, cords, balloons, and outdoor anchoring.
When should I set up bridal shower decorations?
Use the venue’s access time and ready deadline to make a schedule. Install large stands and frames first, then arrange tables and smaller details, and leave time to check clear paths and remove packing materials. Simplify the plan if the window is short.
How do I keep a bridal shower backdrop stable?
Check the assembled stand’s footprint and support requirements, use only approved weights or anchors, and place it away from doors and busy paths. Test the display on the actual floor and consider a smaller tabletop alternative if the location is crowded.
Can I bring decorations to a restaurant bridal shower?
Many hosts bring small signs, place cards, or table details, but permission depends on the restaurant and event room. Ask what is already included, whether outside decor is allowed, and where it can be placed before buying or assembling a larger display.
How do I make decorations easier to remove after the shower?
Group related pieces in labeled containers, keep fasteners and weights with the display they support, and assign a person to each area. Plan who will return furniture, remove approved adhesives, collect small pieces, and take borrowed items home.