Wedding DIY Ideas: Choose Projects Worth Your Time
Wedding DIY ideas are most useful when they give a celebration a personal detail without quietly turning the couple into the production crew. A handmade piece can make a room feel connected to the people getting married, but the finished object is only one part of the job. There may also be dozens of copies to assemble, details to proof, materials to store, venue rules to check, and boxes to move before the first guest arrives.
Wedding coverage today makes space for both polished professional work and small handmade touches. That does not mean every couple needs to make more, or that a project automatically saves money. The more helpful question is which part of the wedding benefits from your hands, your story, or your existing skill, and which part would be safer or easier with a ready-made piece or a vendor. Use the ideas below as a way to choose, not as a checklist to complete.
A good DIY plan usually has a clear reason, a manageable sample, and a named person responsible for the wedding-day handoff. Those three details separate a satisfying project from a late-night obligation. Start with one meaningful element, count every version you need, and then decide whether the result is still worth making yourself.
What Is Changing in Wedding DIY Ideas
Wedding inspiration often presents DIY as an all-or-nothing identity: either the couple makes the decor, paper goods, favors, and displays, or they leave creativity to professionals. In practice, there is a broad middle. A couple can design the idea, make one personal component, and have the rest printed, assembled, rented, or installed by someone else. That split can preserve the meaning while lowering the amount of work that lands on the people who should be getting ready and welcoming guests.
Your wedding look is only the beginning.
Keep your guest list, vendors, timeline, and every important detail together with Zarellea — so your day feels as considered as your style.
A useful reading of recent wedding coverage is a move toward intentional details rather than handmade objects simply for the sake of being handmade. Wedding favor advice, for example, increasingly emphasizes usefulness, material quality, and simple presentation. That is a practical standard for any project: will the object help a guest, express something specific about the couple, or make an important part of the day more personal? If it does none of those things, it may be a task without a clear payoff.
This does not require the couple to invent a new craft or produce an elaborate installation. Personal can mean a short note in a welcome packet, a family recipe printed on a small card, a playlist selected together, or a display that uses a few objects already meaningful to the couple. A small contribution can matter more than a large generic project because guests can understand why it belongs to this particular celebration.
Choose the part that carries the meaning
Before you open a craft tutorial, write one sentence about what the DIY should do. It might help guests find their seats, make a welcome feel warmer, show a shared interest, or give an everyday object a second life after the reception. That sentence becomes a filter. When a saved idea looks lovely but does not serve the purpose, you can let it go without feeling that you have failed to make the wedding personal.
Think about where the detail will be seen and used. An item guests handle needs to be easy to understand and comfortable to carry. A small display can reward a closer look, while a ceremony focal point needs to read clearly from a distance. Paper that contains names, times, or directions has a different job from a purely decorative piece, so readability and accuracy matter more than ornamental complexity.
Keep the couple’s role selective
Decide whether you want to be the designer, maker, assembler, or final approver. You do not have to hold every role. You might create an illustration and send it to a stationer for printing. You might choose the contents of a guest activity and ask friends to place the materials at tables. Or you may enjoy making every piece, but ask a coordinator to handle delivery and installation. Naming the role makes it easier to estimate the effort honestly.
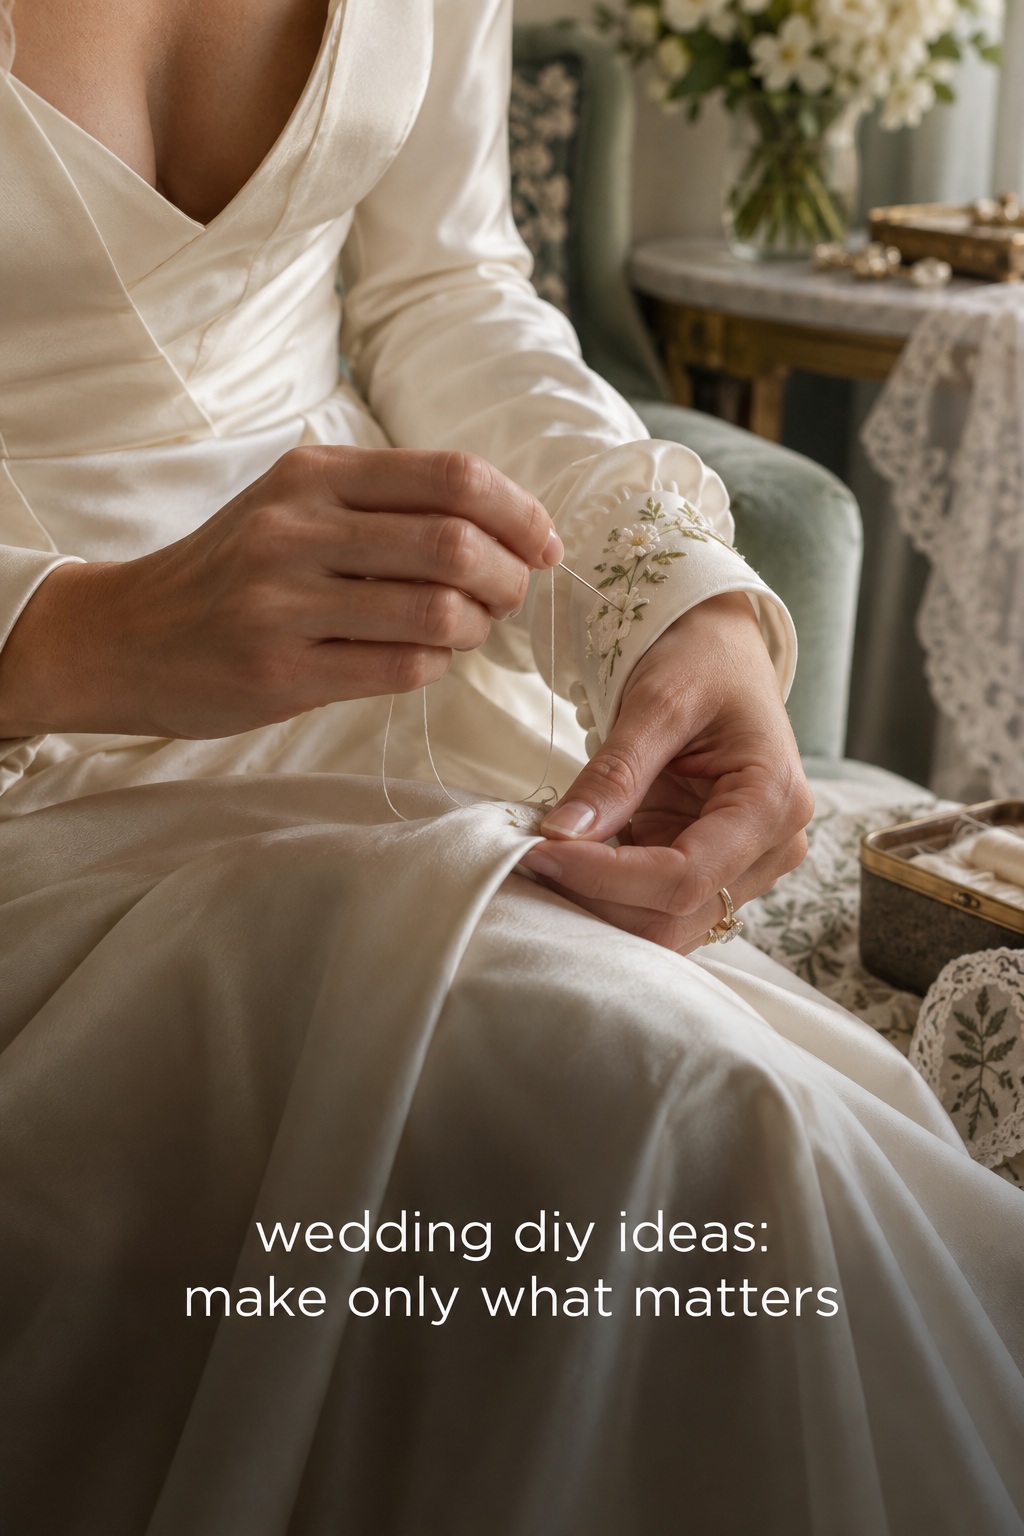
Why a Wedding DIY Project Includes More Than Making It
A project that takes an hour to make once may take an entire afternoon when the design must be repeated, checked, packed, transported, placed, and later cleared away. Time estimates often skip the work around the object because the fun part is easier to picture. For a useful estimate, count the full path from first materials to the moment someone takes responsibility for the finished result.
Use five questions before committing. The answers do not need a complicated spreadsheet. A few honest notes beside each project can reveal which ideas fit the plan and which ones need a simpler version.
- What is the personal value? Name the guest benefit, story, or atmosphere the object adds.
- How many usable units are needed? Include the actual guest count, tables, signs, backup pieces, and any separate versions.
- Can the finished sample be repeated? Make one complete item with the real materials, then check its size, legibility, strength, and finish.
- Where does it live before and during the event? Check storage space, transport, venue approval, setup access, and removal requirements.
- Who owns the handoff? Name the person who will place it, solve small problems, and pack or remove it afterward.
The repeat count is a common surprise. A handmade place detail may look quick when photographed alone, but a large guest list turns one small task into a batch-production job. A hanging paper backdrop has the same multiplication effect: a tutorial might show one attractive section, while the finished display needs many repeated pieces, consistent spacing, and a way to suspend them securely. Try making one full unit and timing it, including cleanup. Multiply by the real quantity, then add time for mistakes and breaks.
Check the venue before buying supplies
A project can be beautifully made and still be unsuitable for the room. Ask the venue or planner about attachment methods, open flames, ceiling access, confetti, food handling, delivery windows, storage, and teardown. A rented room may have rules about tape, nails, hanging weight, or items left overnight. For outdoor installations, wind and uneven ground can change what is stable. Confirm the rules before spending money or asking friends to build something the venue will not allow.
Also ask what the venue already provides. A room with architectural details or built-in lighting may need fewer additions than a blank space. Existing tables, easels, signage stands, or display surfaces may solve a practical problem without another craft project. Let the actual room shape the plan instead of trying to reproduce a photograph made in a different place.
Count the invisible jobs
DIY usually includes a chain of small tasks: choose and source materials, test the design, make the required number, check names or quantities, label containers, move everything, tell the setup person where it goes, and decide what happens after the event. Some materials need a particular storage condition or careful handling. Fresh elements may need a short timeline. Heavy, breakable, or oversized pieces need more planning than a stack of flat paper.
For paper goods, build in a proofing stage. Check names, dates, addresses, meal details, and directions against one approved source. Ask another person to read the proof from start to finish, then check the final version after it is printed. If one detail is still changing, wait before producing a large batch. A partial DIY approach can work well here: make the artwork or write the message yourself, then have the final print produced professionally.
For decorations, consider sightlines, movement, lighting, weather, and venue surfaces. A table object should not interfere with conversation or service. A backdrop needs a clear footprint and a stable support. For anything with electrical components, open flame, food contact, or a structure guests might lean on, ask the appropriate venue professional rather than assuming a tutorial covers the relevant requirements.
One useful rule: if a project has to work at a precise moment, depends on a venue surface or rigging, or must remain fresh, stable, or legible for the whole event, it needs a designated owner and a backup plan. If neither is available, simplify the project or ask a vendor to take over that portion.
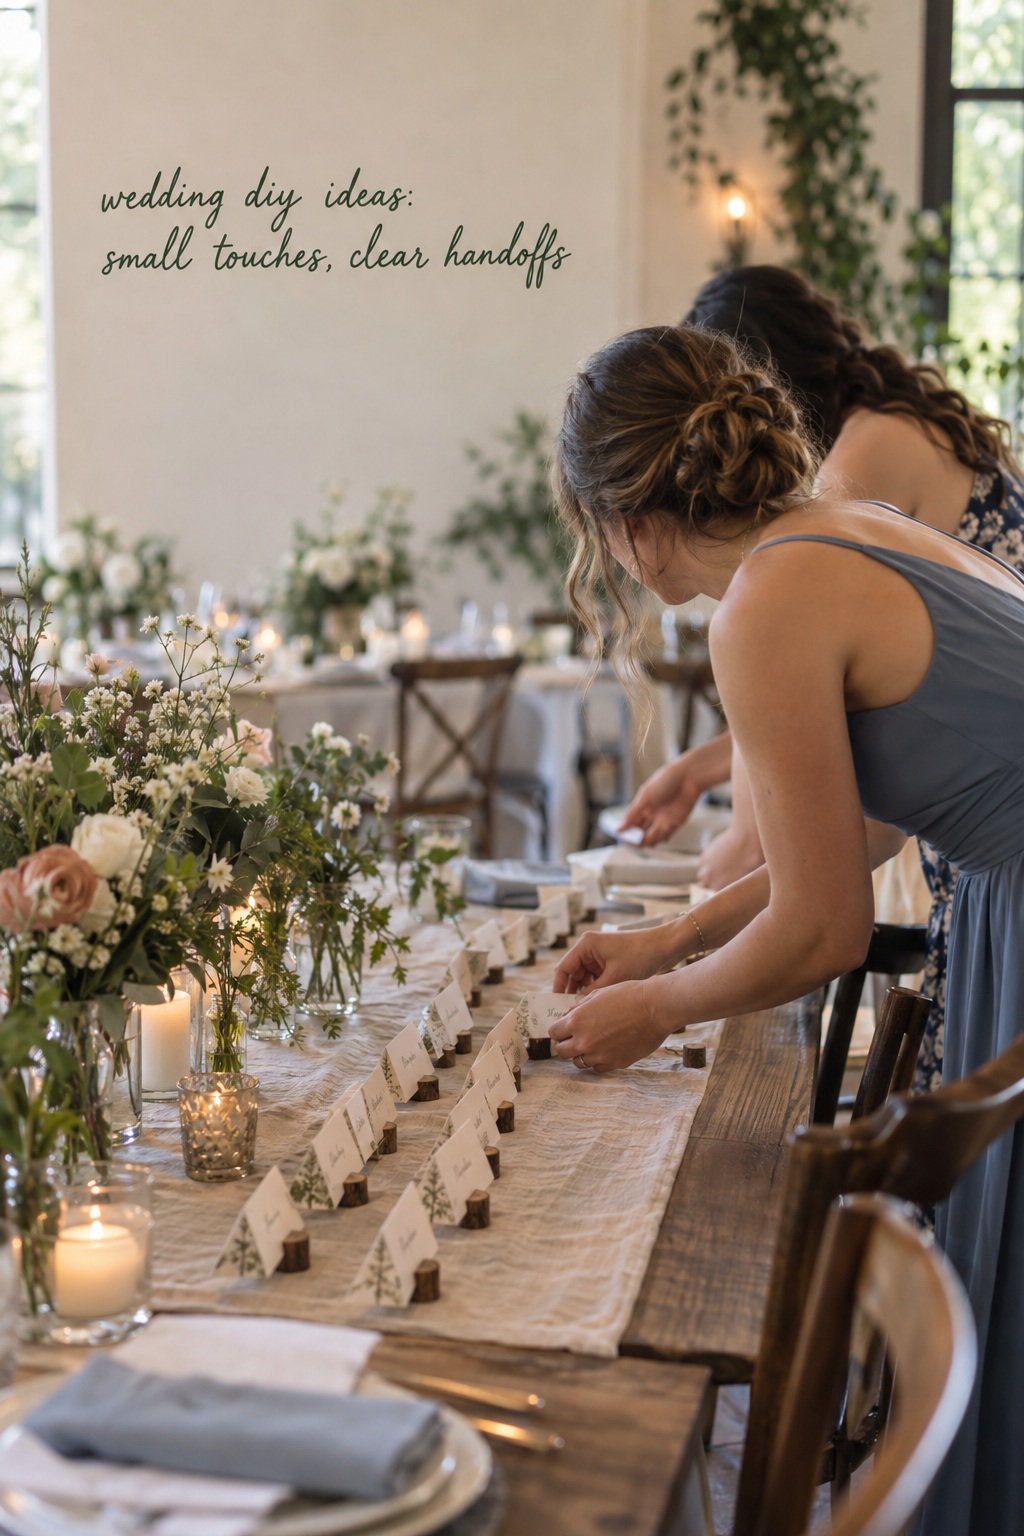
Wedding DIY Ideas Sorted by the Work They Require
Grouping ideas by workload makes the options easier to compare than sorting them by room alone. These examples are starting points, not a promise that every version is easy or inexpensive. The same object can move from low effort to high coordination when the quantity, finish, venue, or deadline changes.
Low coordination: small, flat, and repeatable
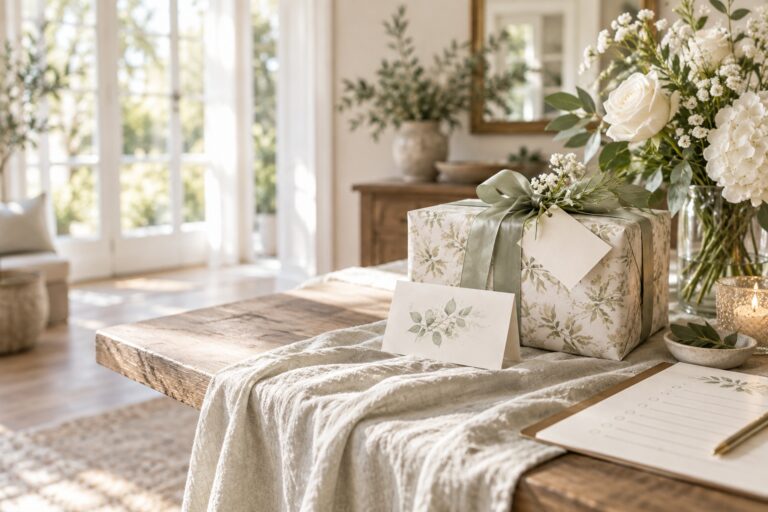
Low-coordination ideas tend to be compact, durable, and simple to store. They are a good place to begin if you want to participate creatively without managing a large setup. A short welcome note, a custom playlist card, a family recipe slip, or a simple label for a favor can carry meaning without changing the venue. A small stack of conversation prompts for a waiting area or guest table can give people an easy way to connect.
These ideas work best when the information is final and the design can be copied consistently. Create a finished sample first. Check that the type is readable at arm’s length, the paper fits its envelope or holder, and the message still makes sense without explanation. If the project uses names, table assignments, or schedules, treat accuracy as the main quality test rather than assuming a pretty layout is enough.
- Use one design template for a small set of note cards or itinerary inserts.
- Assemble a guest welcome item from ready-made components, then personalize just one label or note.
- Create a table conversation prompt with a short, inclusive question that does not require guests to reveal private information.
- Make a keepsake card that explains the story behind an item or tradition already present at the wedding.
Even a small project needs a count. Make the number of copies you need, add a few replacements, and decide who will distribute them. Keep the extras in a clearly marked envelope or box rather than loose in a tote with unrelated decor.
Medium effort: useful details with a clear sample
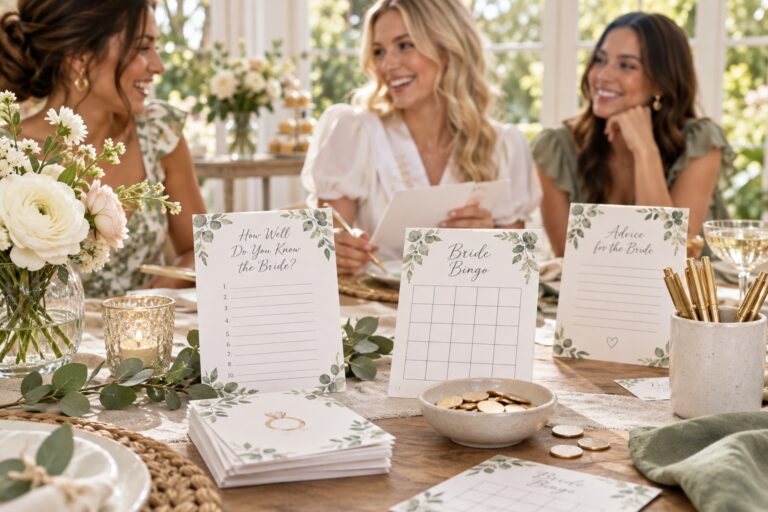
Medium-effort projects are more visible or involve assembly across multiple guests or tables, but they can still be manageable when the design is repeatable. Consider a small guest activity that uses a simple card and pen, a welcome display made from a rented stand and a handmade insert, a set of labeled favor packages, or a table marker built around a personal photograph. The useful principle is to separate the custom part from the labor-intensive part.
For example, design one distinctive label and use it on containers that are already the right size. Or create a single display card and pair it with a stand supplied by the venue. A photo or memory table can use a limited number of carefully chosen objects rather than an entire wall of collected material. The project still feels personal, but fewer custom pieces have to be made, transported, and installed.
Make the full sample, not just a detail. Put it on the actual table or in a similar setting. Check whether guests can see over it, whether it leaves space for place settings, whether the activity is self-explanatory, and whether its pieces can be replaced if something is lost. If food or drink is part of a guest-facing display, confirm storage, labeling, and service responsibilities with the venue or caterer.
High coordination: installations, fragile pieces, and time-sensitive work
Large backdrops, overhead elements, extensive floral work, custom-built furniture, lighting, and anything assembled in the venue can require more than craft ability. These projects may involve measurements, tools, safe fastening, access windows, multiple people, transport, and teardown. A beautiful reference image does not reveal those dependencies. Before choosing one, confirm that you have a build location, permission to use the space, a way to move the finished piece, and someone with the right experience to install it.
Perishable details deserve their own category. Fresh flowers, food, and materials affected by heat or moisture can require specific sourcing, storage, preparation, and timing. If the couple has genuine experience with the work, a limited personal element may be satisfying. If the result is essential to the ceremony or must be completed during a narrow window, leave the critical path to a professional or simplify the idea into a durable version.
High coordination does not mean an idea is off limits. It means the plan should identify which part is truly DIY and which part needs support. The couple might design the shape of a backdrop and rent the stand. They might choose a color story and let a florist source and condition the flowers. They might make a small keepsake piece while a rental team handles the large structure. Partial ownership is still creative ownership.
- Keep it DIY: a one-off object you can finish early, test fully, store safely, and hand to a named helper.
- Share the work: a meaningful design with a vendor or friend handling printing, transport, installation, or teardown.
- Buy or rent: a large, safety-dependent, time-sensitive, or hard-to-repeat item that must work perfectly at a fixed moment.
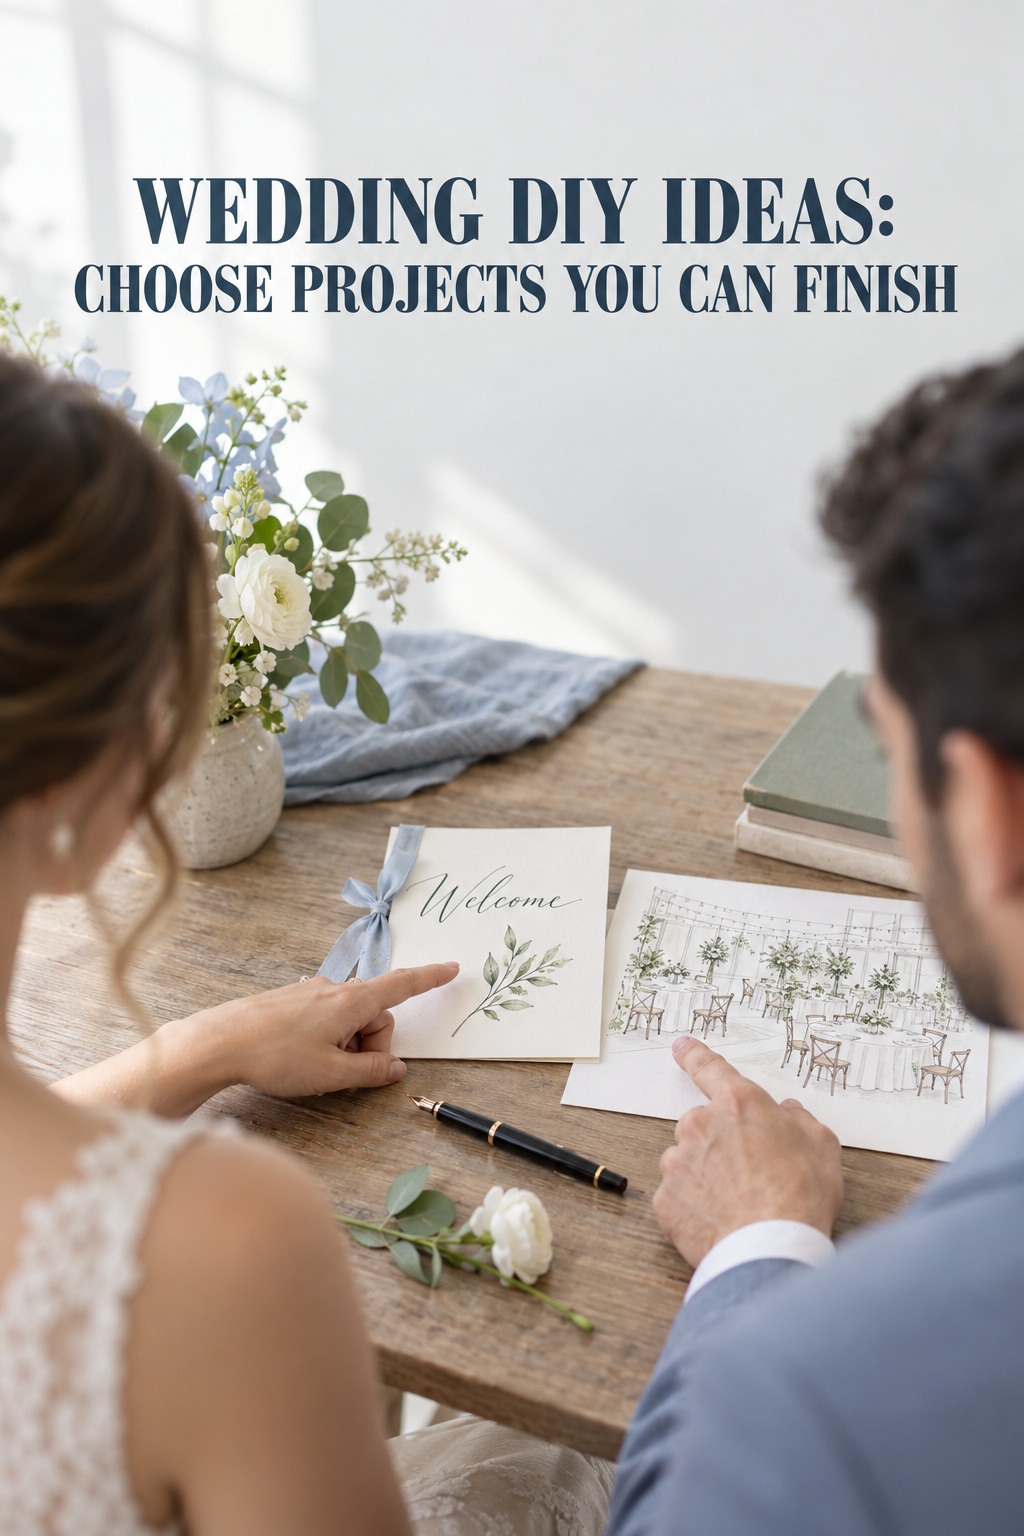
How to Keep the Personal Touch and Lower the Risk
Once an idea passes the purpose and workload tests, turn it into a small production plan. This is not about removing spontaneity. A little structure protects the creative part from becoming an emergency during the final week.
Prototype one complete version
Make one final-quality version with the materials, tools, wording, and finish you actually plan to use. A rough mockup can help you choose a direction, but it will not reveal whether a folded card stays closed, a label fits a container, a painted surface dries as expected, or a display can be carried without damage. Test the finished item in the context where a guest will see or use it.
Then time yourself. Include setup and cleanup of the work area, not only the minutes spent cutting or assembling. If the sample takes longer than you expected, revise the quantity, simplify a step, or ask someone else to handle a portion. Do not assume that repeating the task will automatically make the estimate accurate if different people are helping or the materials are inconsistent.
Write a one-page handoff
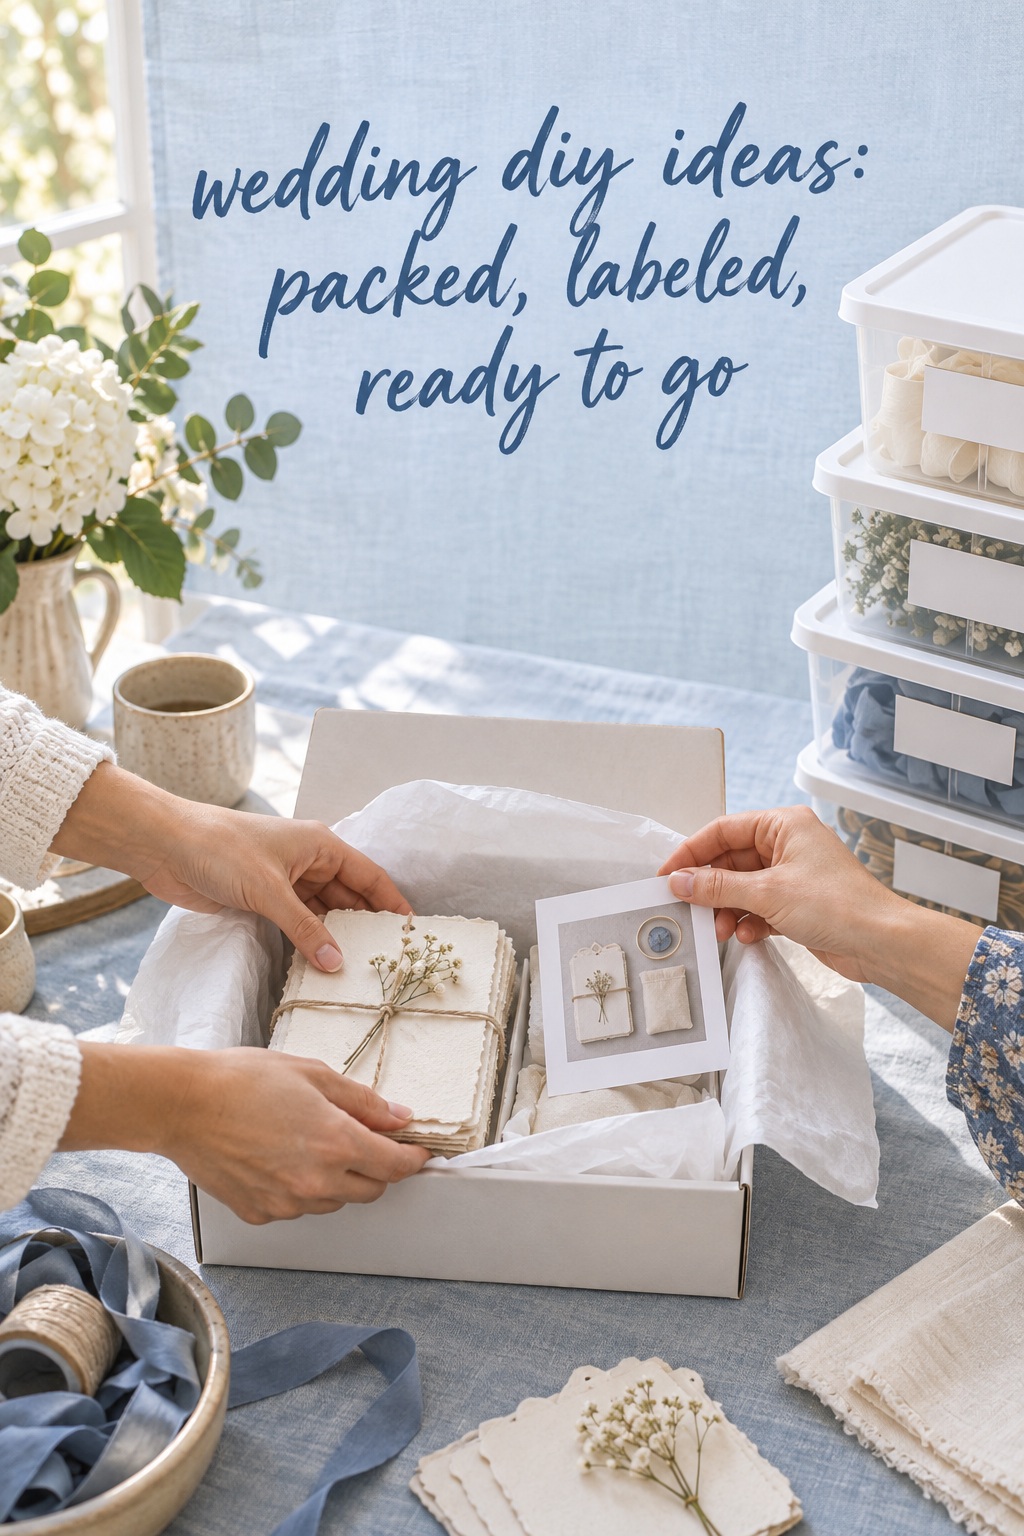
A person who did not make the item should be able to set it out. Put a photo of the finished sample beside a short note with the quantity, location, order of placement, supplies, and contact person. Mark containers clearly. If the project needs a tool, batteries, tape, scissors, or a spare piece, pack it with the project rather than relying on memory at the venue.
Agree on who may make a decision if the setup does not fit the room. Can the display move to a nearby wall? Can a table piece be removed if it blocks conversation? Should a sign be skipped if the stand is unavailable? A simple fallback protects the schedule and gives the helper permission to act without calling the couple while they are getting dressed.
Compare one DIY choice with one simpler alternative
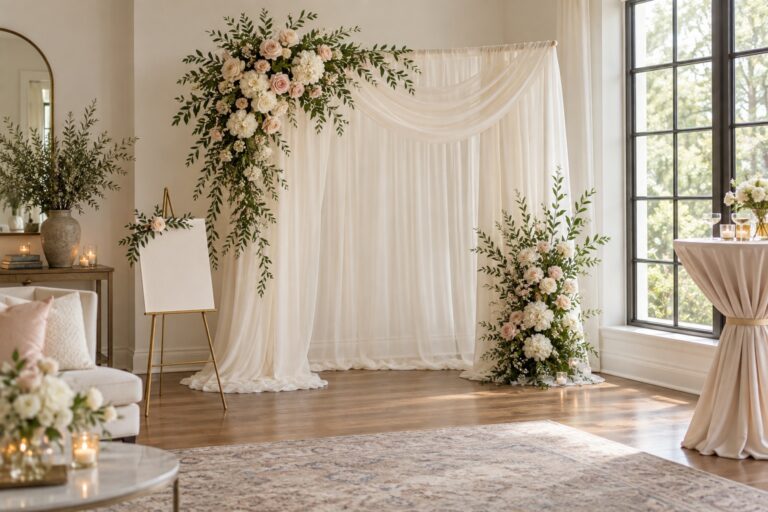
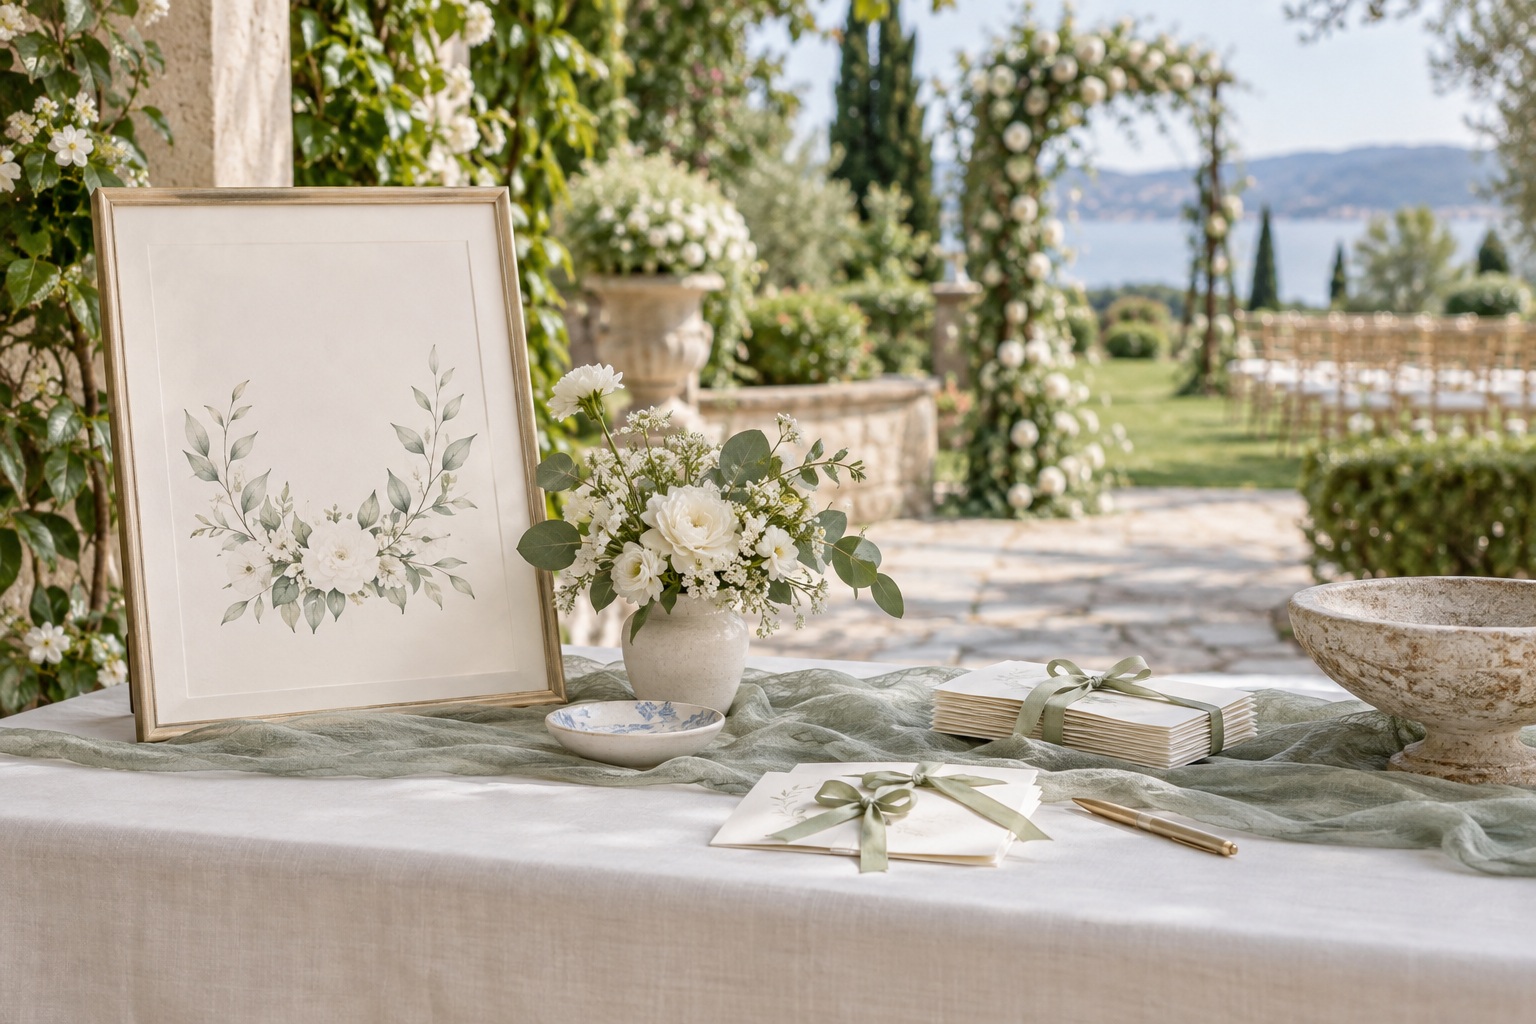
Imagine you want a personalized welcome display. The full version might involve collecting photographs, printing a large arrangement, sourcing frames, making a structure, and arranging a venue installation. The simpler version could use one framed welcome note and a few ready-made frames on an existing table. Both can tell guests they are in the right place. The difference is the number of materials, assembly steps, transport needs, and decisions another person must make.
Compare the versions by the outcome rather than by which looks more impressive in a saved image. If guests mainly need to find the reception, clear wording may matter more than a custom-built wall. If the photographs are a central family tribute, keep that element and reduce the structure around it. Protect the reason you wanted the project, then edit everything that does not help deliver it.
Be equally honest about money. DIY may reduce a vendor’s labor in some cases, but materials, tools, shipping, test pieces, errors, storage, and paid help also belong in the comparison. The fairest question is not whether the handmade version costs less in theory. It is whether its total cost and effort make sense to you, given the time and attention you would rather spend elsewhere.
Keep event-day responsibilities away from the couple
Finish, label, and hand off the items before the wedding day whenever possible. Choose a helper who has agreed to the task and has enough information to complete it. Avoid assigning a complicated build to a wedding party member who also has a tight getting-ready schedule. If the venue or vendor owns a setup window, coordinate the delivery and confirm the person receiving the materials.
After the event, decide whether items will be kept, given away, returned, donated, or discarded. This is part of the project rather than an afterthought. A reusable display can be worthwhile if someone can transport it home. A guest keepsake should be easy to take. Anything rented needs a return plan. When the ending is known, you can choose materials and packaging more thoughtfully.
The strongest wedding DIY ideas are often selective. They fit the couple’s real skills and schedule, add a detail guests can understand, and have a clear beginning and end. Choose fewer projects, make a complete sample, count the work around each object, and decide who owns the handoff. That leaves room for the pleasure of making something while keeping the wedding itself focused on the people sharing it.
Sources and Methodology
This guide draws on a review of ten English-language pages returned for Google US searches about wedding DIY ideas, project feasibility, paper goods, favors, centerpieces, backdrops, and table decor. The Knot’s expert discussion of DIY trade-offs informed the project-scope and cost guidance, while recent favor coverage from Martha Stewart informed the usefulness and simplicity lens. The examples and scorecard are editorial planning advice, not reports of firsthand testing. Couples should confirm venue policies, safety requirements, service needs, and current vendor estimates with the professionals responsible for their event. See The Knot’s DIY wedding dos and don’ts and Martha Stewart’s guidance on handmade wedding favors.
FAQ
What are some easy wedding DIY ideas for beginners?
Start with a small, repeatable project such as a note card, playlist insert, simple label, or guest prompt. Choose something that can be finished early, stored flat, and explained without complicated setup. Make one complete sample first and check the quantity before committing.
Do wedding DIY ideas always save money?
No. Materials, tools, shipping, practice pieces, mistakes, storage, and the value of your time can change the total. Compare the complete DIY plan with a ready-made, rented, or vendor-supported alternative, then choose based on the personal value and effort as well as the price.
What wedding projects are better left to professionals?
Consider professional help for projects involving venue rigging, structural stability, electrical work, extensive fresh flowers, food service, strict installation windows, or details that must be accurate at a fixed moment. Couples can still contribute a design, artwork, or small handmade element while a qualified vendor handles the technical or time-sensitive part.
When should I start a wedding DIY project?
Start after the venue, guest count, overall plan, and relevant design details are settled enough to guide the project. Make a full sample early so you can test it and estimate the work. Paper goods also need proofing and production time, while perishable or venue-installed elements should follow a schedule agreed with the relevant vendor.
How do I estimate how much work a DIY wedding project will take?
Make one complete version and time every step, including setup and cleanup. Multiply by the number of pieces required, then account for proofing, packing, transport, venue setup, spares, and teardown. If the total no longer fits the available schedule, reduce the scope or assign parts to a vendor or helper.
How many DIY projects should a couple take on?
There is no ideal number for every couple. Choose projects one at a time based on your schedule, skills, guest count, storage, and available help. A few details with a clear purpose are usually easier to finish and hand off than a long list of unrelated crafts.
Can we combine handmade and purchased wedding details?
Yes. A couple can make the artwork, message, or signature detail and buy, rent, or outsource the repeatable or technical parts. For example, you can design a welcome insert and have it professionally printed, or personalize an existing display instead of building its structure. Partial DIY keeps the personal contribution while limiting production work.