Classic Wedding Nails: A Timeless Bridal Guide
Classic wedding nails are not a fallback for a bride who cannot decide. They are a deliberate way to make your hands look polished in close-up photographs, comfortable through a long day, and recognizably like you. The strongest version is usually quiet: a flattering shape, a softly translucent base, carefully groomed cuticles, and one finish that makes sense with your ring and gown.
The word classic does not mean every bride needs a bright white French manicure. It means the manicure has a clear point of view and will still look good when you open your album years later. A sheer blush, a creamy nude, a micro-French, a soft ombré, or a fine pearl sheen can all feel classic when the proportions are right. Use this guide to choose a look your nail technician can execute cleanly and you can wear with confidence.
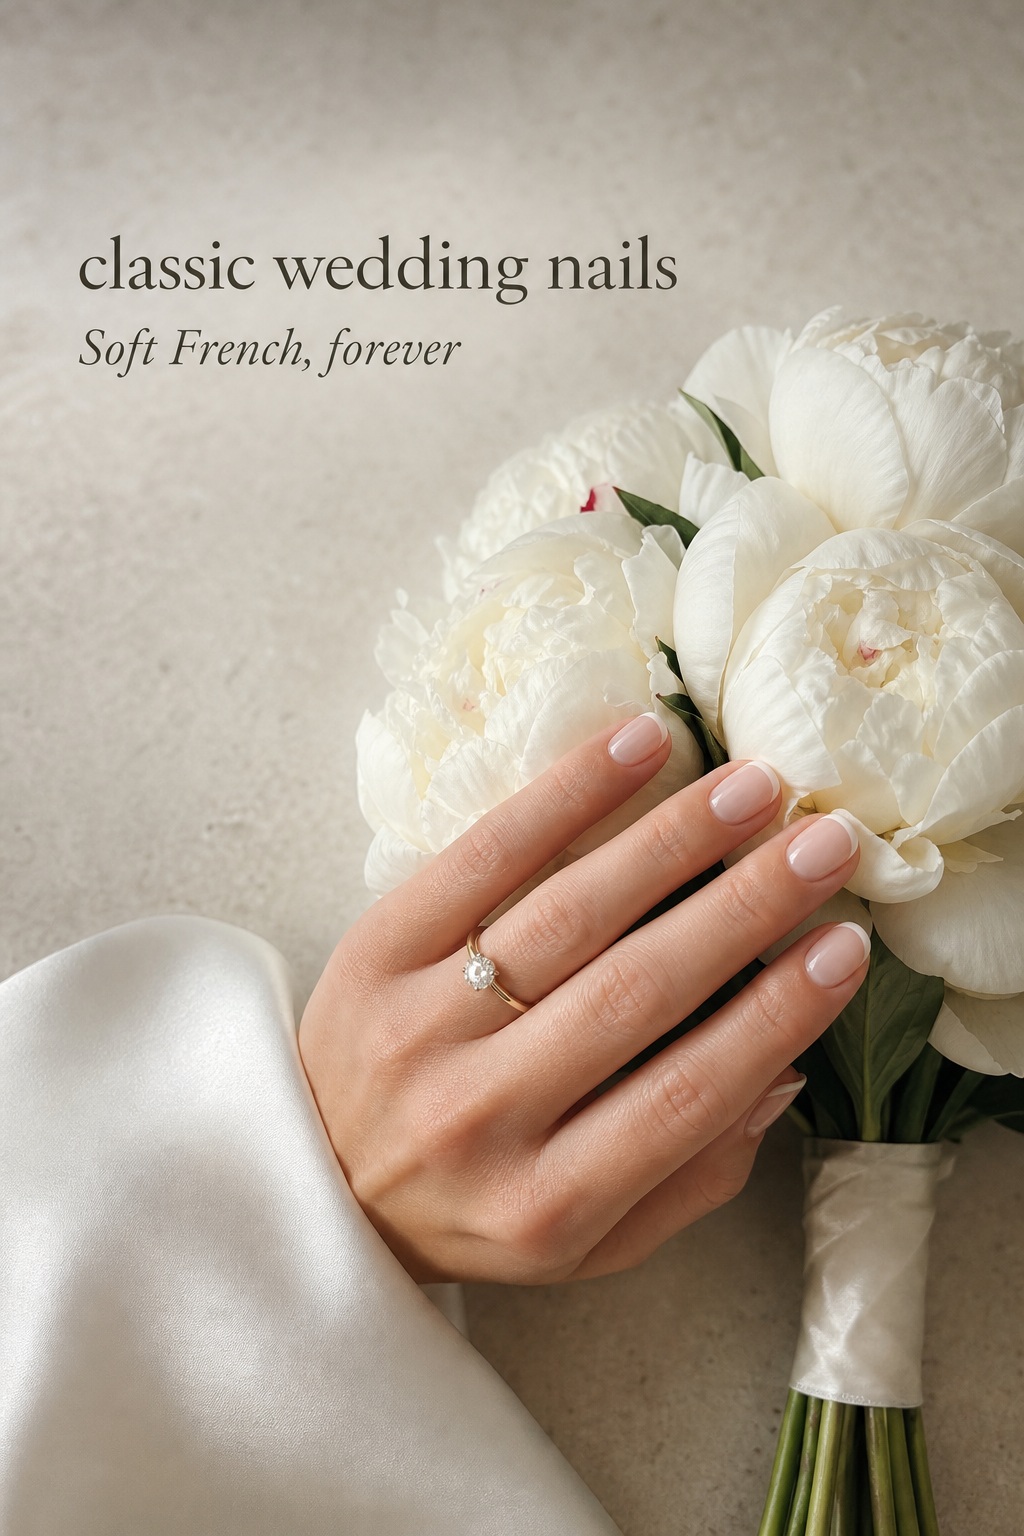
Why classic wedding nails work so well
A wedding manicure has more jobs than an everyday manicure. It appears in ring shots, bouquet photos, dress fastenings, hugs, and candid moments. It also needs to work beside jewelry, fabric, makeup, and the natural color of your hands. A classic choice succeeds because it supports those details instead of competing with them. The eye notices healthy-looking nails first, then the small design decision.
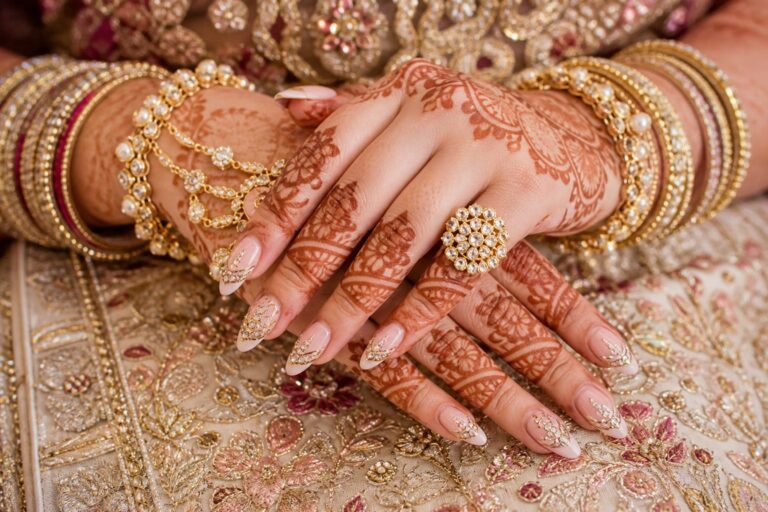
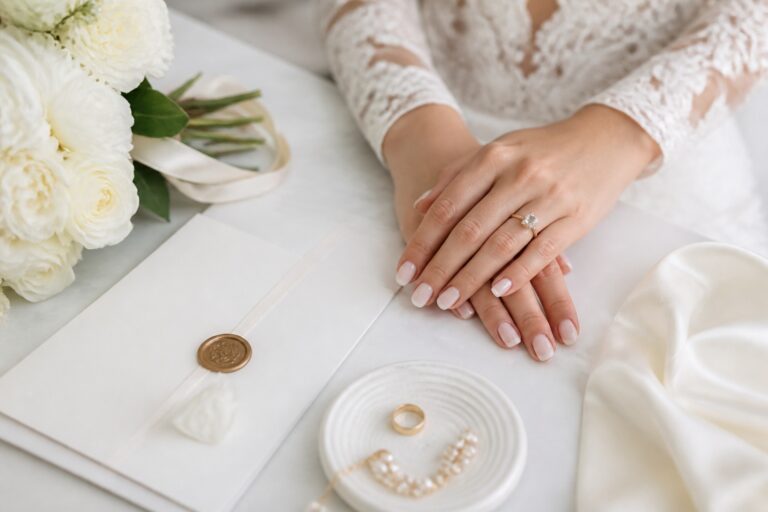
That restraint is especially useful when the rest of your look contains texture. Lace, beading, a detailed engagement ring, heirloom jewelry, or a statement bouquet already give the camera plenty to capture. A milky nude or balanced French tip creates breathing room. If your dress is minimalist, classic nails can still feel intentional through an elegant almond shape, a glossy finish, or one subtle pearl layer.
Your wedding look is only the beginning.
Keep your guest list, vendors, timeline, and every important detail together with Zarellea — so your day feels as considered as your style.
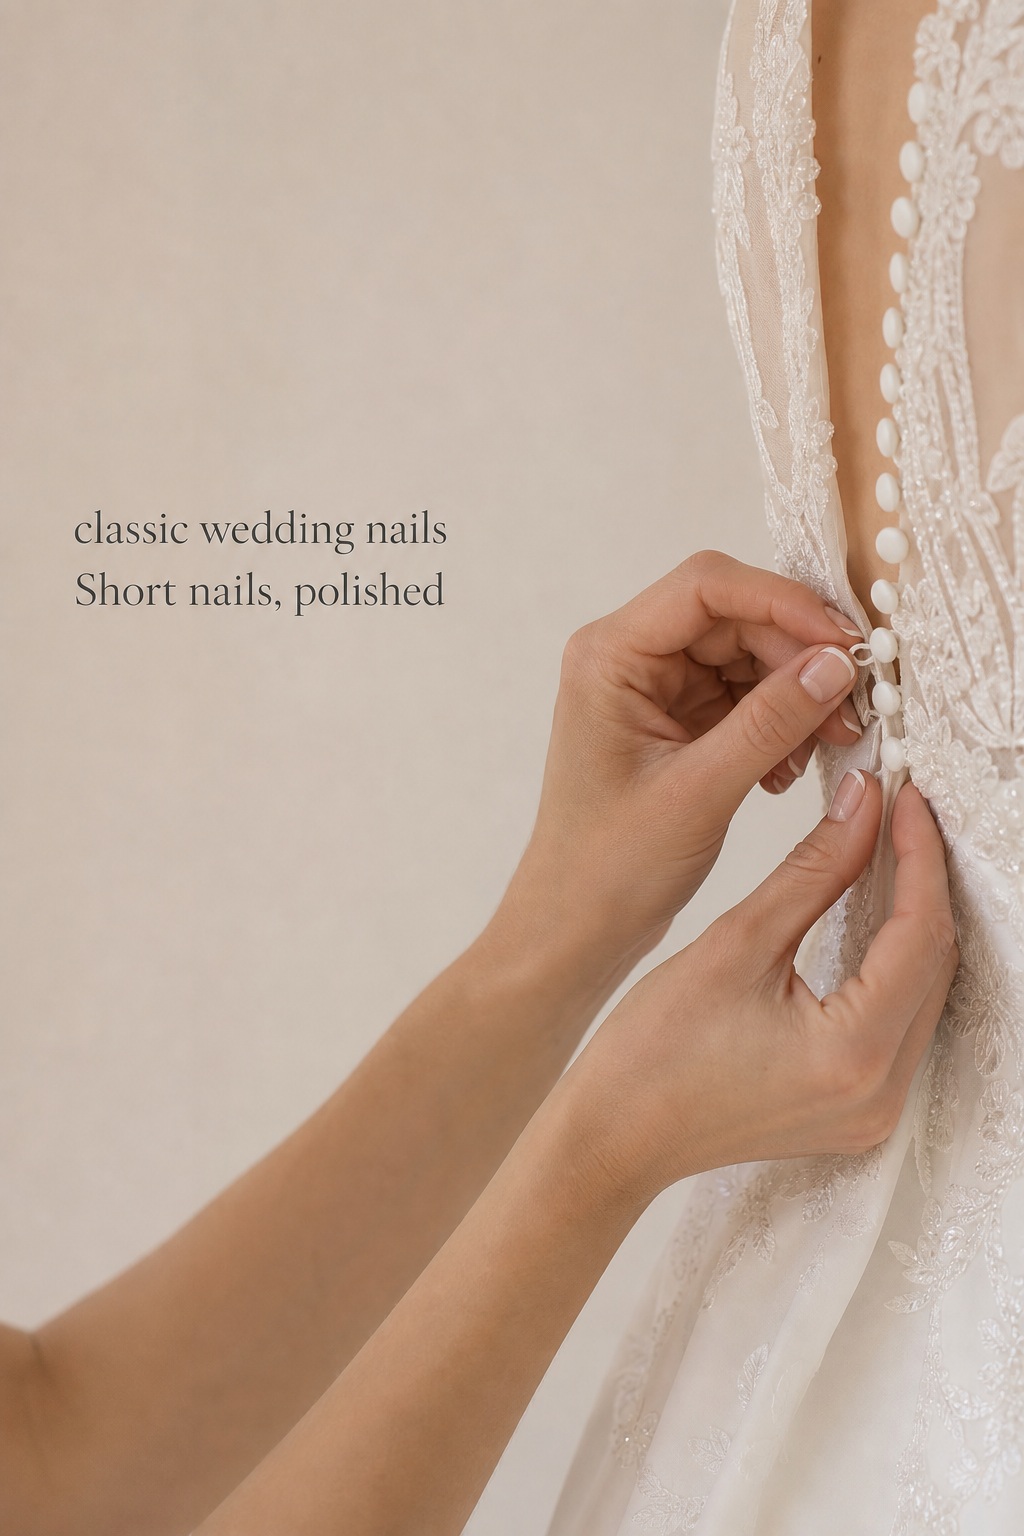
Classic does not have to mean long. Short, neatly shaped nails often look more refined than extensions that feel unfamiliar. Start with the length that lets you button clothing, handle a bouquet, and gesture naturally. If you want added length, choose it early enough to test it during normal life. The wedding day is not the moment to discover that a new shape changes how you use your hands.
Think of the manicure as a small part of a larger color story. Hold a few test swatches against your gown fabric if you can. Stark white may read blue against ivory; a peachy nude may fight a cool-toned dress; a rosy sheer can make the hands look warmer. Your technician can adjust the base color, but you are more likely to love the result when you arrive with that context.
- Choose a look that complements your ring rather than copies it.
- Prioritize a finish that looks good in daylight and flash photography.
- Match the level of detail to how often you normally wear nail art.
- Save two or three references, then explain what you like about each one.
The building blocks of a timeless bridal manicure
Begin with shape, because it changes the entire mood of the same polish. A short squoval is dependable, soft, and easy to wear. A medium oval elongates the fingers without looking dramatic. A gentle almond adds romance when you have enough free edge or use a comfortable extension. The goal is a symmetrical silhouette that suits your hands, not the shape that happened to look best in an inspiration photo.
Next, choose the base. Sheer pink is a familiar French-manicure foundation, but the best shade may be neutral beige, pale rose, or a milkier ivory tint. Ask to see one cured or dried nail before committing. The base should soften uneven tone while still looking like a nail; opaque polish can look heavier in macro photos and makes regrowth more obvious after the wedding.
Then decide whether you want a tip, a gradient, or a solid finish. Traditional French tips offer the crispest contrast. Micro-French tips are thinner and especially good on short nails. A soft ombré gives a French-inspired effect without a visible line. A solid sheer manicure is the least demanding option and puts healthy preparation at the center. None is objectively more bridal; the right answer depends on your comfort with contrast.
Finally, decide how light should move across the surface. High-gloss topcoat photographs beautifully and feels clean. A fine pearl shimmer can add dimension without turning the manicure metallic. Chrome powder is more reflective, so use it lightly if you want a classic result. Avoid choosing a finish from a phone screen alone: look at it near a window and under warm indoor light, where wedding events often take place.
Your nail technician also needs the practical information: natural nails, builder gel, gel polish, or extensions; the date of your wedding; and whether you are traveling. A classic manicure is only timeless when it is intact. If you tend to peel polish, break corners, or use your hands heavily, a strengthening service or a slightly shorter length may be more elegant than a fragile, ambitious design.
- Short squoval: practical, neat, and ideal for a micro-French or sheer nude.
- Oval: soft and traditional; suits a pearly finish or blended French.
- Soft almond: refined and elongating; best when it still feels functional.
- Square: graphic and polished; choose a softened corner to keep it bridal.
Five classic wedding nail directions
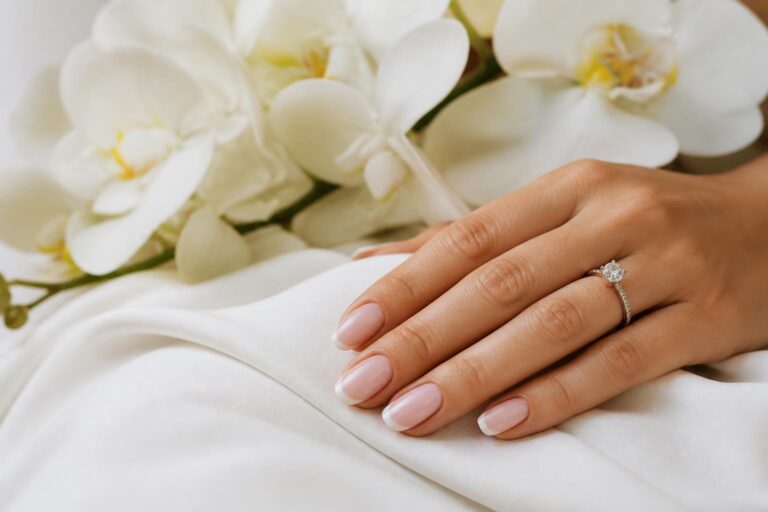
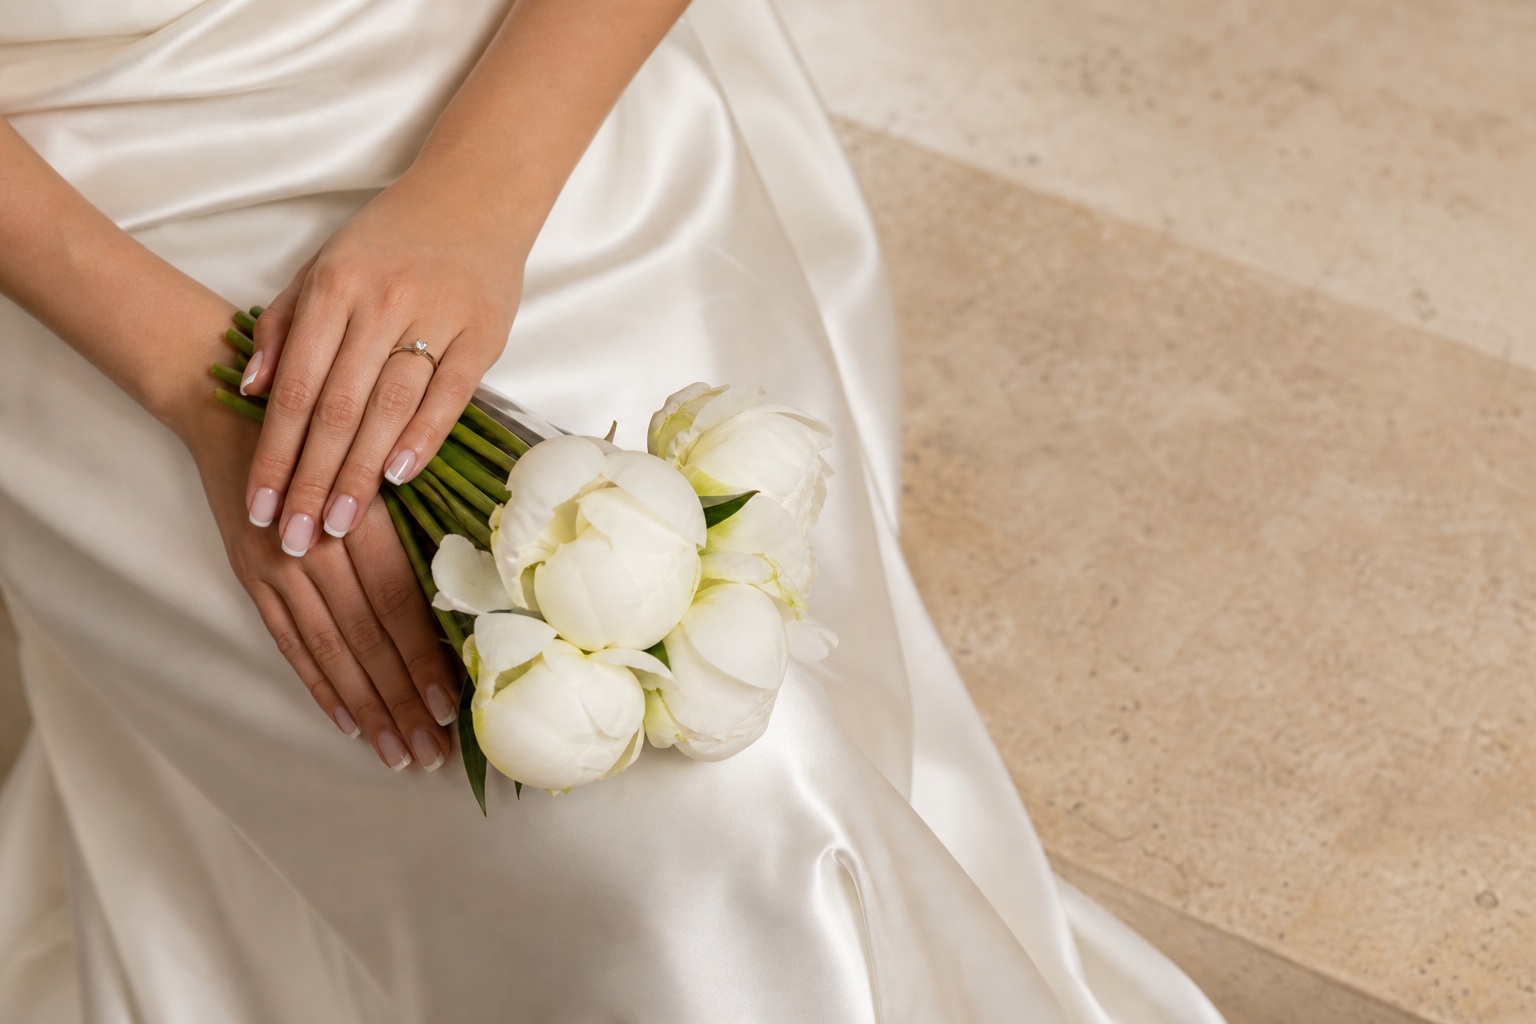
The soft French. This is the classic French manicure edited for real life: a sheer pink or neutral base, a not-too-bright tip, and a smile line scaled to your nail length. On shorter nails, a micro tip keeps the nail bed looking longer. On medium almond nails, a gently curved tip feels romantic. Tell your technician you want soft white rather than correction-fluid white if your gown is ivory or your overall palette is warm.
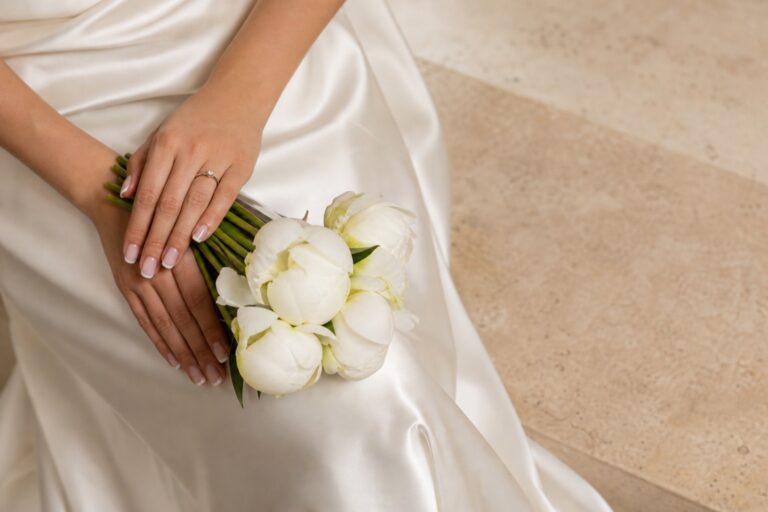
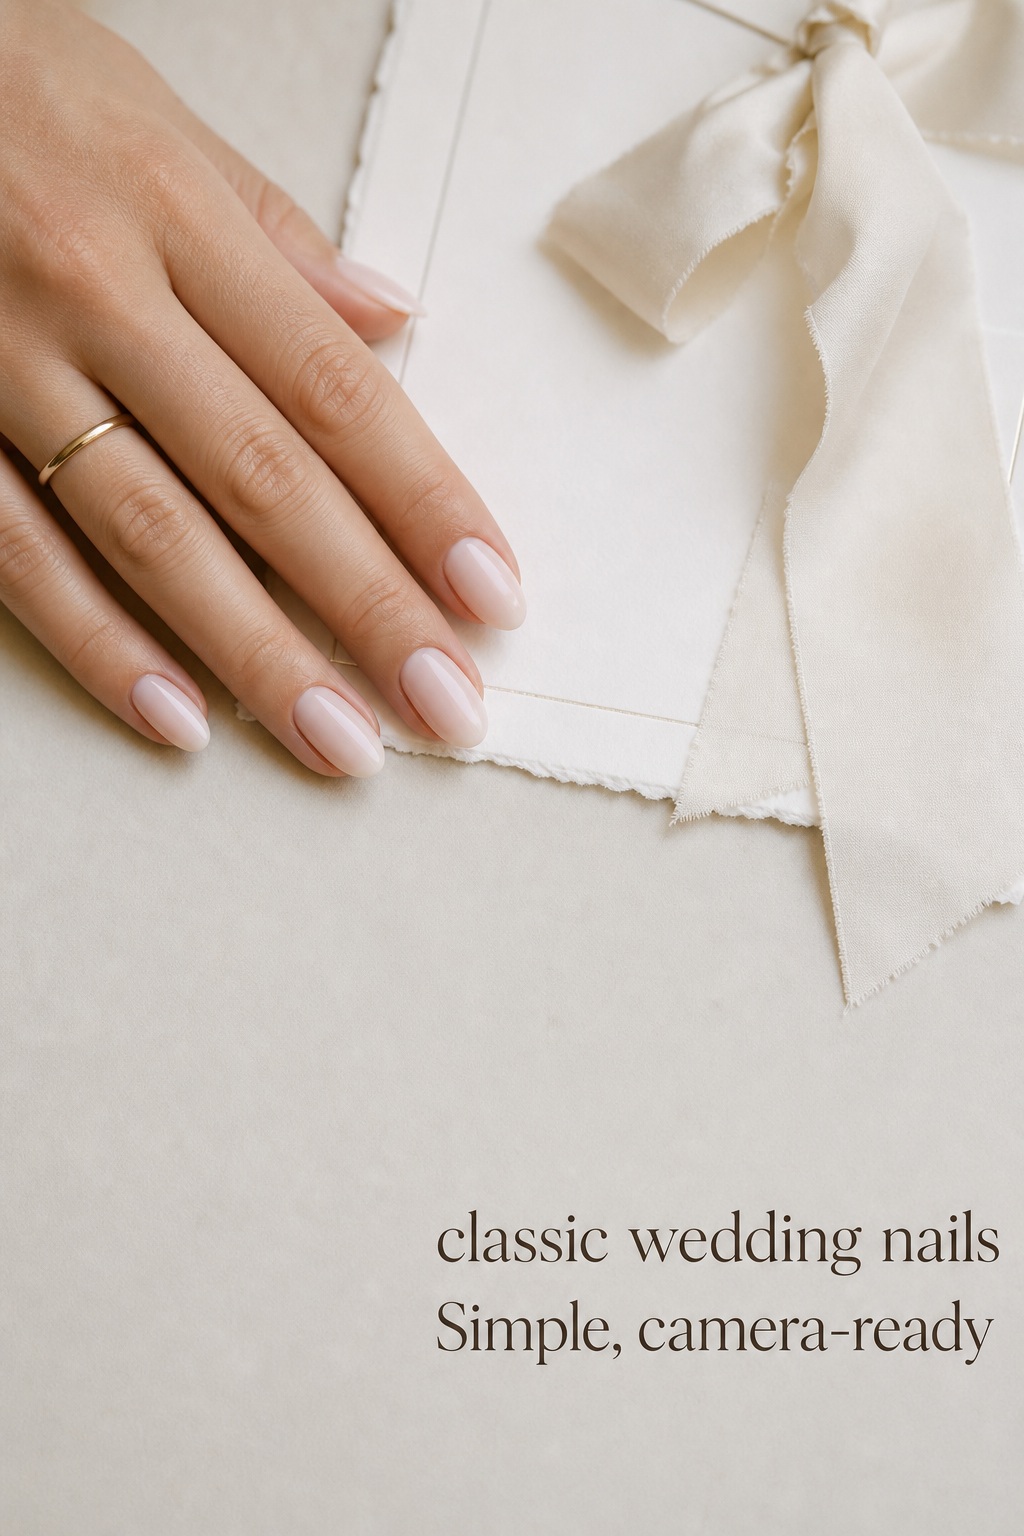
The barely-there blush. If you want your hands to look freshly cared for rather than visibly manicured, choose a sheer blush or pink-beige with a glossy topcoat. This is a useful option for brides who rarely wear polish, have a colorful bouquet, or want the ring to be the focal point. The important detail is preparation: clean cuticle work, consistent length, and thin, even coats make a simple color look considered.
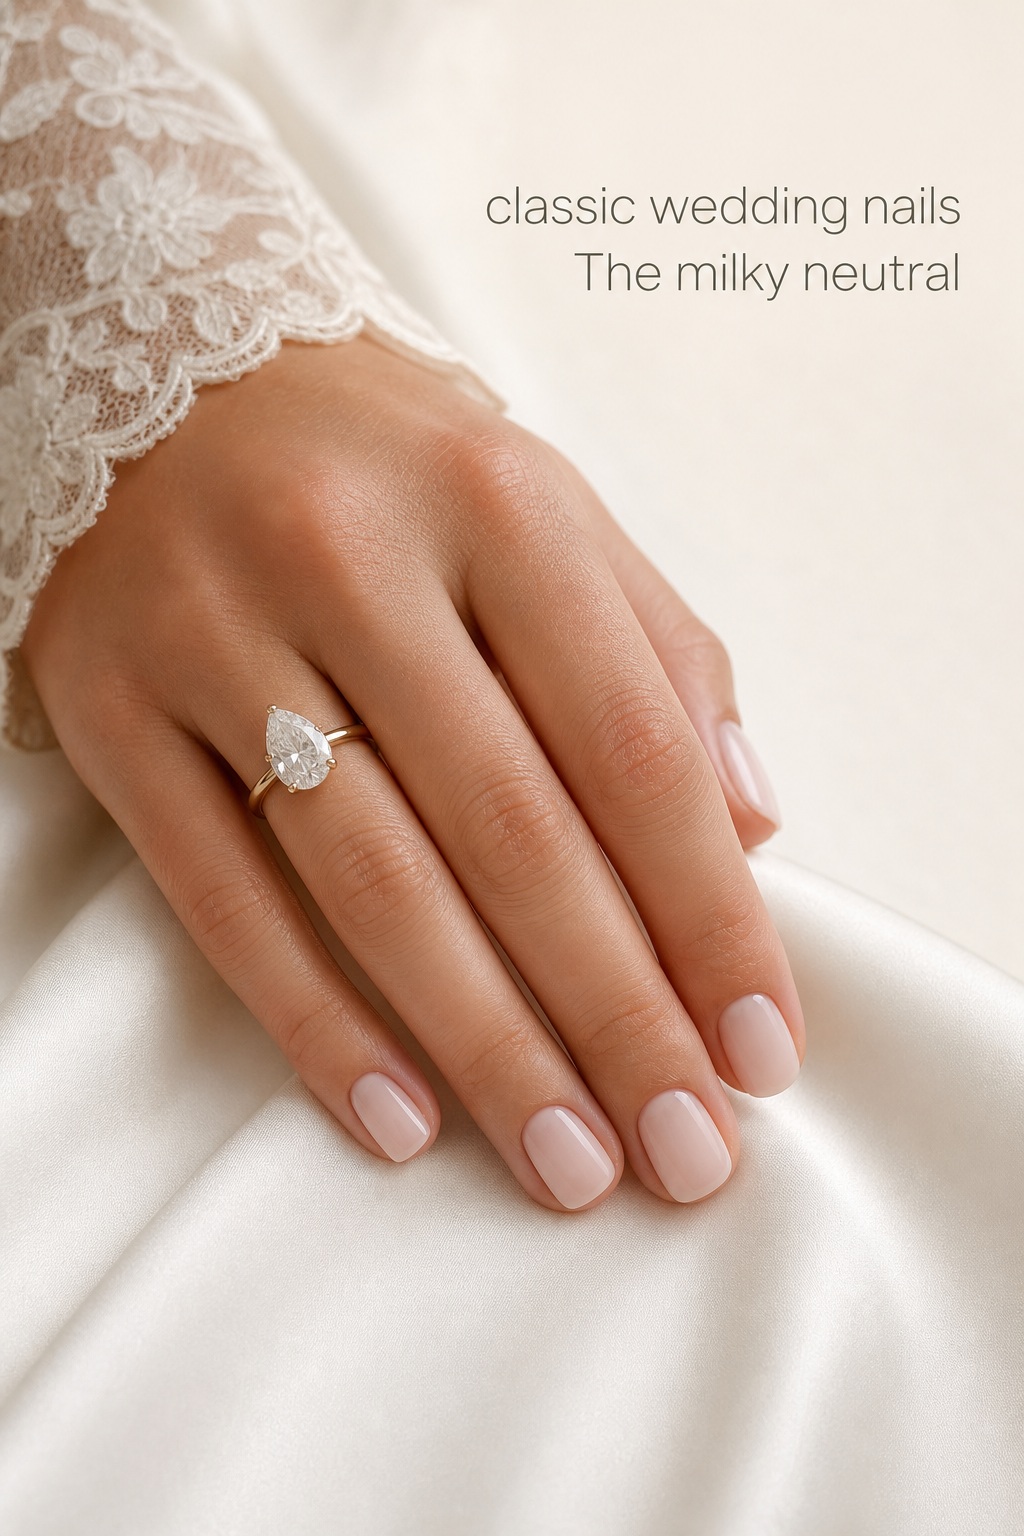
The milky neutral. A translucent cream or neutral white offers more coverage than blush but stays softer than an opaque white manicure. It works beautifully with satin, crepe, and modern minimal dresses. Choose a shade with a little transparency so the result retains depth. During a trial, photograph it against your gown or a similar fabric; the difference between flattering milkiness and a chalky cast is easier to see in a picture.
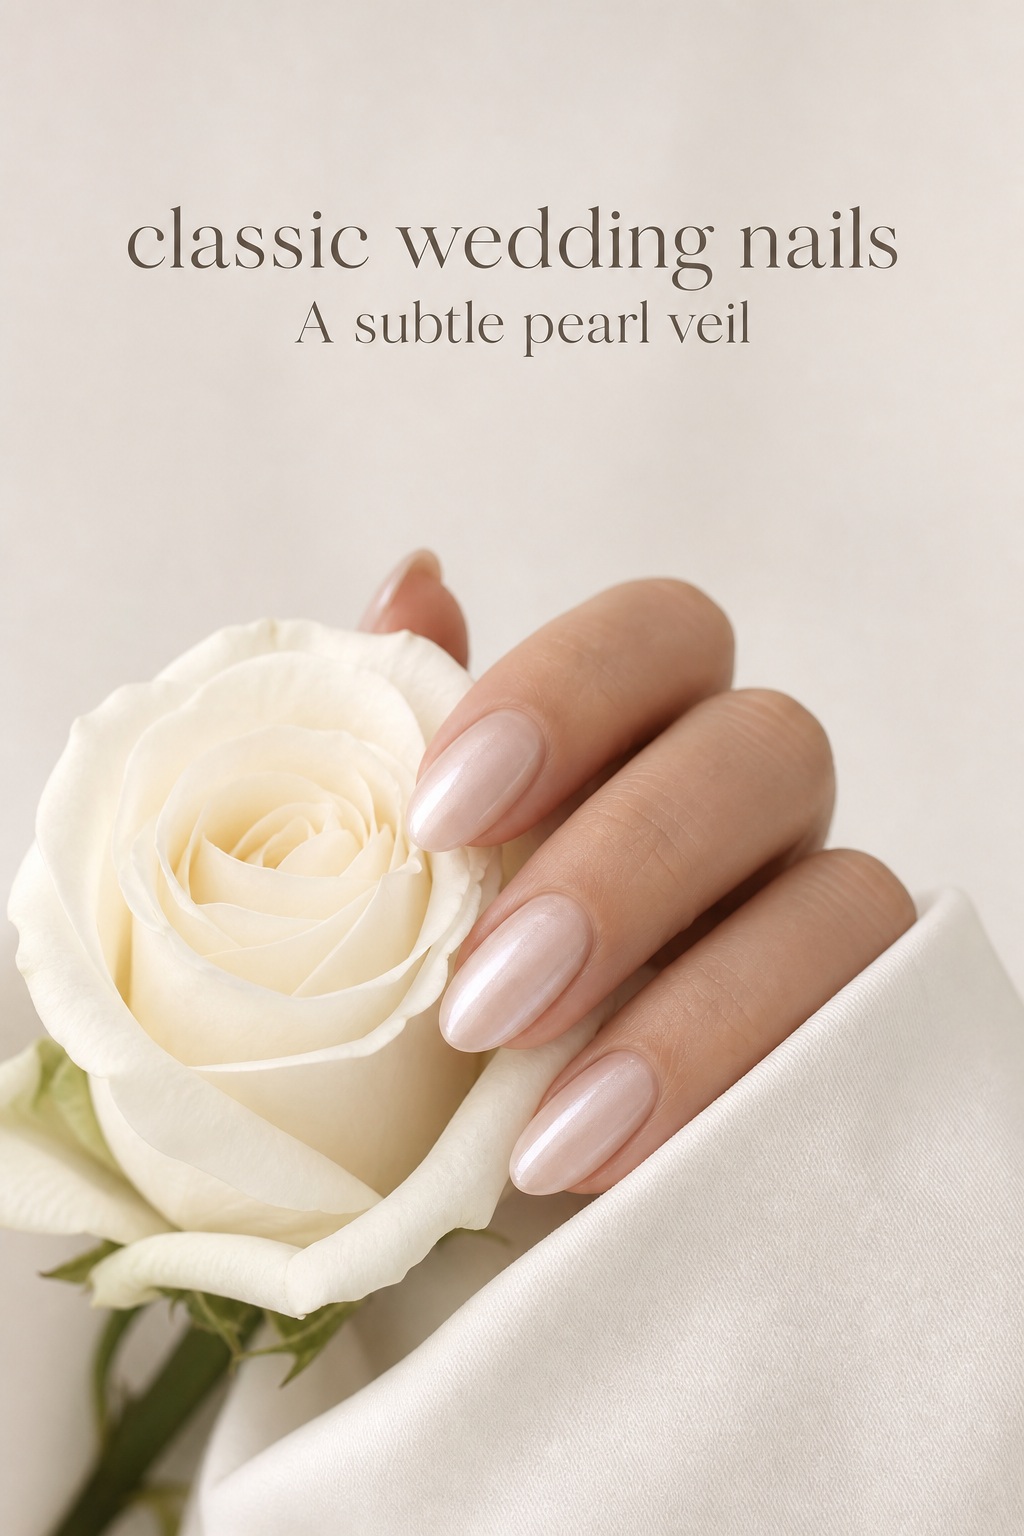
The pearl veil. A fine, diffused shimmer over a nude or blush base adds a candlelit quality without demanding attention. This direction suits brides who like a little glow in their jewelry or makeup but do not want crystals or bold art. Ask for a subtle pearlescent layer rather than chunky glitter. The finish should catch light when you move, not cover the base color or look grainy in a close-up.
The quiet accent. Keep four nails simple, then place one restrained detail where it will not overwhelm the set: a pearlized ring finger, a tiny white bow, a single fine line, or a subtle reverse French. This can honor a wedding motif while staying classic. The accent works best when it repeats a material already present, such as pearls in earrings or a bow on shoes, rather than introducing a new theme at the last minute.
When comparing these options, use a simple test: would the design still make sense if the wedding palette changed slightly? A good classic manicure can live with white, ivory, champagne, blush, sage, or black-tie evening styling. That adaptability is what gives it longevity. If the detail needs a very specific backdrop to make sense, save it for a rehearsal dinner or honeymoon manicure instead.
Plan the manicure from trial to wedding morning
Schedule a nail trial far enough ahead to learn something from it. Four to eight weeks before the wedding is a comfortable window for most people. Bring your ring, a photo of the gown or fabric swatch, and the exact images you saved. Ask the technician to test the base and tip on more than one nail if you are deciding between colors. A single thumbnail often tells you more than ten edited inspiration photos.
Wear the trial through ordinary activities. Notice whether the length catches in your hair, whether the finish chips, and whether you still like the color beside your ring in morning light. Take photographs in daylight, in a restaurant, and with flash. This is not about finding faults; it is about giving yourself one calm chance to refine the proportion before the final appointment.
In the two weeks before the wedding, treat your natural nails and cuticles gently. Use cuticle oil regularly, wear gloves for harsh cleaning, and avoid using nails as tools. If you are switching from extensions to natural nails, do not make that change days before the event. The condition of the nail plate affects how smoothly sheer polish reads, and healthy cuticles are the difference between a pretty manicure and a polished bridal close-up.
Book the final appointment about one to three days before the wedding, according to your technician’s guidance and your travel plan. Earlier may be wiser if you are leaving town or hosting events; closer may suit a local schedule and a service that wears well. Build in a small buffer after the appointment. You do not want to rush into packing, floral work, or last-minute errands with freshly finished nails.
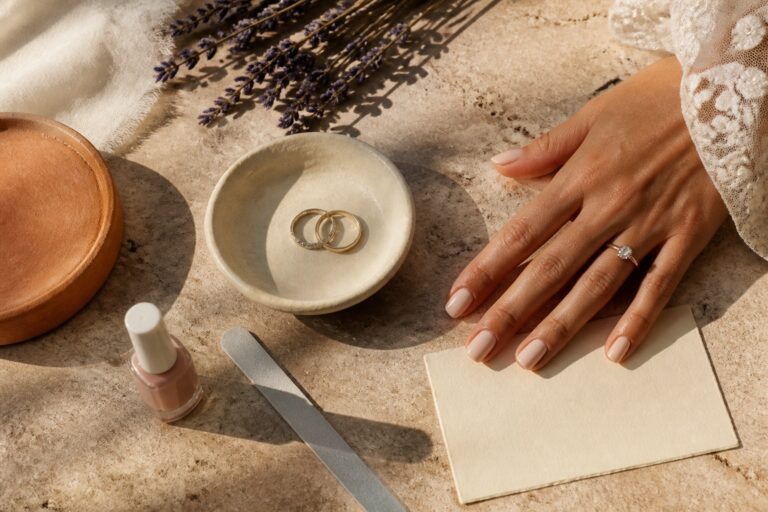
Keep a small rescue kit with a file, cuticle oil, hand cream, and any touch-up color your technician recommends. Do not attempt a major repair yourself if a gel nail chips or lifts; contact the salon. For a standard polish manicure, a small bottle of matching color can be helpful. The purpose of the kit is reassurance, not another task on your wedding-week checklist.
- 4–8 weeks out: trial shape, base shade, finish, and durability.
- 2 weeks out: consistent cuticle care; avoid experimental removal or extensions.
- 1–3 days out: final manicure, allowing room for travel and drying or curing time.
- Wedding morning: apply hand cream sparingly and let it absorb before photographs.
Classic mistakes to avoid
The first mistake is choosing a design name instead of a design specification. “French” can mean a white tip, a micro tip, a blurred ombré, or a colored edge. “Nude” can be pink, beige, peach, or mauve. Tell your technician what you like about the reference: the warmth of the base, the thinness of the line, the shape, or the amount of shine. That creates a result tailored to you rather than a generic version of a trend.
The second mistake is making the tip too large for the nail. A deep white band can visually shorten short nails and overwhelm a delicate ring. If you love the French look but have limited free edge, a micro-French or softly blended ombré is usually more flattering. The goal is an intentional line that follows your natural shape, not a perfectly identical arc copied from a longer extension set.
The third mistake is treating a trial as optional when you are changing length, material, or artist. A simple manicure still has variables: undertone, opacity, topcoat, nail shape, and service durability. A trial removes decisions from the busiest week of wedding planning. It can also reveal a practical preference, such as choosing a sheer solid color because it looks better as it grows out during a destination wedding.
The fourth mistake is forgetting the hands. A beautiful manicure looks even better with moisturized skin, but do not apply heavy oil immediately before the appointment if your technician advises against it. The night before, use hand cream and cuticle oil. On the wedding day, keep lotion nearby and use a small amount before portraits. Ask your photographer for one relaxed hand pose instead of forcing every finger into a ring shot.
Most importantly, do not abandon your own style in pursuit of a bridal rule. If a classic red, a very short natural nail, or a non-French neutral is what makes you feel most polished, it can be the most timeless choice for your wedding. The successful manicure is the one that looks like a considered version of you when you reach for your partner’s hand.
FAQ
What are the most classic wedding nails?
Soft French tips, sheer blush, milky neutrals, and delicate pearl finishes are enduring choices. The most classic version is the one scaled to your nail length and matched to your skin tone, ring, and dress.
Should wedding nails be French tips?
No. A French manicure is a reliable option, but a glossy sheer nude or soft pearly finish can be equally timeless. Choose French tips only if you enjoy the visible contrast and proportion on your hands.
What nail shape looks most elegant for a wedding?
Short squoval, oval, and soft almond are all elegant. Choose the shape that lets you move comfortably and looks balanced with your natural nail beds rather than forcing a dramatic length for one day.
When should I get my wedding manicure?
For most brides, one to three days before the wedding works well. Adjust that timing for travel, pre-wedding events, your service type, and your technician’s advice, and leave time for any repair.
Are short nails okay for a wedding?
Absolutely. A short, even shape with clean cuticles and a micro-French, sheer pink, or milky neutral often looks especially modern and refined in photographs.
How do I make a classic manicure feel personal?
Personalize one variable: the undertone of the base, the width of a French tip, a fine pearl finish, or one small accent that echoes your jewelry. Keeping the rest quiet preserves the classic effect.