Wedding Nails Ideas for Every Bridal Style
Choosing a bridal manicure sounds simple until you are comparing sheer pinks, French tips, chrome, gel, extensions, and dozens of saved inspiration photos. The prettiest wedding nails ideas are not necessarily the right ones for your hands, dress, venue, or schedule. A design that looks delicate on a long almond nail may feel crowded on a short natural nail, while a high-shine chrome finish can be beautiful in close-up ring photos but less comfortable if you dislike maintenance.
The useful question is not only, “Which manicure is trending?” It is, “What problem do I need my wedding nails to solve?” You may want a timeless look that will not date in photographs, stronger nails that will survive a busy weekend, a design that works with a colorful gown, or a last-minute option that does not require extensions. This guide organizes wedding nails ideas around those real decisions, so you can bring a clear brief to your nail technician and still make the final look feel personal.
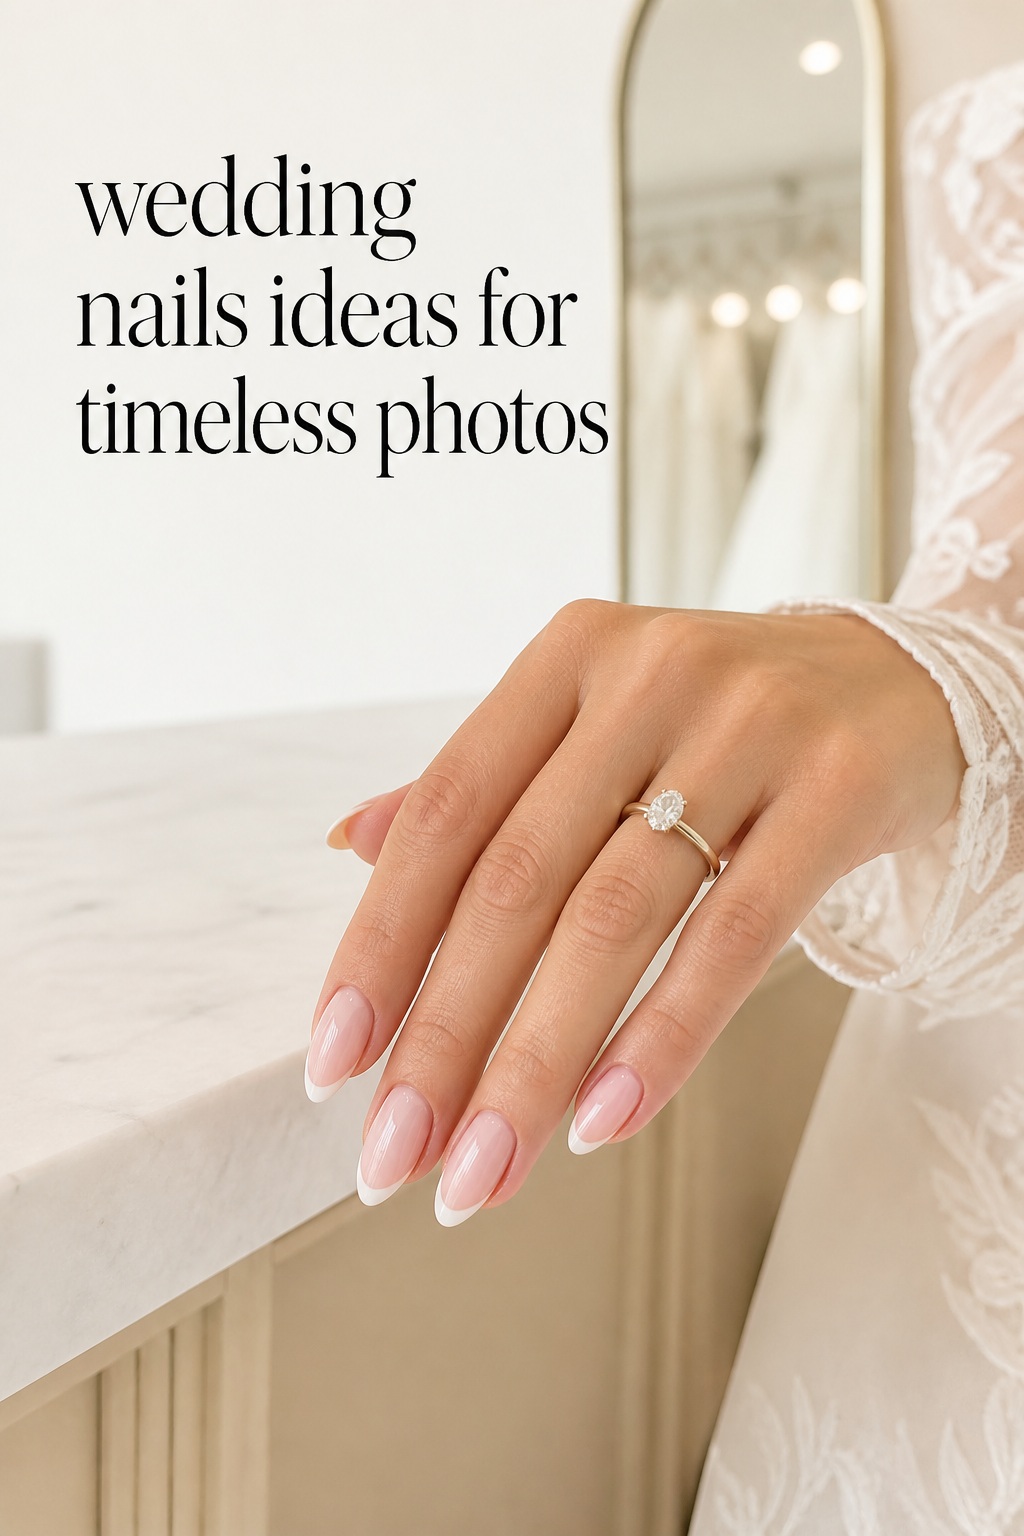
Diagnose the Wedding-Nail Problem Before Choosing a Design
Many manicure disappointments begin with choosing an image before identifying the constraint. Start by naming the one thing that worries you most. Is it chipping before the ceremony? A nail shape that makes your fingers look shorter? A color that disappears against an ivory dress? Too much art competing with your ring? Once that friction is clear, the design becomes much easier to narrow down.
Your wedding look is only the beginning.
Keep your guest list, vendors, timeline, and every important detail together with Zarellea — so your day feels as considered as your style.
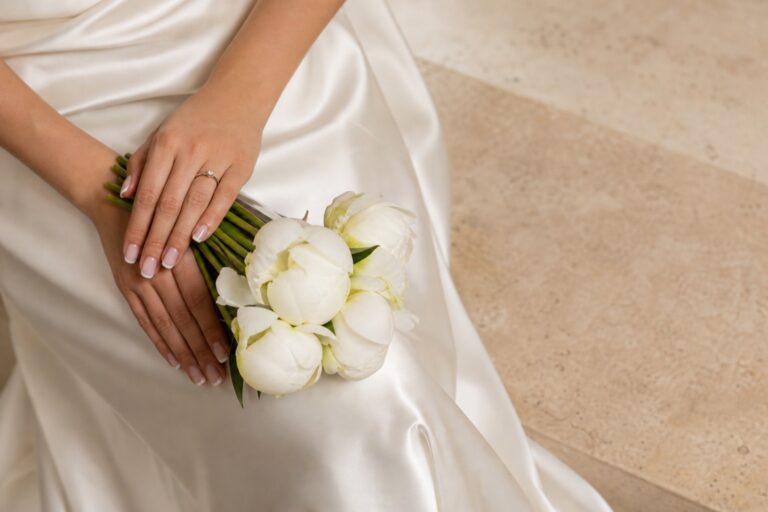
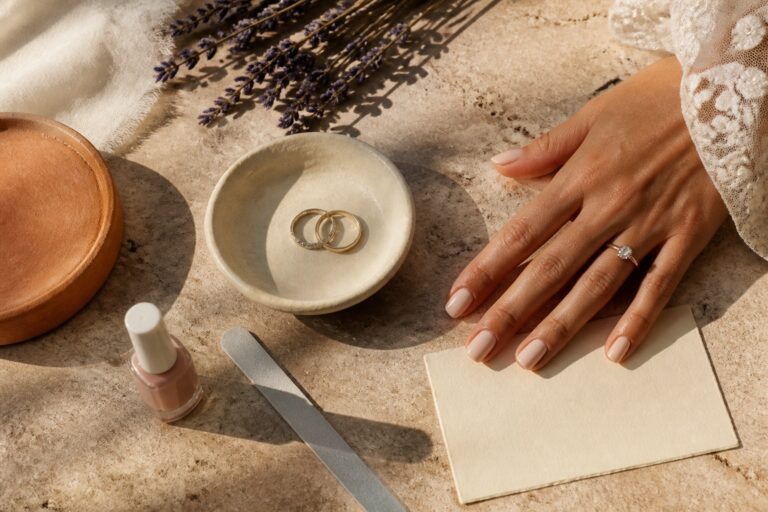
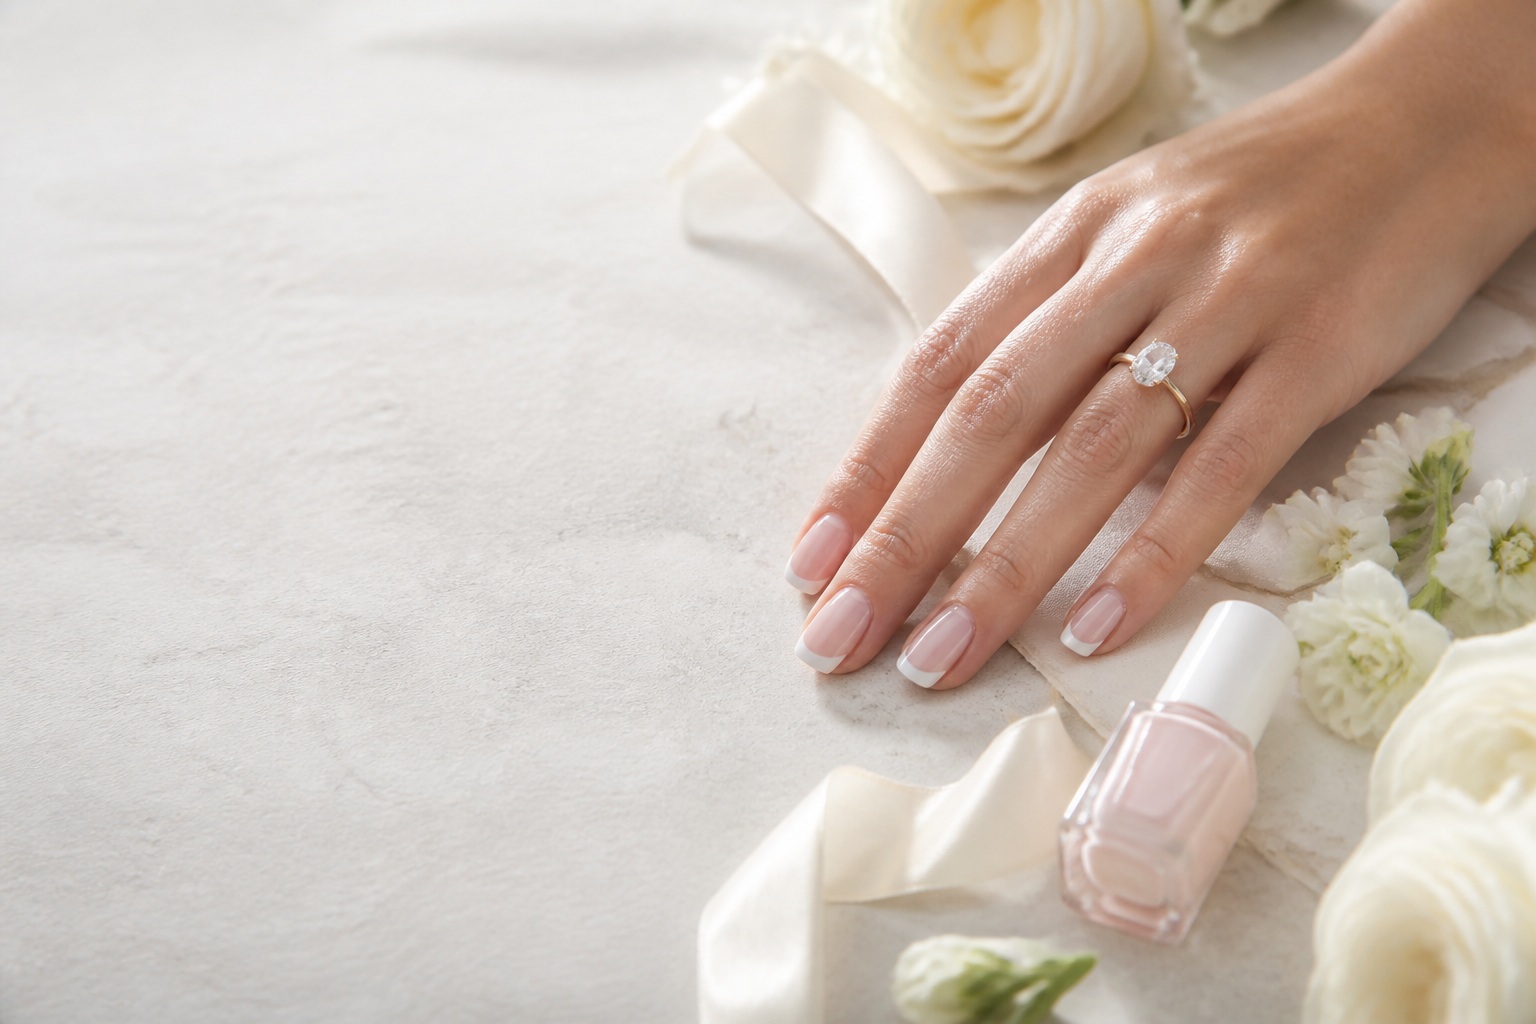
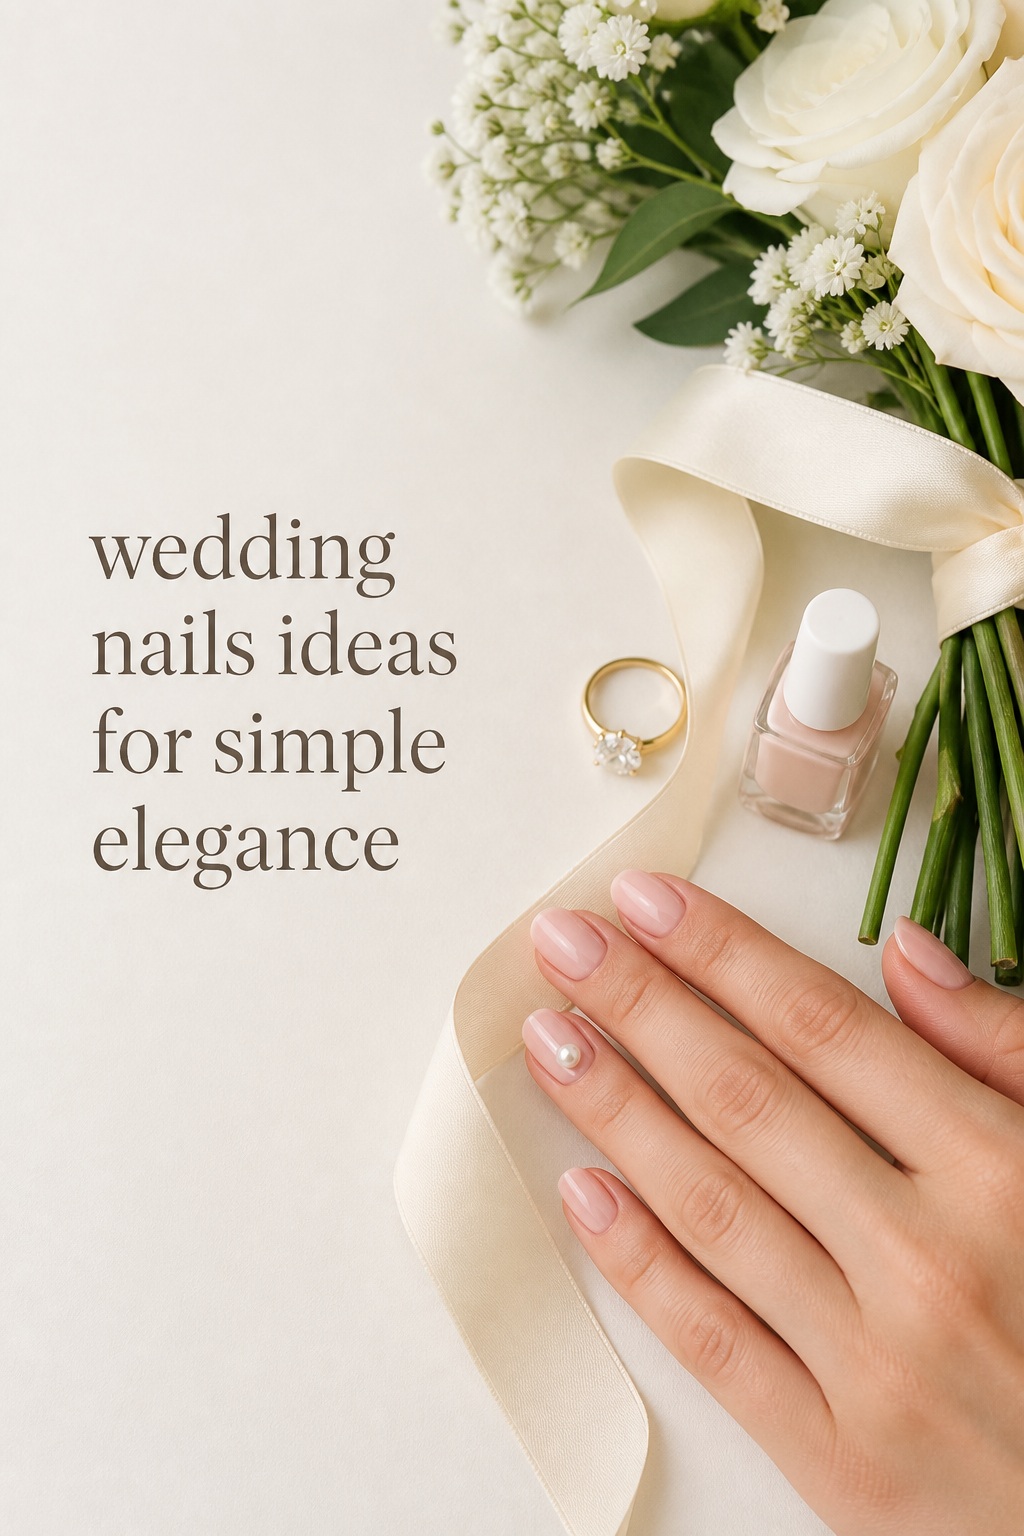
If photographs are your priority, focus on clean edges, a smooth surface, and enough contrast between the nail and your skin tone. Milky white, blush, soft peach, and translucent pink are popular because they read as polished without creating a harsh block of color. A fine French line or a subtle pearl finish can give the camera something to catch while keeping the hand looking refined. Ask your photographer whether your engagement and ring shots will be bright, shadowed, or flash-heavy; that context can influence whether a glossy or satin finish is more flattering.
If your problem is weak or peeling nails, do not treat extensions as the only answer. A builder-gel overlay can add structure to some natural nails, while a short soft-gel tip can create even length when one or two nails are damaged. The correct service depends on the condition of your nails and the technician’s assessment. The goal is a comfortable, balanced set, not maximum length. A beautifully shaped short manicure will look more intentional than extensions that snag, lift, or change the way you hold your bouquet.
If time is tight, choose a service that matches the number of days left. Regular polish gives you color flexibility but needs drying time and can smudge or chip. Gel polish cures under a lamp and generally offers a more durable surface, but it still requires safe removal. Press-ons can be practical for a short event or a backup plan, provided you test the adhesive, sizing, and comfort before the wedding. Avoid trying a new technique on the morning of the ceremony.
- For timeless photos: choose sheer color, a clean French, or a soft pearl finish.
- For fragile nails: prioritize structure, short length, and professional removal.
- For a short timeline: book a tested gel, short extension, or press-on plan instead of experimenting.
- For a statement dress: simplify the manicure so the hand detail supports the outfit.
- For a minimalist dress: use texture, a micro-design, or a restrained metallic accent.
These decisions also protect your budget. A design with hand-painted art, extensions, chrome powder, and multiple layers takes longer than a one-color gel manicure. Ask for a complete estimate that includes removal, repairs, art, and the tip. If you are scheduling manicures for bridesmaids or family members, decide whether everyone needs the same finish or only a coordinated color family. Consistency can come from one shared detail rather than identical designs.
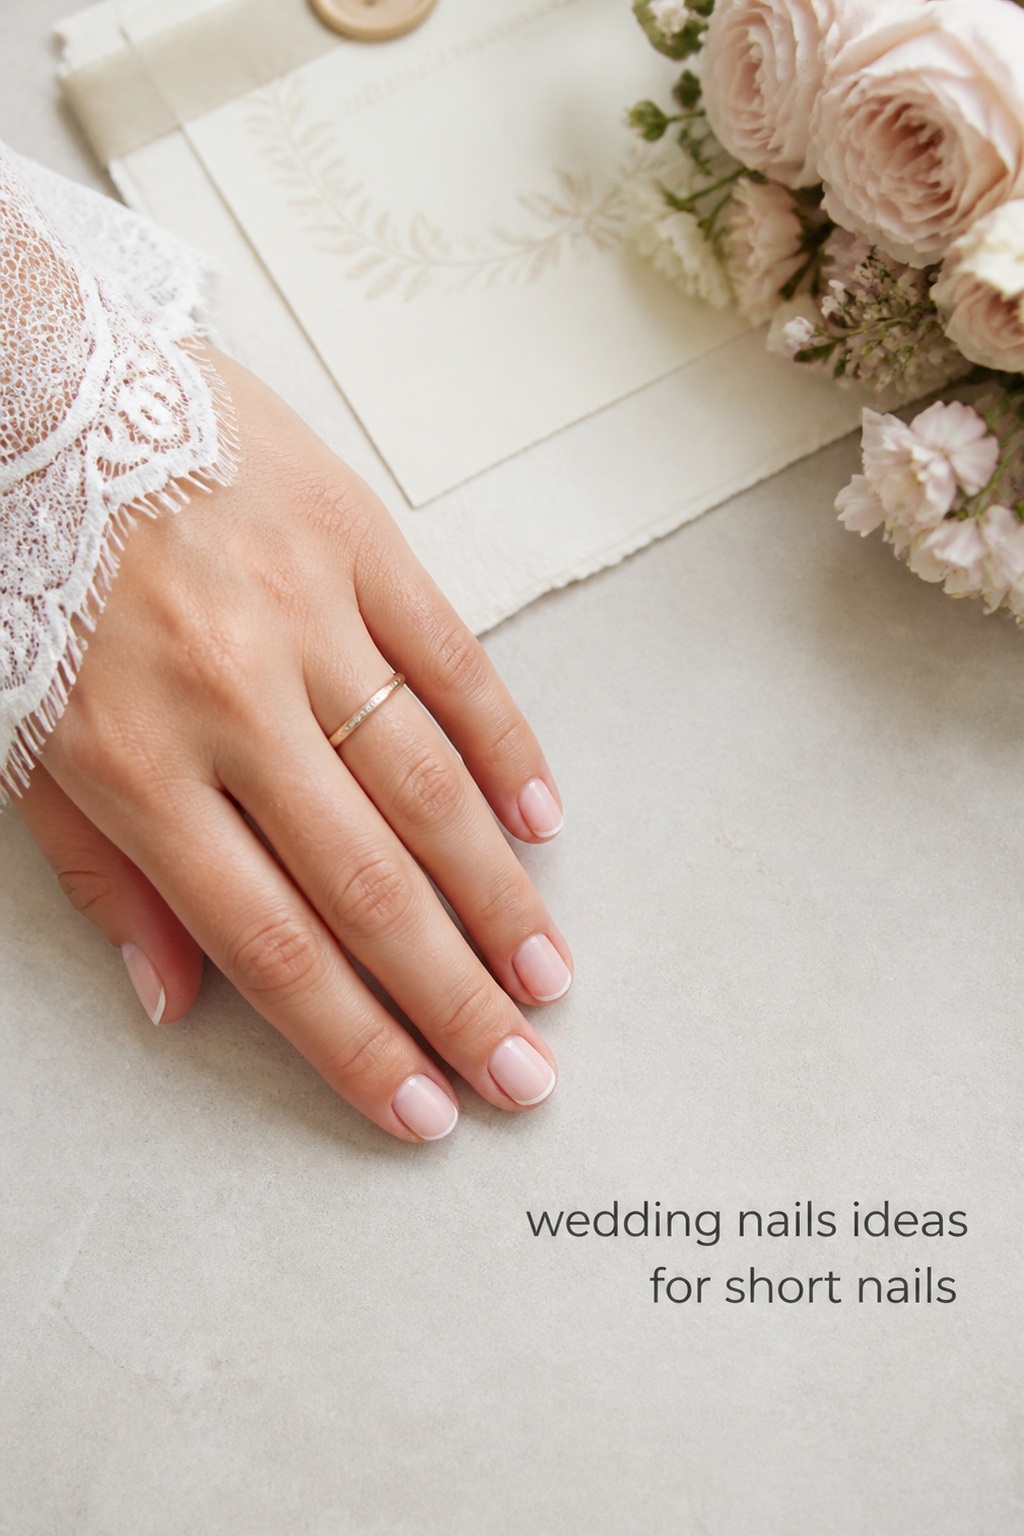
Choose Wedding Nails Ideas by Situation, Not Just by Trend
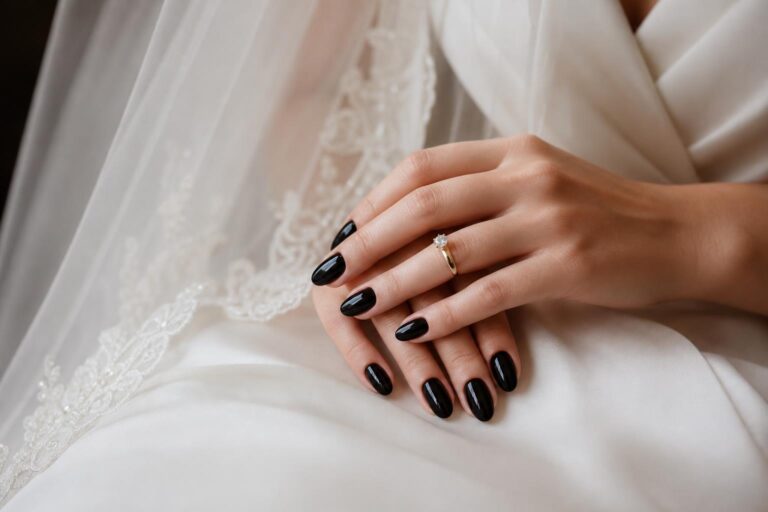
Once the main concern is clear, choose from a small group of looks that solve it. The classic bridal lane includes sheer pink, milky white, a traditional French manicure, and a soft blush neutral. These work especially well when your jewelry, lace, veil, or bouquet already carries visual detail. They are also forgiving as the manicure grows out, because the base is close to the natural nail.
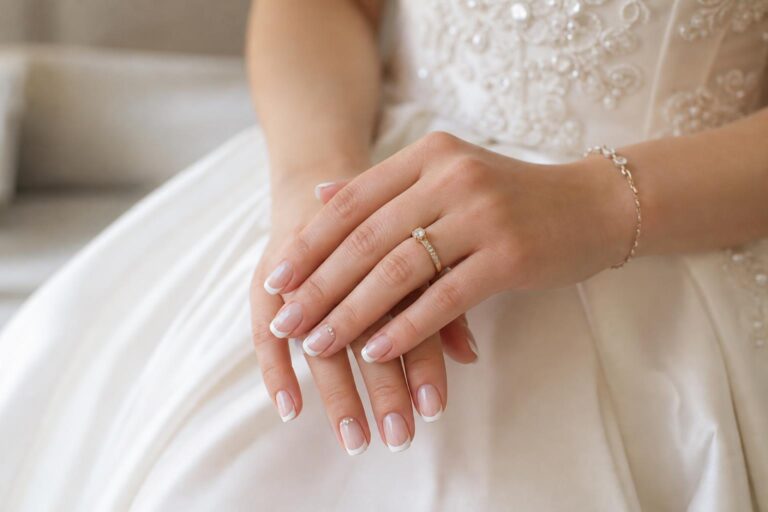
For a modern version of the classic, ask for a micro-French, an ultra-thin white edge, or a French tip in ivory rather than stark white. A glazed finish adds light without requiring a complicated pattern. Pearl chrome over a translucent base is another useful middle ground: it feels special in close-ups but remains quiet enough for a formal ceremony. If you have warm undertones, compare champagne, peach, and warm ivory; if you have cool undertones, test soft pink, blue-white, or a neutral with a rosy base.
For a bride who wants visible art, keep the design concentrated. One accent nail on each hand, a tiny flower near the cuticle, a few pearl details, or a single metallic line can connect the manicure to the invitation, earrings, or bouquet. Abstract white swirls are gentler than a fully contrasting pattern. Cat-eye or magnetic effects create movement when the hand turns, but they should be tested in the lighting of your venue because the reflective stripe can look different in a dark room.
For short nails, shape matters more than decoration. A short squoval, rounded shape, or softly tapered oval can look polished without pretending to create length that is not there. A sheer base with a narrow vertical accent, a reverse French, or a small centered pearl can visually lengthen the nail. Avoid placing large flowers or wide horizontal tips across a very short nail unless you like that graphic effect. Your technician can show the design on a swatch at your approximate length before the appointment.
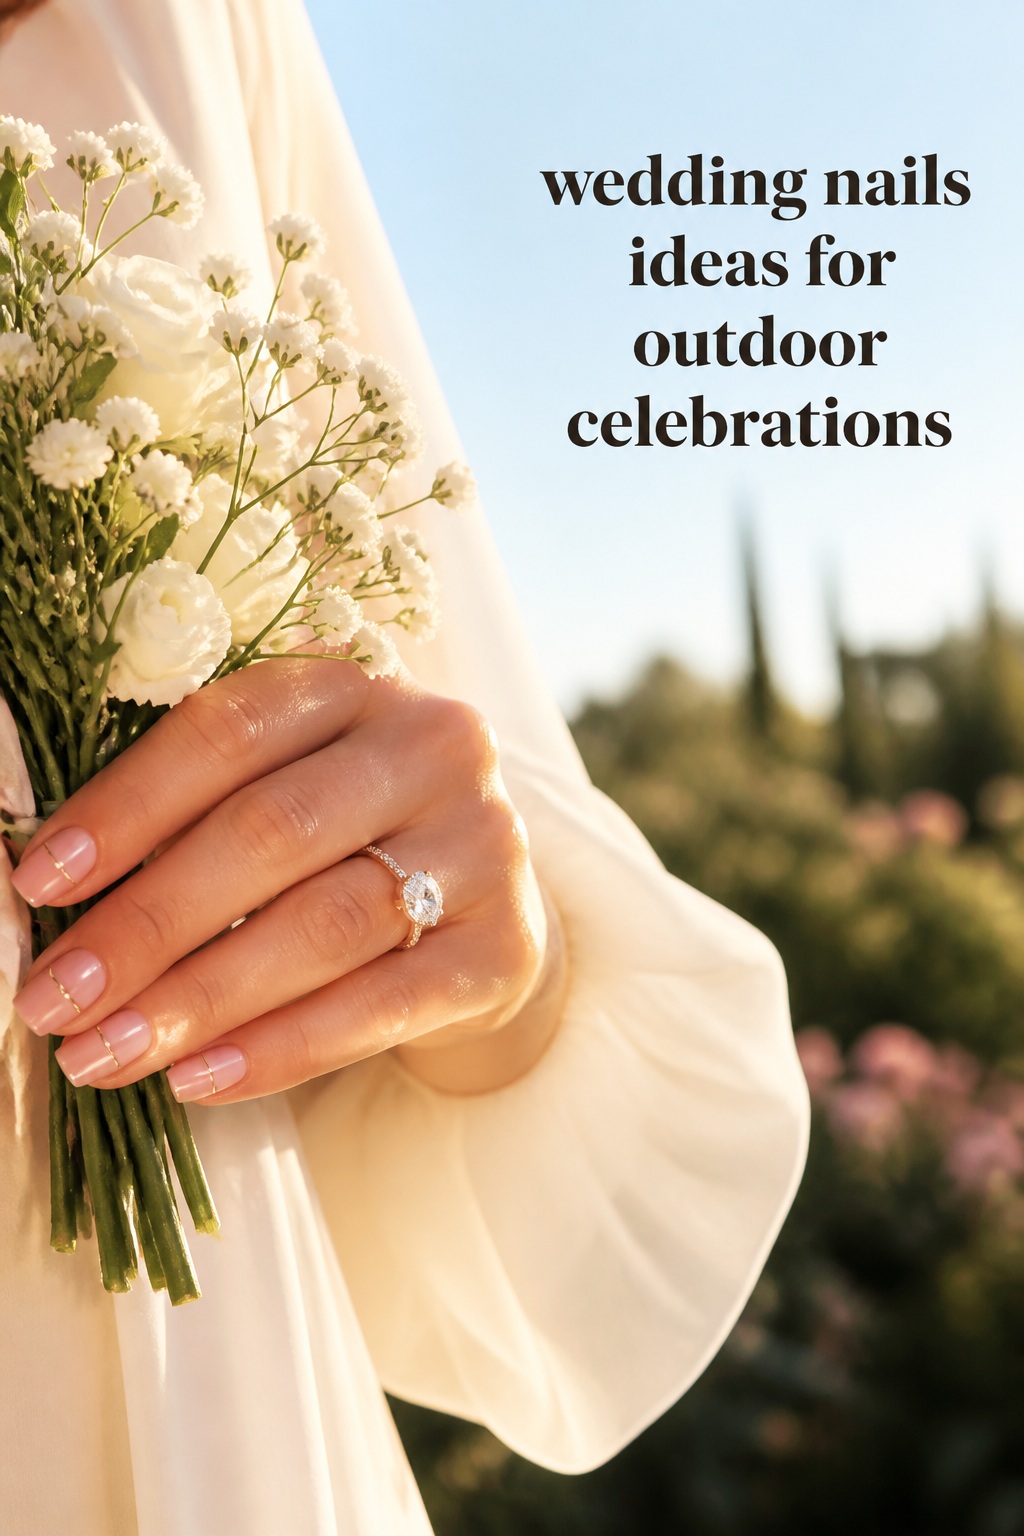
For outdoor, beach, or destination weddings, think about movement and conditions. Lightweight finishes and secure shapes are practical when you will be carrying luggage, walking on uneven ground, or dealing with heat and humidity. A soft neutral, a fine shimmer, or a short almond with gel polish can look elegant without making the manicure the most delicate part of the weekend. If you are traveling, confirm whether your destination salon can remove your chosen product safely and pack a small file, cuticle oil, and the polish or press-on set used for repairs.
For a colorful or nontraditional wedding dress, do not automatically force the nails into white. A dusty rose, muted berry, terracotta, pale blue, or deep red can look intentional when it repeats a bouquet, shoes, stationery, or bridesmaid fabric. The easiest way to keep a stronger shade bridal is to use a glossy finish, a tidy short-to-medium shape, and minimal art. If your gown is champagne, test the polish beside the fabric; some cool whites can make warm fabric look yellow, while a warm nude may blend too closely.
For an ultra-minimal wedding, the manicure can echo the quiet design language of the day. Think clean natural nails with a high-gloss topcoat, a soap-like blush, a transparent pink, or a tone-on-tone French. The result should not look unfinished: even a “no-mani” look needs careful shaping, cuticle preparation, smooth color, and hydrated skin. Minimal does not mean skipping the appointment; it means putting the craftsmanship where it will be noticed.
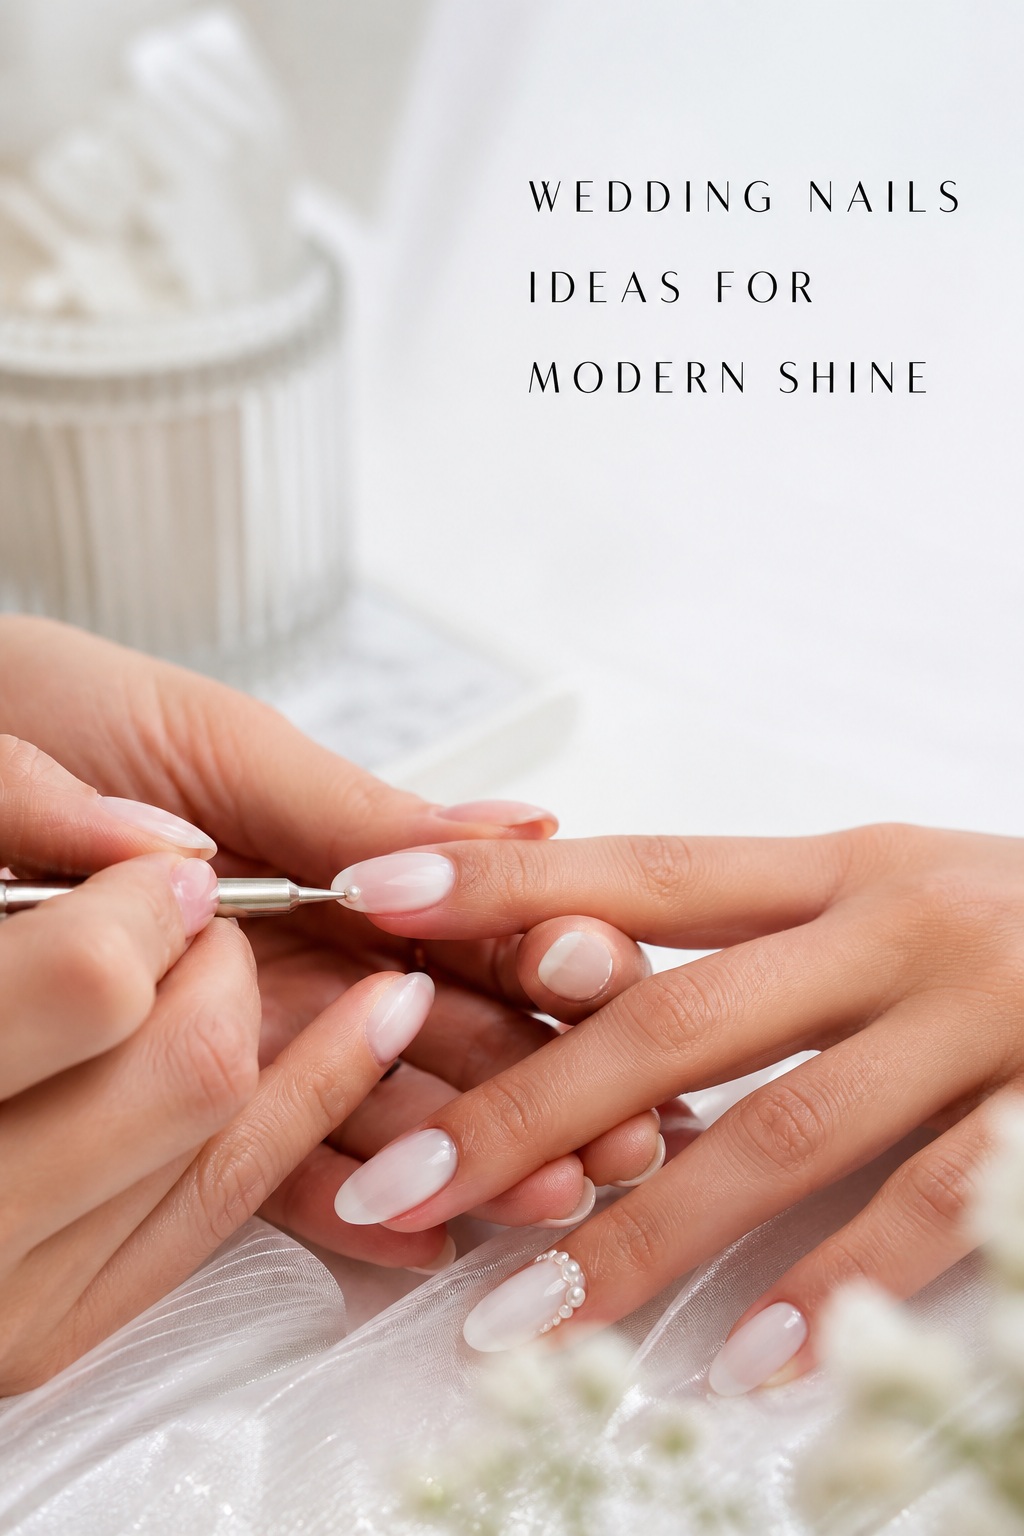
Build the Manicure: Shape, Color, Finish, and Durability
Think of the manicure as four connected choices. Shape controls the silhouette. Color controls how the hand relates to the dress and skin. Finish controls the way light moves across the nail. Product controls wear, removal, and comfort. Decide them in that order rather than asking for “bridal nails” as if it were one universal service.
Start with the shape that suits your lifestyle during the wedding weekend. Almond and oval shapes create a graceful line, but they need enough length to form a balanced point. Squoval and round shapes are practical for shorter nails and can feel more secure if you work with your hands. Coffin or tapered-square shapes make a stronger fashion statement and can support graphic French tips, but the corners need to be comfortable. Bring a photo of the shape and explain what you normally do with your hands; your technician can adjust the design to your real length.
Next, select the base color using swatches, not a phone screen alone. Screen brightness and salon lighting can shift pale shades dramatically. Compare two or three options beside your hand and a piece of your dress fabric. A sheer pink may show more of your natural nail, while a milky white gives a brighter veil-like effect. If you have discoloration you would like to soften, ask whether a slightly more opaque neutral will give better coverage without looking heavy.
Then decide where the shine belongs. High-gloss is the safest choice for ring photos because it reflects light and makes the finish look freshly polished. Pearl chrome, glazed finishes, and fine shimmer add dimension, but they may highlight ridges if the nail is not properly smoothed. Velvet, satin, or matte finishes can be striking for a fashion-forward look, yet they usually require more care to keep the surface even. If you love matte, consider a glossy accent nail or a satin base with one reflective detail.
Finally, match the product to the wear window. A gel polish manicure is often a practical choice when you want immediate curing and a hard-wearing surface. Builder gel or another structured overlay may be useful for natural nails that need support, but it should be applied and removed by someone experienced. Acrylic and full-cover extensions can create length and uniformity, yet they need a trial because thickness, shape, and comfort vary. Regular polish remains a good choice when you prefer simple removal or have a known product sensitivity.
- Classic brief: short-to-medium oval, translucent blush, glossy topcoat, no art or a micro-French.
- Modern brief: medium almond, milky base, pearl chrome, one tiny metallic accent.
- Romantic brief: rounded shape, sheer pink, delicate floral or pearl detail on two nails.
- Fashion brief: tapered square, neutral base, sculptural line or cat-eye effect, balanced with simple jewelry.
- Low-maintenance brief: natural short shape, opaque nude, gel or tested press-ons, repair kit packed.
Give your technician a written brief with the exact shape, base color, finish, art placement, length limit, and product preference. Add what you do not want. “No long points, no bulky charms, and no stark white” can be as useful as a reference image. Take a photo of the final set in daylight before leaving so you can check the color and edges while there is still time to fix anything.
Quick Fixes for Timing, Trials, and Wedding-Day Emergencies
A trial is not excessive if the manicure matters to you. Schedule it early enough to learn how your nails react to the product, whether the shape catches on clothing, and how the color looks with your dress and ring. Use the trial to test a complete idea rather than five unrelated designs. Wear it through normal tasks, photograph it in indoor and outdoor light, and note whether the length feels natural when you button clothing, open a bag, or hold a bouquet.
For the final appointment, many bridal professionals recommend getting the manicure close to the wedding while leaving a small buffer for repairs. A gel manicure is commonly scheduled one or two days before the event, while regular polish may need a little more drying and protection time. Your technician’s guidance should take priority because nail growth, product, travel, and your schedule all matter. Do not book so late that a lifting nail or allergic reaction has no time to be addressed.
Prepare your hands in the weeks before the wedding without overworking the cuticles. Use cuticle oil and hand cream consistently, wear gloves for cleaning, and avoid peeling product off. If your nails are brittle, reduce aggressive filing and ask about a gentle strengthening plan. Do not introduce a new at-home acid, peel, adhesive, or heavily fragranced product immediately before the event. Calm, predictable care is more useful than a dramatic rescue treatment.
Pack a small emergency kit: the polish or gel color reference, a fine file, a tiny buffer, cuticle oil, hand cream, nail glue only if you use press-ons or tips, and a few small adhesive tabs. A lifted extension should not be ripped off. If the damage is painful, the skin is red, or the nail has separated, ask a professional to handle it. For a minor edge chip, smooth the rough spot rather than continuing to file the entire nail shorter.
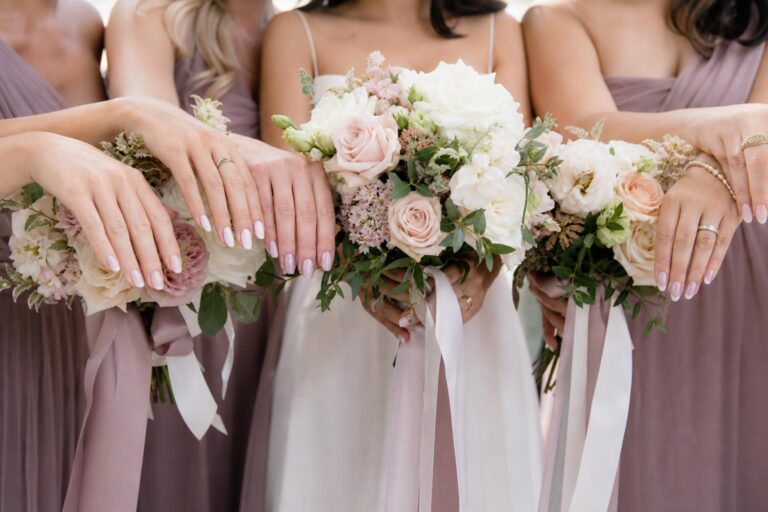
Coordinate the wedding party without making everyone identical. Bridesmaids can share a finish or color family while choosing their own shape, and a maid of honor can wear the same base with one extra accent. If you are paying for services, state the design and budget clearly before appointments. A group photo often looks more cohesive when hands are cared for and colors relate, even when every manicure is slightly different.
Before you finalize your wedding nails ideas, run a quick review. Can you comfortably hold your bouquet and wedding ring? Does the design support rather than compete with the dress? Will the product last through your travel and reception? Do you know how it will be removed? Is the appointment early enough for a repair? If the answer is yes, the manicure is doing its job: it looks beautiful, photographs well, and lets you stay present for the day.
FAQ
How many days before the wedding should I get my nails done?
Most brides schedule a gel or structured manicure one to two days before the wedding, while regular polish may need more time to dry and settle. Keep enough buffer for a repair, especially if you are traveling or have a rehearsal event. Follow your technician’s advice for the specific product and your nail condition.
What wedding nails ideas work best for short natural nails?
Short round, squoval, and softly tapered shapes work well with sheer blush, milky neutrals, a micro-French, a reverse French, or one small centered detail. Keep art fine and well-spaced so it does not crowd the nail. A glossy finish and careful cuticle preparation make a short manicure look intentional and polished.
Is gel better than regular polish for bridal nails?
Gel can be convenient because it cures immediately and usually resists chips during a busy wedding weekend. Regular polish is easier to remove and can be a better choice if you prefer a simple service or have product sensitivities. The best option is the one you have tested before and can remove safely afterward.
Should my manicure match my wedding dress?
Your manicure does not need to match exactly, but it should relate to the dress, jewelry, bouquet, or overall palette. Compare the polish with the actual fabric because ivory, champagne, bright white, and blush can change how a shade looks. A stronger color can work beautifully when it repeats another intentional wedding detail.
Do I need a wedding nail trial?
A trial is worthwhile when you are considering extensions, a new product, nail art, an unfamiliar length, or a color that must photograph well. Schedule it early enough to test comfort, durability, removal, and how the design looks with your ring and dress. Bring the final reference and use the trial to refine one complete plan.
What should I do if a bridal nail chips on the wedding day?
For a small rough edge, gently smooth it with a fine file and protect the nail until a professional can repair it. Bring a matching polish, file, and any approved repair supplies in your emergency kit. Do not pull off lifting gel or an extension, and seek professional help if the natural nail is painful, bleeding, or separated.