Bridal Shower Backdrop Ideas for Any Room
The room is ready, the flowers are on the table, and someone asks where everyone will take pictures. Suddenly the blank wall by the window looks less like background and more like the place every guest will remember. A bridal shower backdrop can make that corner feel intentional, but the most successful one is not always the biggest or most elaborate. It is the one that gives the celebration a clear focal point, fits the room, and feels easy to use.
Before ordering a balloon arch or hanging a sign, decide what the backdrop needs to do. Is it for portraits with the bride, a gift-opening moment, a welcome photo, or a small area that can handle several of those jobs? Then look at the venue as it really is: its walls, light, walking paths, rules, and setup window. The ideas below turn those observations into a design you can build without making the whole party depend on one complicated installation.
The Moment the Backdrop Needs to Create
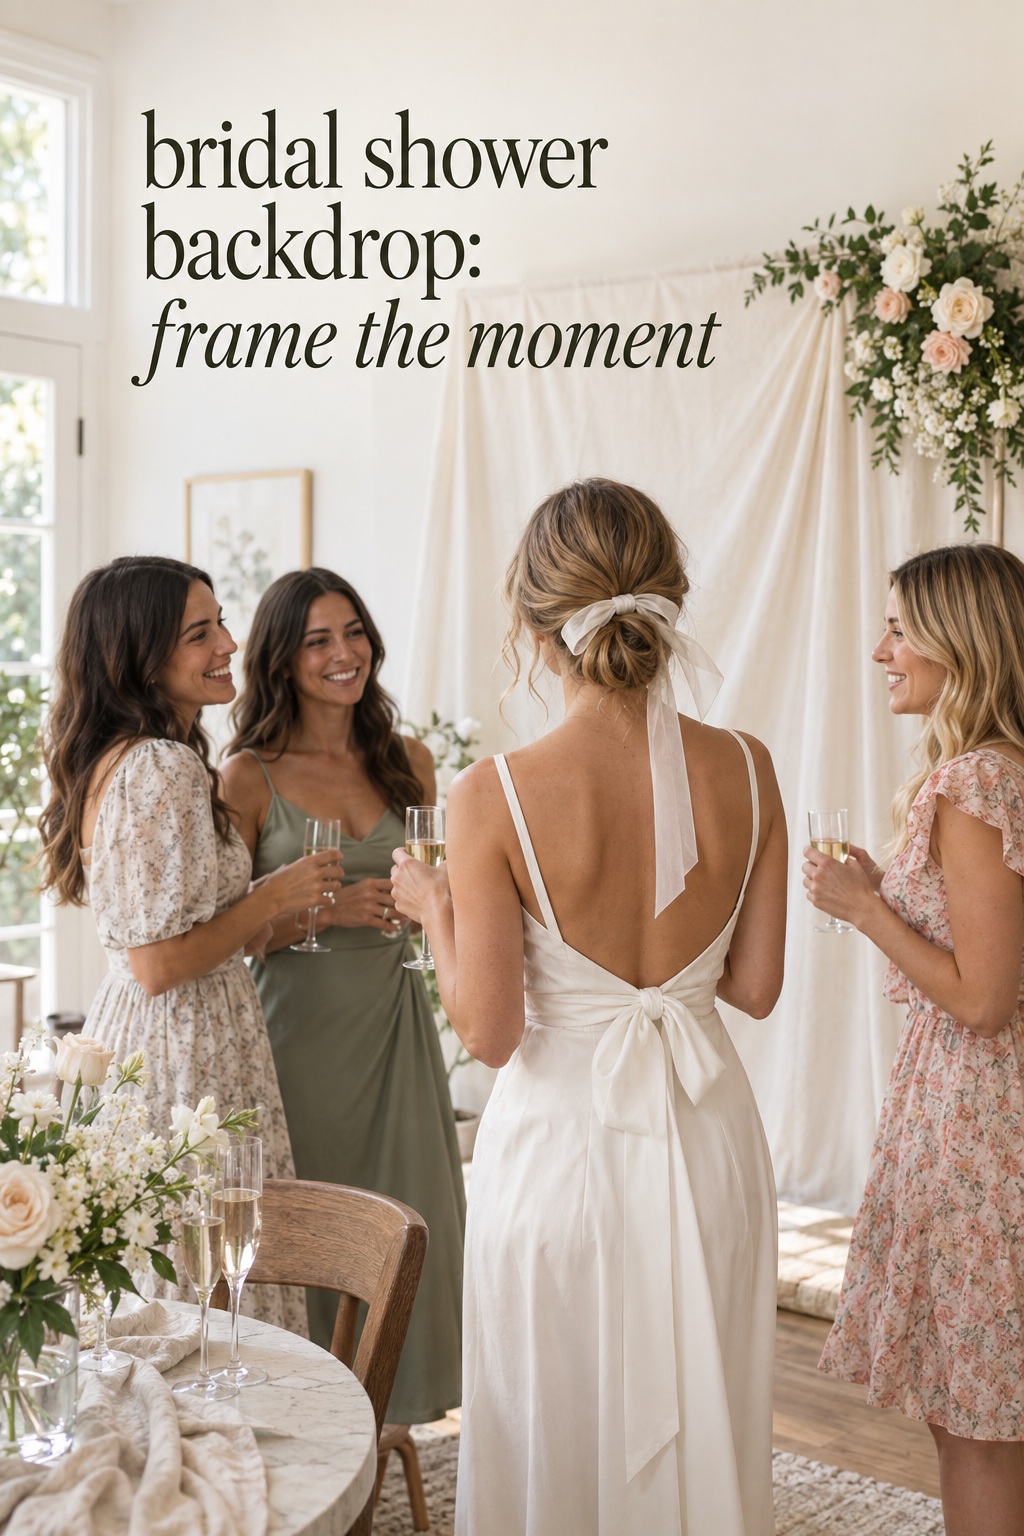
Picture the first group photo of the afternoon. The bride is standing near a cake table, two guests are waiting with gifts, and another person is trying to take a picture from across the room. That scene reveals the real job of the backdrop. It is not simply a decorated wall. It is a frame for a particular moment, and the more clearly you name that moment, the easier it is to choose what belongs in the frame.
For a portrait spot, give people a place to stand and leave enough visual breathing room around their faces. For gift opening, the backdrop may need to sit behind a chair and work from a wider viewing angle. For a welcome moment, guests may see it while entering, so the design should read quickly from a distance. If you want one installation to handle all three, keep the central area simple and put extra decor at the edges, where it can add atmosphere without crowding the photographs.
Your wedding look is only the beginning.
Keep your guest list, vendors, timeline, and every important detail together with Zarellea — so your day feels as considered as your style.
The Knot’s backdrop guide describes these different uses, including a photo booth, gift-opening background, or welcome detail. That range is helpful, but trying to make one wall do everything can create a cluttered corner. Choose the primary use first, then decide which secondary use can fit without changing the layout. A host who wants posed portraits and group shots, for example, may need a wider clear area than a host who mainly wants a pretty background behind the guest of honor.
Think about the photographs you would actually like to keep. Will guests take full-length outfit photos, close portraits, or a quick picture with the bride? Is there one family group that will be larger than the others? A large flower wall can look striking in a room, while a smaller arrangement around a simple sign may feel more natural in a home. A design should support the people in the picture. It should not demand that every photo be taken from one exact point just to hide unfinished edges.
- Portraits: use a clear center and keep large decorations away from head and shoulder height.
- Gift opening: account for the chair, gift table, and the people gathered around the bride.
- Welcome area: make the message or focal shape readable as guests enter, without blocking the doorway.
- Casual photo spot: allow several people to step in together and leave room for the person taking the photo.
Once the purpose is clear, take one phone photo of the empty wall from the place where guests are likely to stand. That simple view helps you notice a light switch, outlet, doorway, mirror, or table that a mood board may have ignored. It also gives you a stable reference when you start comparing ideas. Keep that picture beside the invitation and your notes; it is more useful than trying to remember the room from a quick walkthrough.
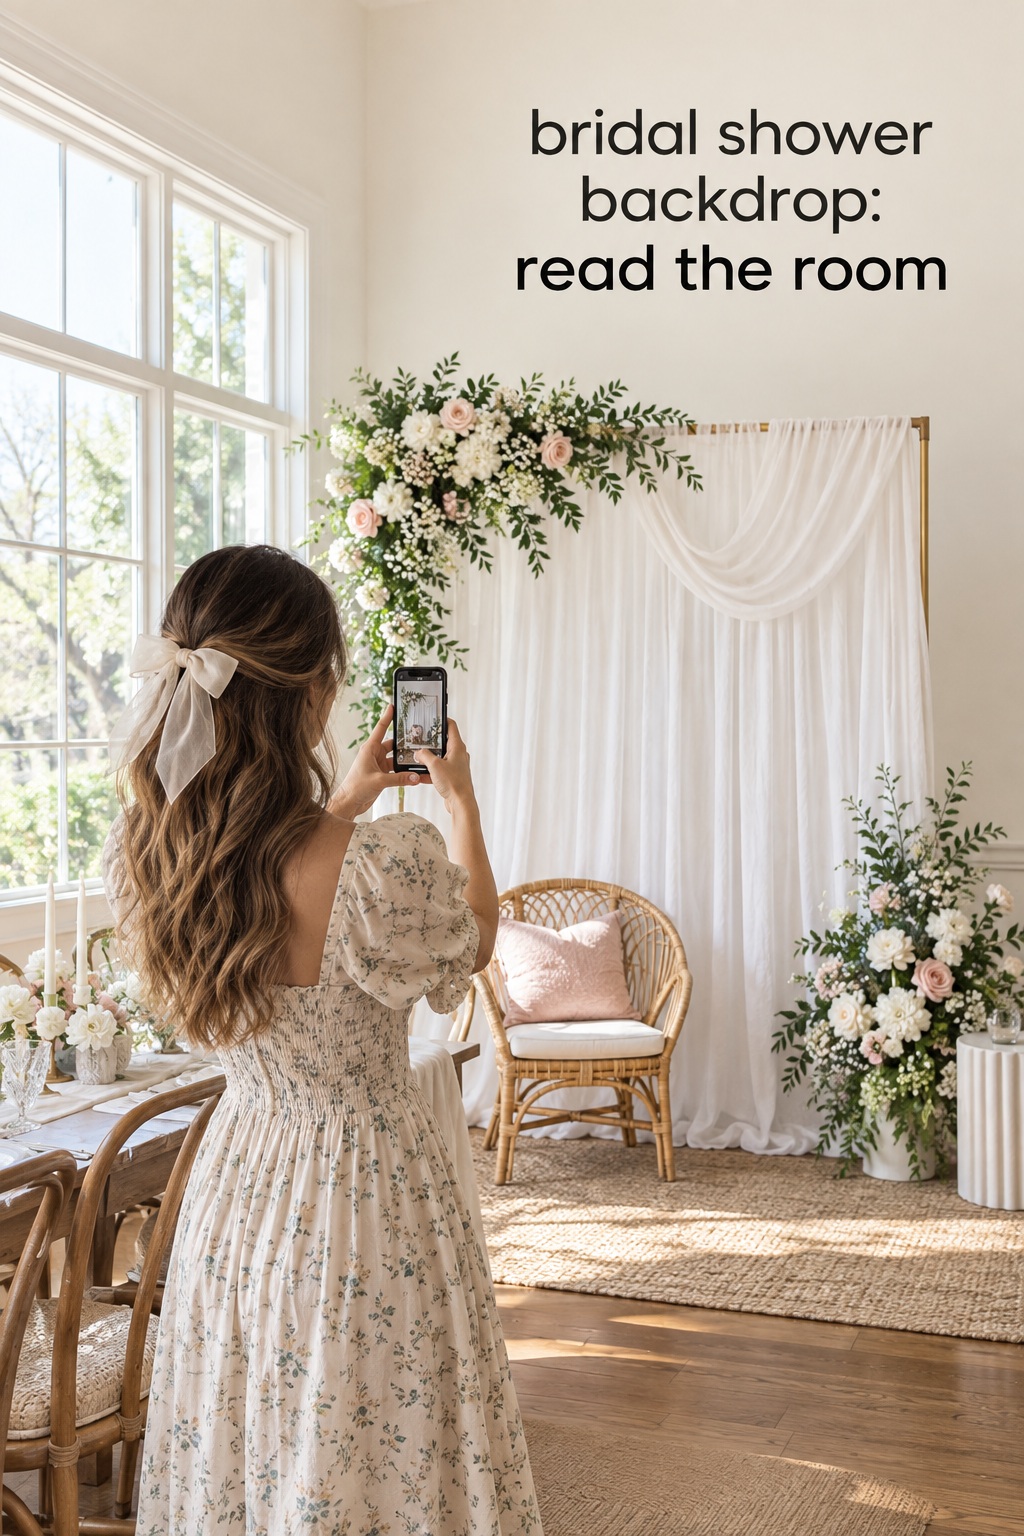
Read the Room Before Choosing a Backdrop
A design that looks effortless online may depend on a large blank wall, a tall ceiling, or a stand that the venue does not allow. Start with the available surface rather than the shopping list. Zola’s guide similarly begins by finding a suitable wall and notes that a custom backdrop may need a stand suited to its weight. If you are renting a room, ask what can be attached to walls or ceilings and whether the setup must be freestanding. In a home, check the wall finish and the furniture that needs to stay in place.
Next, consider how far the camera will be from the backdrop. If people will stand close to the wall, a compact arrangement can fill the frame. If a photographer needs to step back for a group, the decorated area may need more width, or the camera may catch bare edges and unrelated room details. You do not need a technical floor plan. Stand where a guest might take a picture, hold up your phone, and check what enters the frame above, below, and on both sides.
Light can change the look just as much as the materials. A window may give faces soft daylight, but it can also put a bright patch behind guests or create a strong contrast in the image. Shiny foil, glossy signage, and clear acrylic may reflect nearby windows or overhead fixtures. Fabric and matte paper tend to create a quieter surface, while balloons add rounded highlights and dimensional texture. Look at the wall at the time of day the shower will happen if you can. If not, plan a quick test when the room is set up and be ready to shift the photo angle.
Guest flow matters too. A photo spot near the entrance can create a queue right where people are arriving. A wall behind the dining table may be difficult to reach once guests are seated. If gift opening is a central activity, make sure the backdrop does not take up the only place where gifts can be stacked. Choose a spot that is visible enough to invite use but does not interrupt serving, conversation, or movement between the main areas.
Finally, match the design to the time and help available. A fabric panel that needs steaming, a garland that must be assembled on site, and a sign that needs careful placement all add separate tasks. If you have a short setup window, choose fewer pieces that can be prepared in advance. If you are decorating alone, favor a plan that can be carried and installed in manageable parts. The best bridal shower backdrop is one you can finish calmly, not a structure that needs constant correction while guests arrive.
- Measure the usable wall or stand width and note anything that must remain accessible.
- Confirm the venue’s rules for tape, hooks, stands, open flames, and ceiling attachments.
- Check the camera view for glare, clutter, and enough space for the largest group.
- Place the photo area outside the main traffic path and away from serving bottlenecks.
- Choose a setup that fits the people and time actually available to install it.
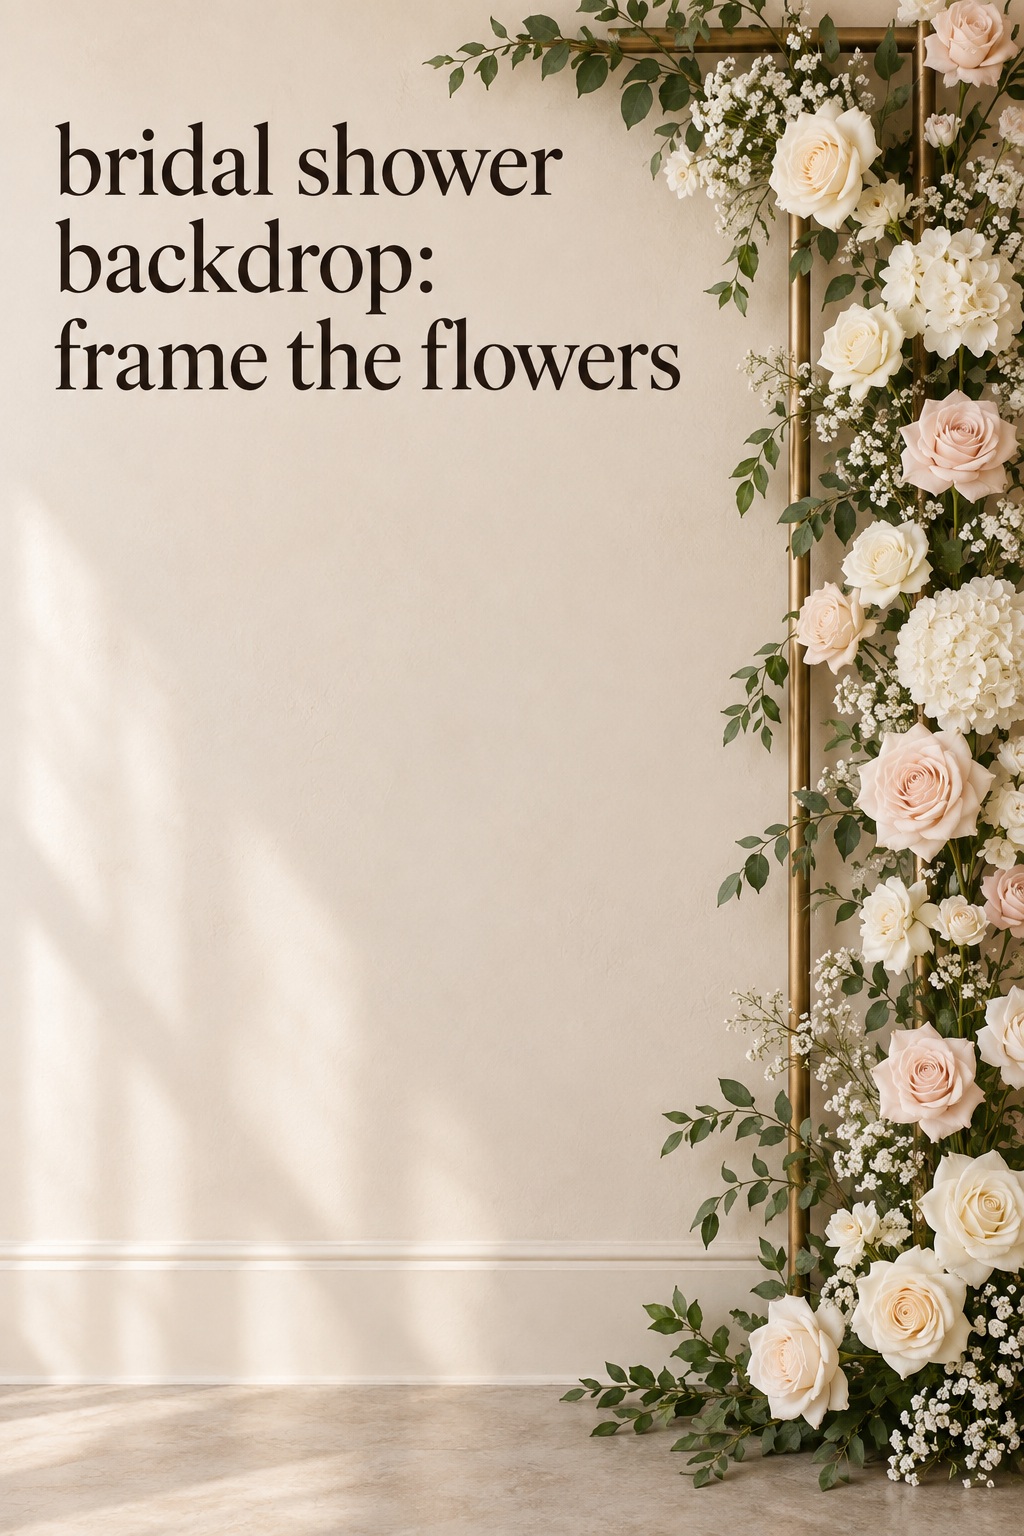
Build a Scene with One Clear Focal Point
With the room understood, choose one main visual anchor. It could be fabric, flowers, balloons, greenery, a shaped frame, or a simple sign. Then add one or two supporting elements that make the anchor feel connected to the party. A useful way to picture the design is in layers: the background surface, the focal element, and the small accents that bring the colors together. When every layer is equally prominent, the scene becomes noisy. When one layer leads, the rest can quietly finish it.
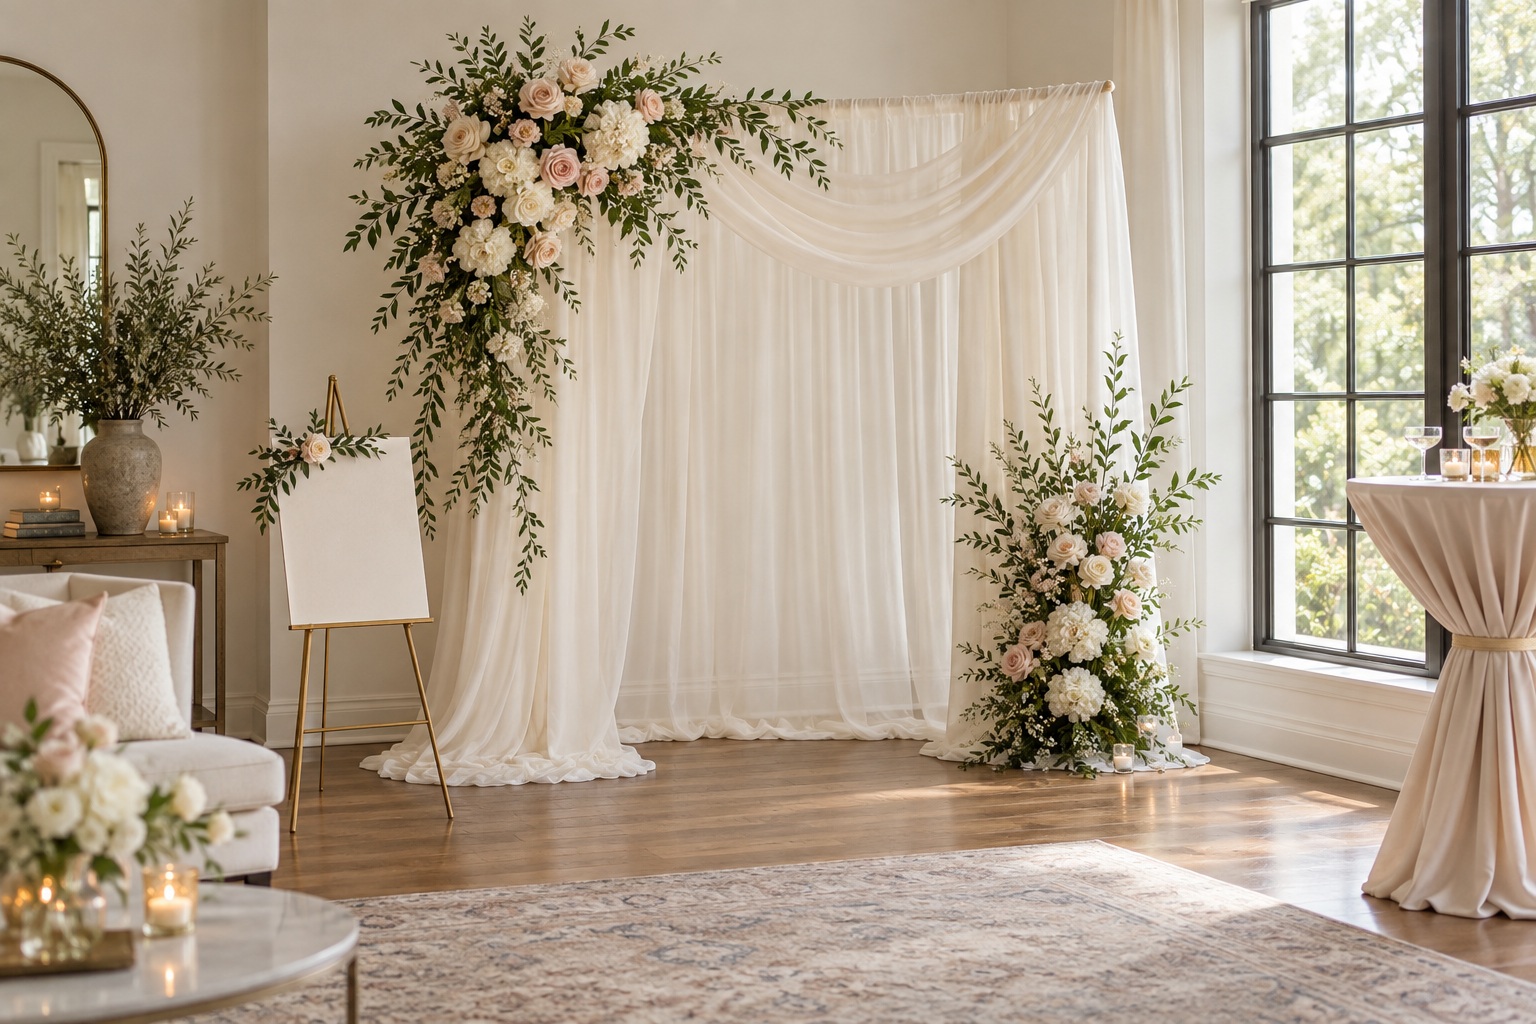
Soft draping for a small room
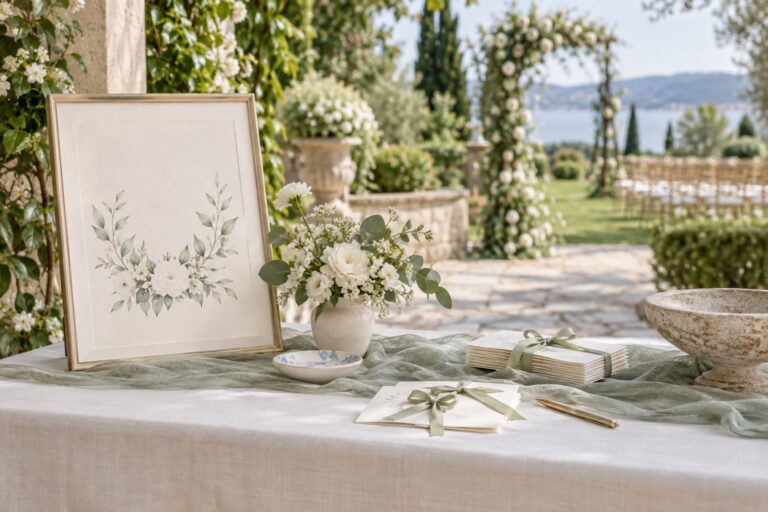
A length of fabric can soften a plain wall without taking over the room. Let it fall in a controlled shape, then add a small floral cluster, ribbon detail, or sign to one side. This approach works especially well when the room already has attractive furniture or architecture. Keep enough flat, calm fabric behind the people being photographed; too many folds at face height can create distracting shadows. If you are using a stand, confirm the fabric and attachments are appropriate for that structure, and test the arrangement before guests arrive.
A floral frame instead of a full flower wall
Flowers can define the edges of a photo area without covering the entire wall. Place a concentrated arrangement above one corner or along one side of a simple arch. This leaves open space for faces and outfits while still giving the picture a celebratory frame. Repeat a flower or color from the table arrangements so the backdrop feels part of the same room. If using fresh stems, plan where they can be kept until setup; with faux flowers, focus on hiding attachment points and varying the direction of the blooms.
A balloon installation with room to breathe
Balloons create height and movement, especially around an arch or asymmetrical garland. Rather than filling every empty patch, let the balloon cluster build from one side and taper away. Mixing sizes gives the shape a more organic outline, while a restricted color palette keeps it connected to the rest of the shower. Leave the most open area where the bride and guests will stand. If the backdrop is close to a window or strong light, check the camera view for reflections and bright highlights before deciding that more balloons are needed.
A greenery or garden-inspired wall
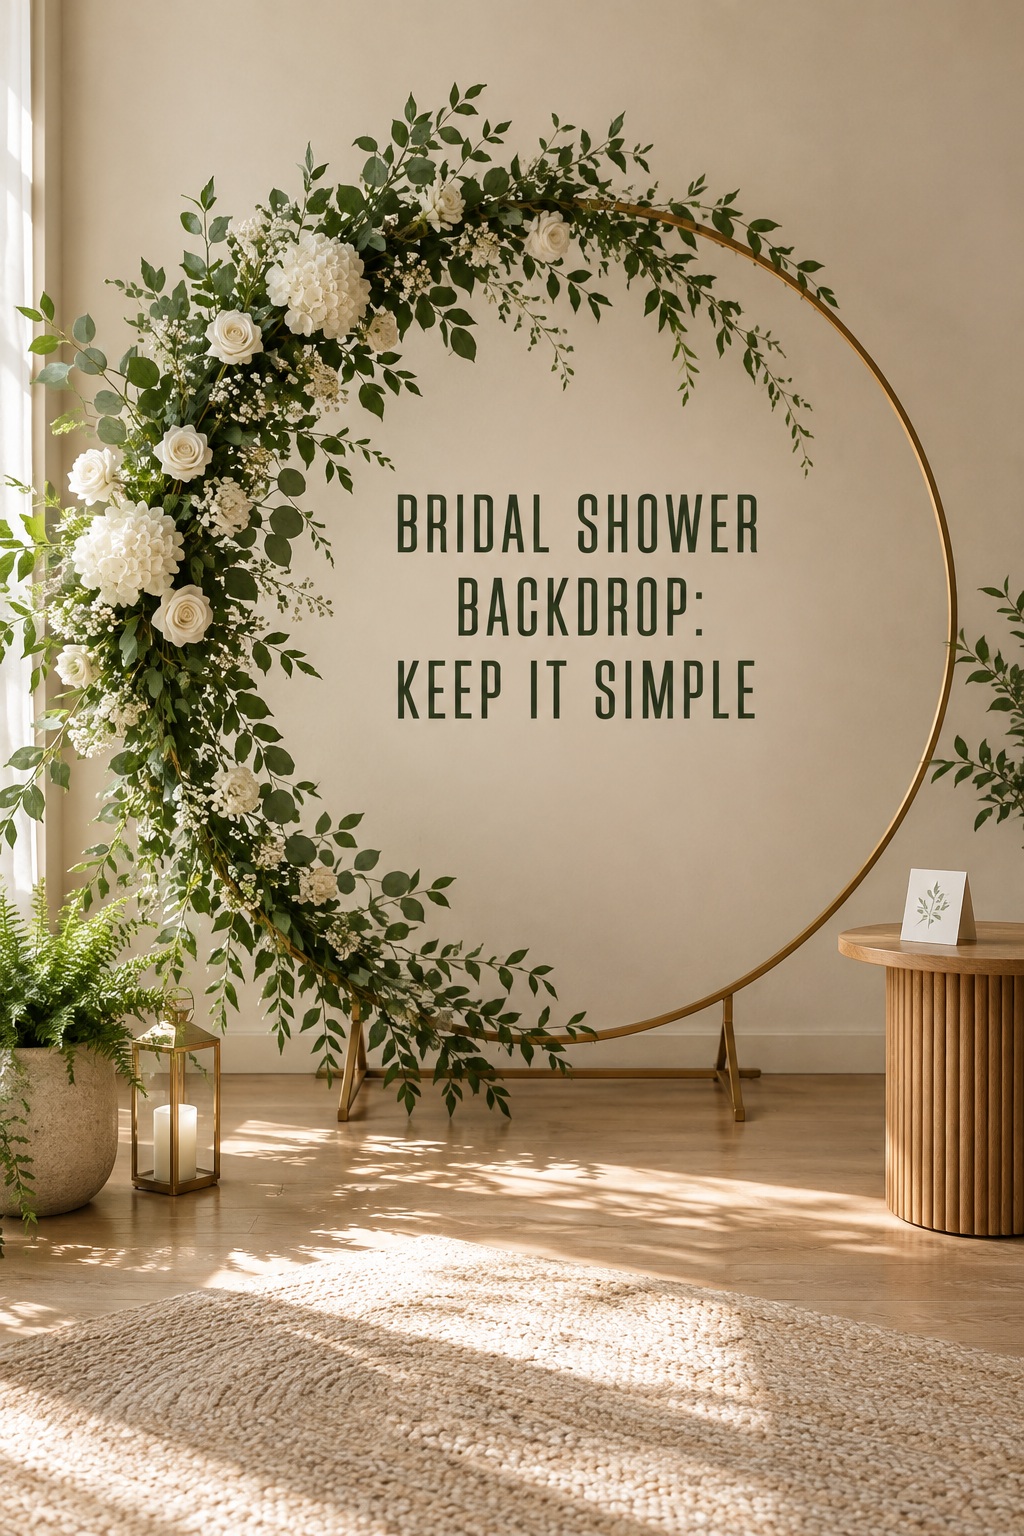
Greenery can make an indoor corner feel softer and can work with a garden, tea, or brunch gathering. It does not have to cover the whole wall. A few leafy strands around a frame or along a fabric panel may be enough. Add flowers sparingly if the table already carries a strong floral pattern. In a real outdoor setting, look first for a tree, hedge, or textured wall that can act as the backdrop on its own. A natural feature may need only a sign or a small arrangement to look intentional.
A sign-led backdrop with a clean center
A banner, printed panel, or name sign can carry the theme without much construction. Give the wording enough contrast to read in a photograph and place it where people will not block it when they stand together. If the design includes a name or date, confirm the text before printing. Surround it with a restrained edge detail, such as a narrow floral spray or two clusters of balloons. The sign should identify the moment; it does not need to explain the whole party.
Whichever format you choose, repeat one or two colors from the room rather than introducing a separate palette. If the table has patterned linens, let the wall be simpler. If the room is mostly neutral, a concentrated color at the edge of the frame can add energy. A small amount of empty space is useful: it gives the eye a place to rest and makes it easier for the people in the photograph to remain the center of attention.
Consider what can be reused after the shower, too. A fabric panel might work in a bedroom or future celebration; a frame may be repurposed for another event; a welcome sign can be stored as a keepsake. Reuse should be a pleasant bonus, not a reason to buy an installation that does not fit the present room. Start with the scene and the people who will use it, then decide whether keeping any component has real value.
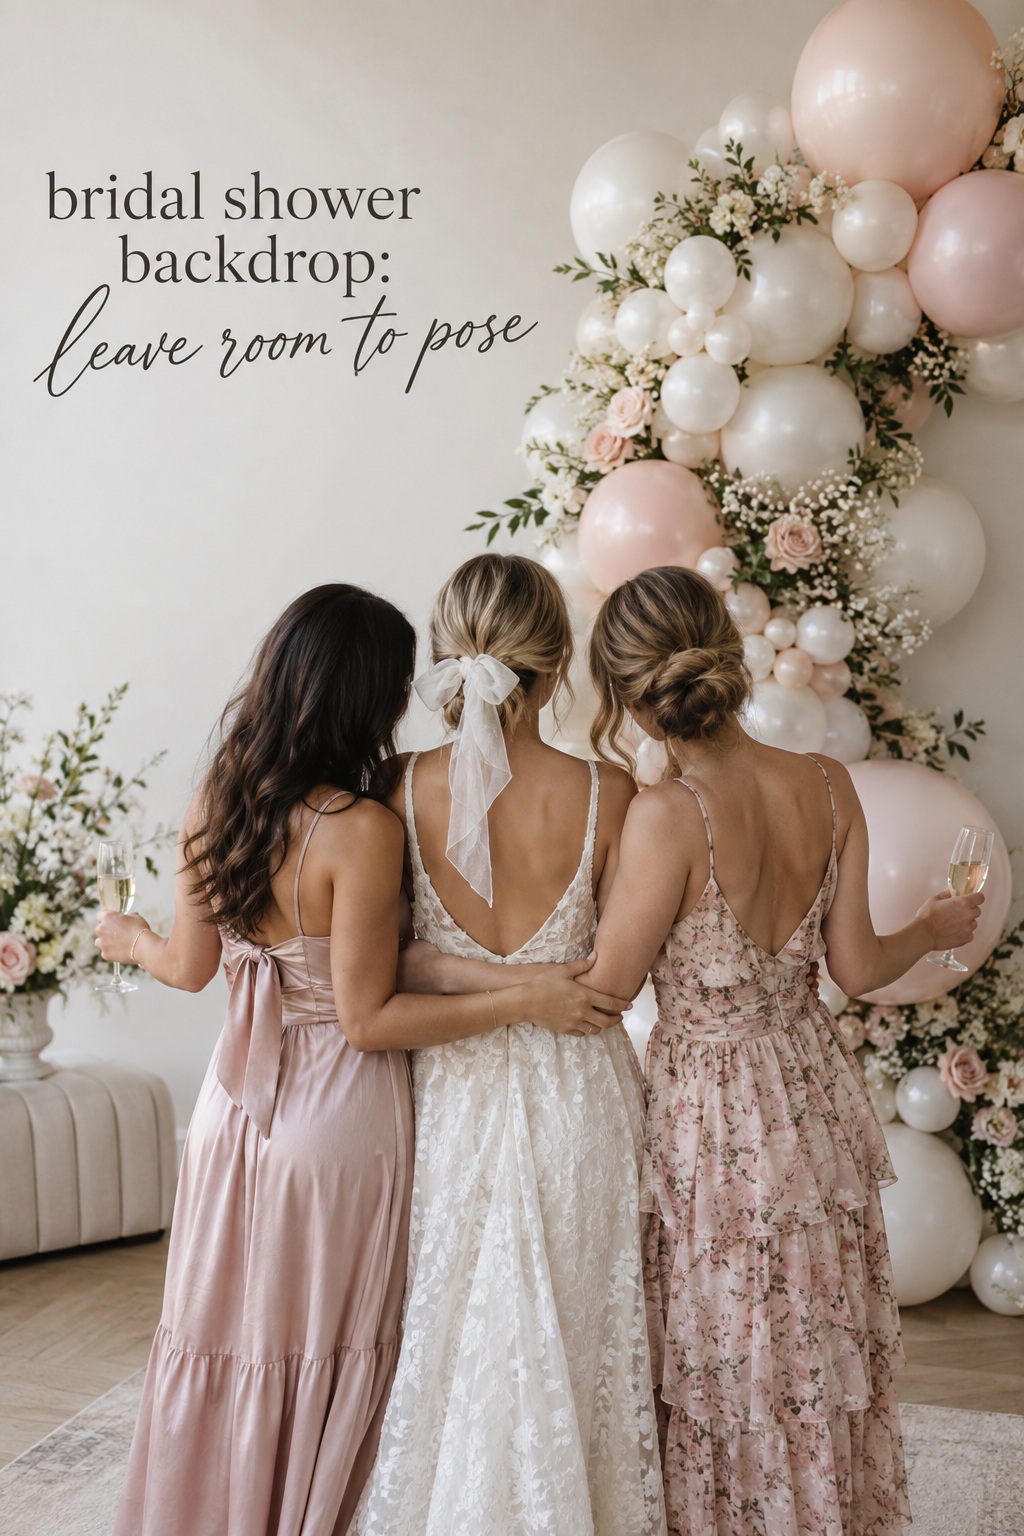
Make the Photo Spot Easy to Use
Guests are more likely to use a photo area when it is obvious what to do there. Leave a clear approach, make the standing area visible, and place any props close enough to reach without crossing the frame. If you want group portraits, allow room for several people to stand side by side. If the bride will open gifts in front of it, test the chair and table positions while the backdrop is still being set up. A beautiful corner that people have to navigate around furniture to reach may stay empty.
Set the camera position before finalizing the installation. Hold a phone at a natural height and take a test picture of one person standing where the bride will be. Then try a wider group. Move the person a little forward or back to see whether the wall looks flat or gains depth. Check for cropped wording, visible stand legs, a lamp or exit sign above someone’s head, and any object that appears to grow out of a person’s shoulder. Adjust the decor or camera angle while the room is still quiet.
Lighting should help faces, not only the background. If people will stand with a bright window behind them, turn the photo position so the window falls to the side when possible. Avoid aiming a light directly at glossy signage or metallic decor. A small change in angle may be enough to soften glare. If the room is dim, consider whether the host or photographer can use a nearby lamp or the venue’s existing lighting. Keep cords and stands out of the main path.
Think about the rhythm of the event. A host or friend can invite the first few guests to take a picture with the bride, which helps others understand the spot is available. If there are props, choose a small selection and place them on a side table rather than scattering them across the floor. For gift opening, keep the photo area ready before that activity begins, and leave an open place for gifts to be set down. These small cues make the installation part of the gathering rather than another thing guests have to figure out.
- Take one test portrait and one group photo from the intended camera position.
- Check faces, sign readability, background edges, reflections, and stand visibility.
- Leave an open path into and out of the photo area.
- Keep props together and within reach, without filling the standing space.
- Ask one person to cue guests or help keep the corner tidy during the event.
When the photo spot serves gift opening too, do not ask the backdrop to hide a crowded pile of packages or a serving station. Use a small table to one side and keep the center behind the chair as clean as possible. This gives the bride room to move and makes photos easier to frame. The setup can still feel layered; the key is to keep visual accents at the edges and leave the activity itself in the foreground.
A Calm Setup and Final Check
On event day, work from the largest pieces to the smallest. First clear and prepare the chosen area. Put the frame, fabric, or main panel in place and check that it is stable according to its instructions. Add the focal detail next, then smaller accents. This order makes it easier to see whether the composition needs anything else. It also prevents you from attaching decorative pieces to a surface that later has to be moved.
Keep a small setup kit nearby with the materials you have already confirmed are allowed for the venue, plus scissors, spare ties, and a cloth for smoothing surfaces. Do not assume that tape or hooks are acceptable on every wall. Ask the venue or homeowner before attaching anything, and follow the instructions that come with rented or purchased equipment. If a piece feels unstable, simplify the arrangement or use a permitted freestanding option rather than trying to conceal the problem with more decor.
When the structure is ready, style from the camera’s point of view. Remove packaging, bags, and extra supplies from the frame. Look at the sign from the distance guests will see it. If there is a name or date, check the spelling and alignment one last time. Take the same test photographs you plan to use for the final review, because a setup that appears balanced in person may look crowded through a phone camera.
- Confirm the wall or stand is stable and attachments follow venue permission and product instructions.
- Check the sign, names, colors, and placement from both the doorway and camera position.
- Take a portrait and group test photo; adjust glare, height, or spacing if needed.
- Move boxes, cords, bags, and spare supplies outside the frame and walking route.
- Know who will remove the installation and where reusable pieces will go afterward.
A bridal shower backdrop does not have to be a grand production to create a memorable corner. The right wall, one clear focal point, and a little attention to how people will stand and move can be enough. If the room is small, let the design stay compact. If the venue already has a beautiful feature, frame it instead of covering it. And if setup time is tight, choose a version that can be assembled without turning the last hour before guests arrive into a repair session.
The goal is a backdrop that supports the celebration while leaving room for the bride and guests to be themselves. Choose the moment first, read the room, create a scene with breathing space, and test it from the camera’s point of view. When those decisions are settled, the photos feel connected to the party, and the host can step away from the wall and enjoy the afternoon.
FAQ
What should a bridal shower backdrop be used for?
Choose one primary purpose, such as portraits, gift opening, or a welcome photo. A single backdrop can support more than one activity when the central area stays clear and there is room for guests to move around it.
Where should I put a bridal shower photo backdrop?
Place it on a visible wall or open area with enough room for the largest expected group and the person taking the picture. Avoid blocking entrances, serving areas, or the main path through the room, and test the camera view before decorating.
How do I make a small-room backdrop look good in photos?
Keep the design compact and concentrate the decor at the edges or above one corner. Use a simple background, leave space around faces, and take a test picture to check what the camera includes beyond the decorated area.
What are simple bridal shower backdrop ideas?
Try a softly draped fabric panel with a small floral cluster, a restrained balloon garland, a greenery frame, or a clean sign with one supporting detail. Choose the option that suits the wall, time, and setup help available.
How can I avoid glare in backdrop photos?
Take a test photo from the intended camera position and look for reflected windows or bright overhead lights on glossy signs and metallic decor. Shift the camera or the people slightly, or choose a more matte surface if glare remains distracting.
Can I use the same backdrop for gift opening and portraits?
Yes, if the backdrop has a clear center and enough room for the chair, gifts, and portrait groups. Keep the gift table to one side and test both arrangements in advance so one activity does not crowd out the other.