Wedding Day Nails: Choose Your Bridal Look
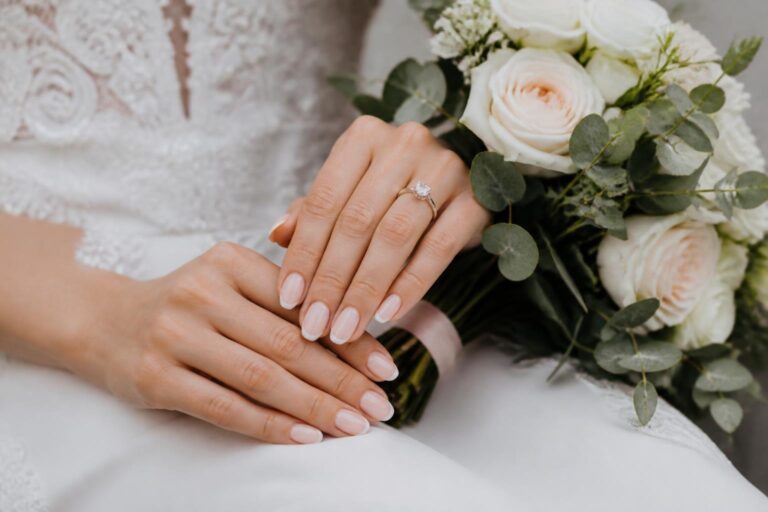
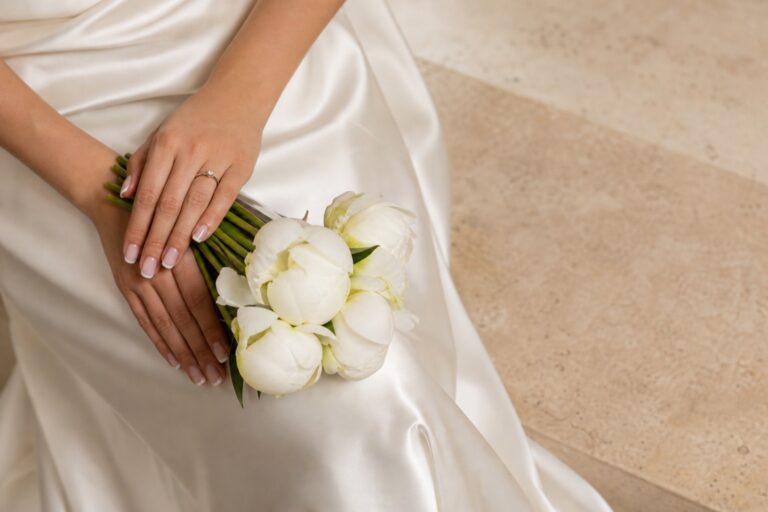
Wedding day nails have a surprisingly demanding job. They appear beside the engagement ring, wrapped around the bouquet, holding a champagne coupe, fastening buttons, signing paperwork, and reaching for your partner’s hand. They need to look beautiful in a close-up photograph, but they also need to feel like you while the day is moving quickly. The best bridal manicure is not automatically the palest shade or the most detailed set. It is the one that balances your style, your hands, your outfit, and the practical conditions of the celebration.
This practical guide gives you a way to choose without getting lost in dozens of saved images. You will compare five useful directions, match them to nail shape and dress details, decide between product options, and build a realistic appointment timeline. The goal is a clear salon brief: one finish, one shape, one level of detail, and a plan that leaves room for a repair if life happens.
Start With the Job Your Wedding Day Nails Must Do
Before choosing a color, list the moments when your hands will be seen. Your photographer may frame the ring alone, your bouquet may hide part of the manicure in one image, and your getting-ready photos may show every cuticle and edge. During the ceremony, your hands may rest at your waist or hold a program. At dinner, they will move through candlelight, glassware, and gestures. A finish that looks flat in daylight can disappear in a dim reception, while heavy glitter can compete with a ring in a close-up.
That does not mean your manicure has to be conservative. It means every visible choice should have a reason. A sheer blush may be right because it lets the ring lead. Pearl chrome may be right because it catches the light in photographs. A glossy berry shade may be right because it repeats the flowers and makes a simple dress feel personal. If you can name the job, you can edit the inspiration.
Your wedding look is only the beginning.
Keep your guest list, vendors, timeline, and every important detail together with Zarellea — so your day feels as considered as your style.
- For timeless ring photos: choose a balanced shape, smooth surface, and soft contrast.
- For a detailed gown: let the nails be a quiet frame rather than another embellished area.
- For a minimalist gown: use pearl sheen, a fine line, or a deliberate color for interest.
- For short natural nails: keep the design thin, evenly spaced, and proportional to the canvas.
- For a long wedding weekend: prioritize a tested product, comfortable length, and a repair plan.
Now look at your existing style. If you normally wear short, clean nails, a dramatic extension may photograph well but feel distracting all day. If you always wear color, a barely-there neutral may make you feel unfinished. Wedding photographs are valuable because they preserve your real expression, not because they turn you into a different person. Let the bridal version of your manicure be more polished, not unrecognizable.
Collect three references that solve the same problem. Do not bring one long folder containing a milky manicure, a jeweled stiletto set, a red square shape, and a completely different mood. Instead, describe the shared ingredient: warm translucent pink, a narrow French tip, a pearly surface, an oval edge, or one tiny floral accent. Your technician can then translate the idea to your natural nail length, skin tone, and product system.
Finally, photograph your ring and dress fabric together. Bright white, ivory, champagne, and blush are not interchangeable. A cool white can make ivory fabric look yellow; a warm beige can disappear beside champagne satin; a blue-based pink may look unexpectedly purple under indoor lighting. A quick daylight comparison gives you more useful information than choosing a shade from a studio image with filters.
Compare Five Bridal Manicure Directions
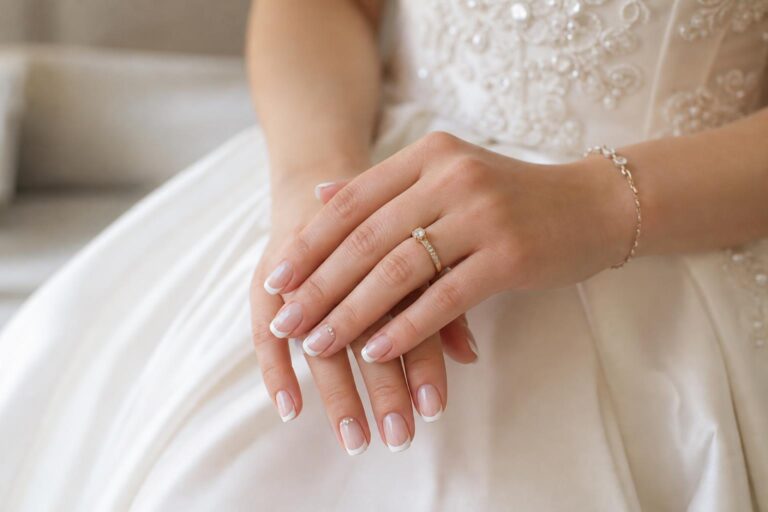
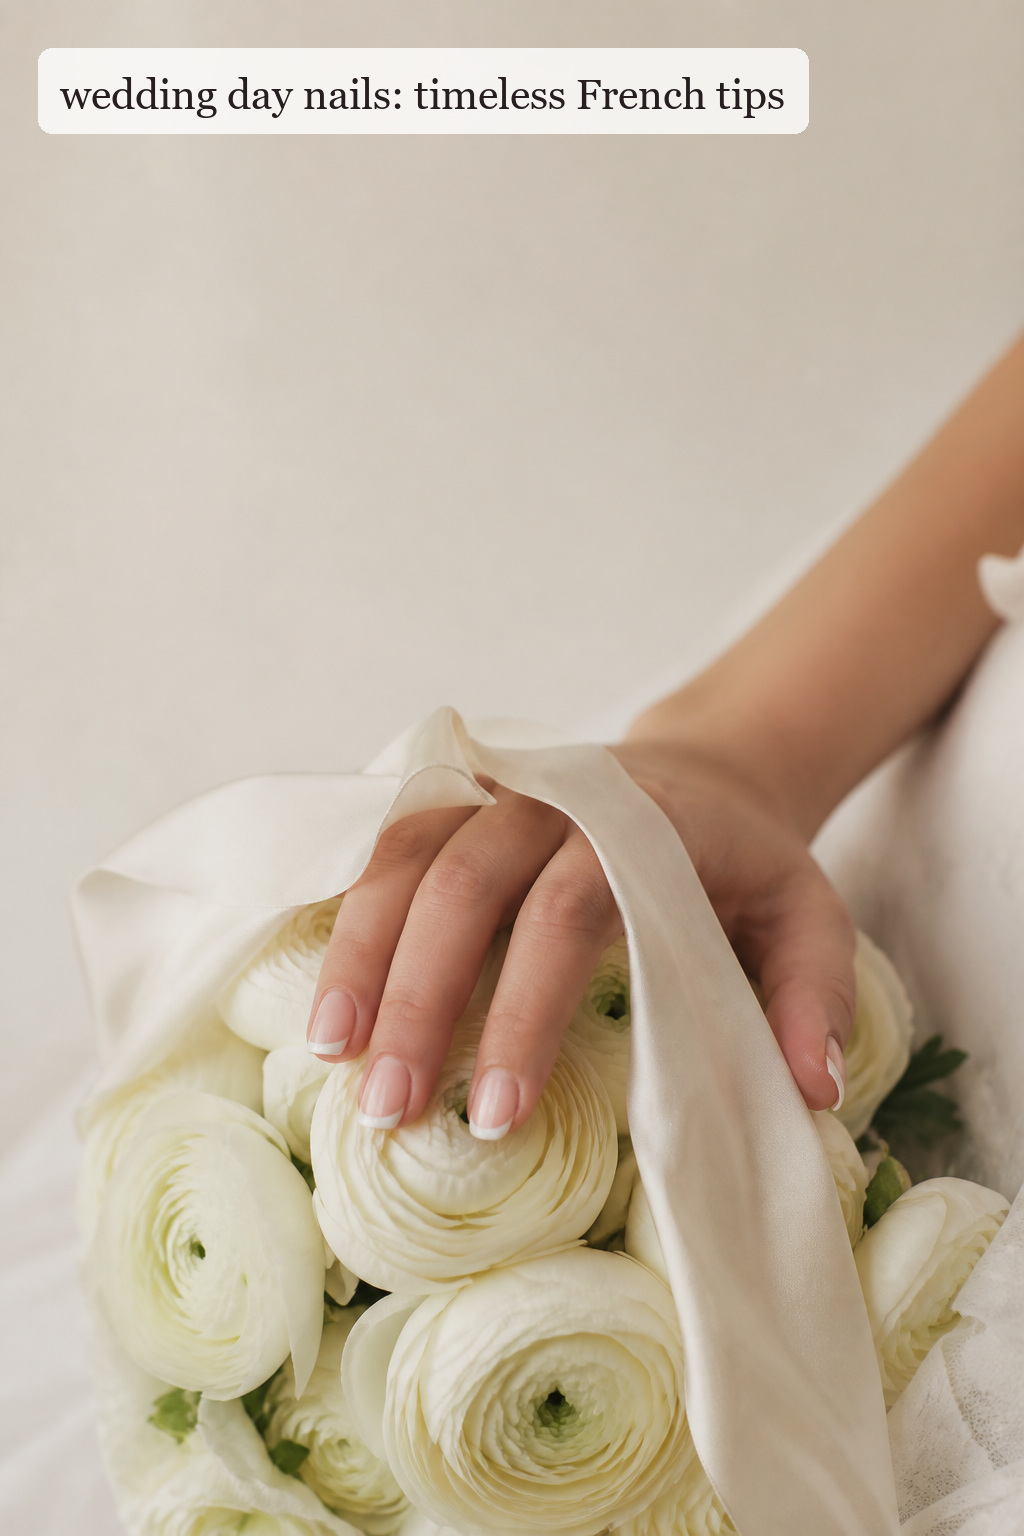
Soft French tips. A French manicure gives the nail a defined edge without filling the entire hand with saturated color. On short nails, ask for a micro tip that follows the natural free edge. On oval or almond nails, a softly curved tip can emphasize the length. If your dress is ivory, a softened white or cream tip may look more harmonious than a stark paper white. The main risk is an edge that is too wide or too straight, which can make a short nail look shorter.
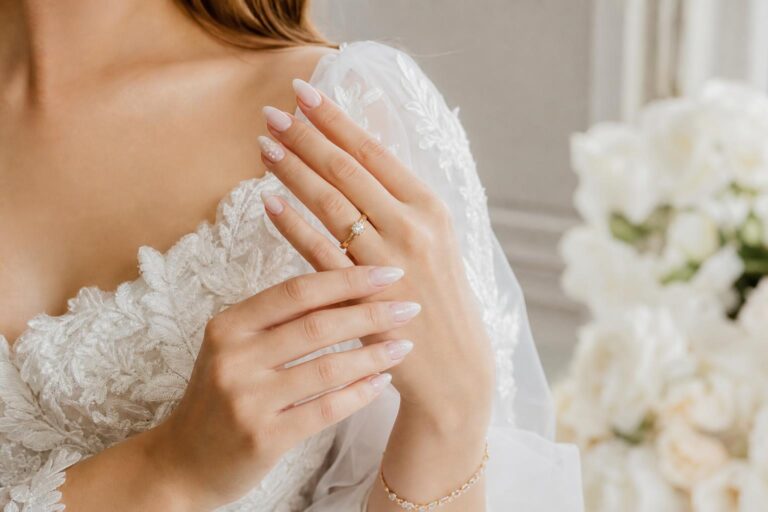
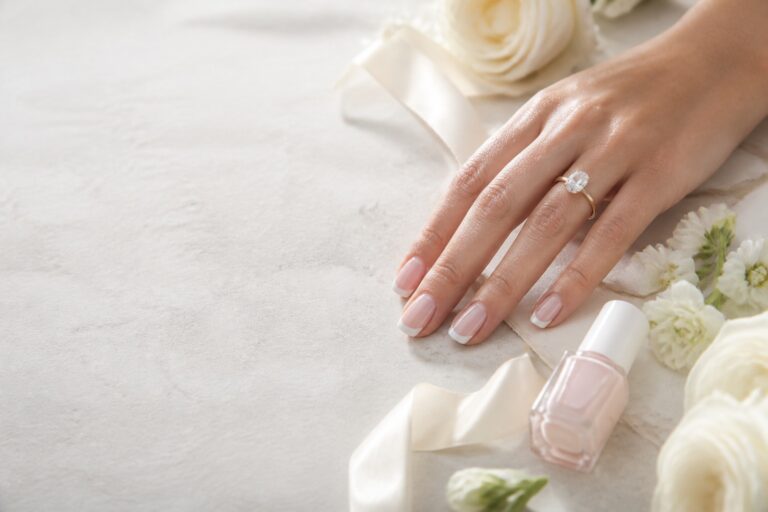
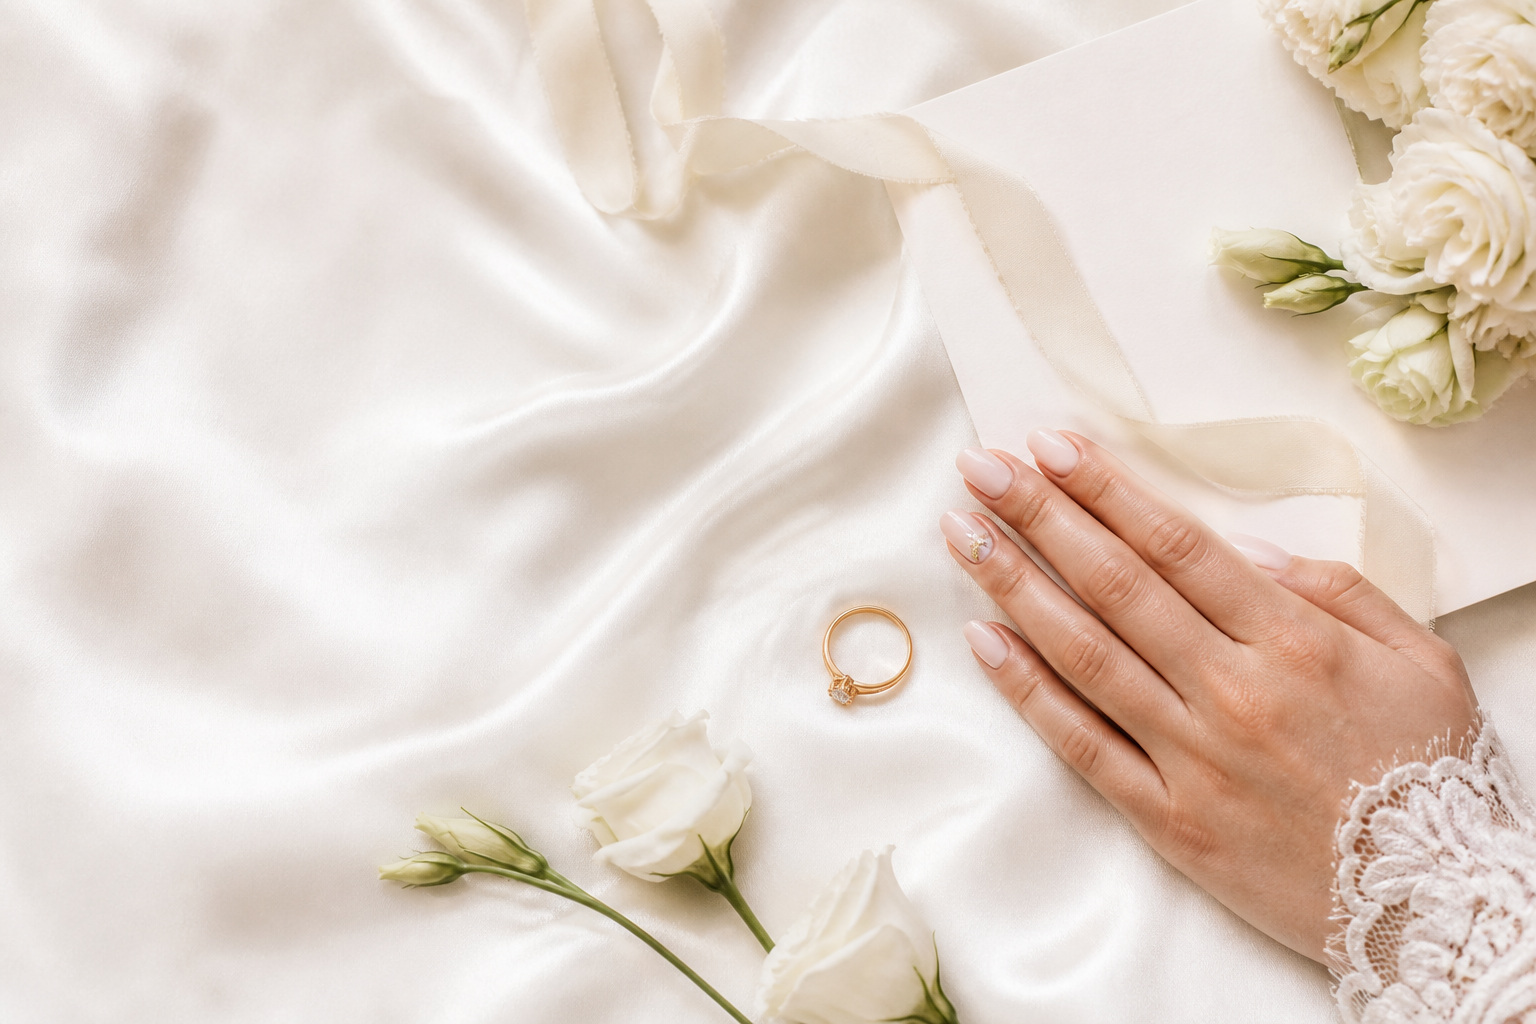
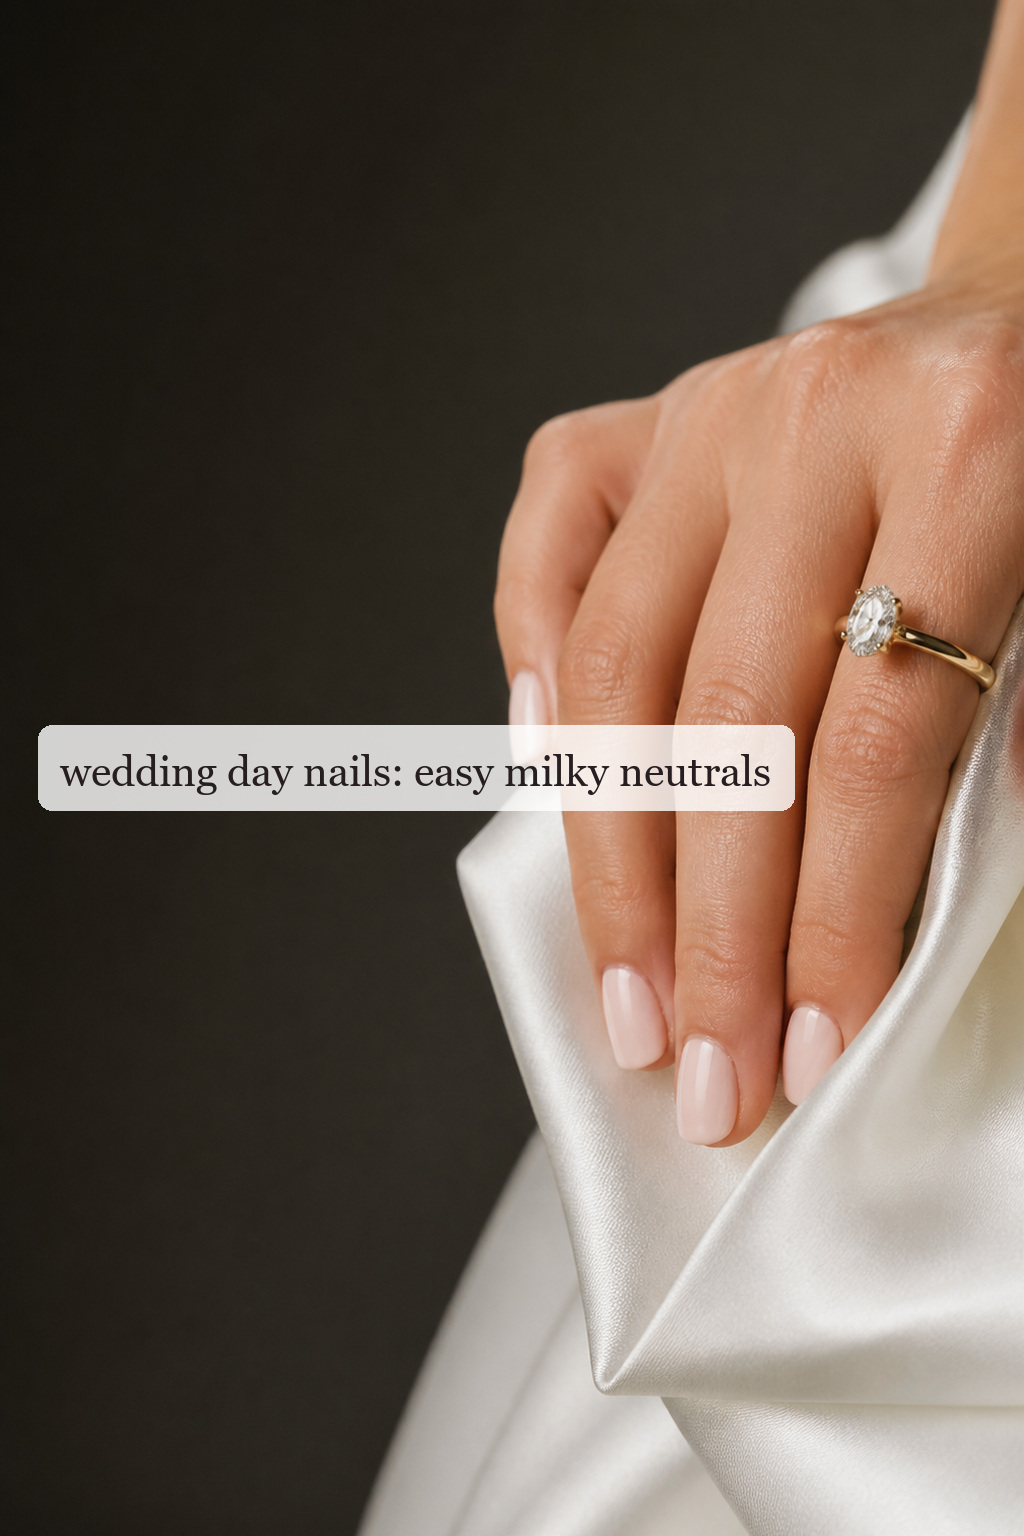
Sheer blush or milky neutral. This direction is ideal when you want your hands to look healthy, tidy, and quietly finished. Transparent pink, rosy beige, milky cream, and soft ivory work with almost every metal and bouquet color. The look is forgiving as it grows out and easy to wear with more than one wedding outfit. Because the base is sheer, however, preparation matters. Ridges, uneven tone, and dry cuticles will be more visible beneath a translucent coat.
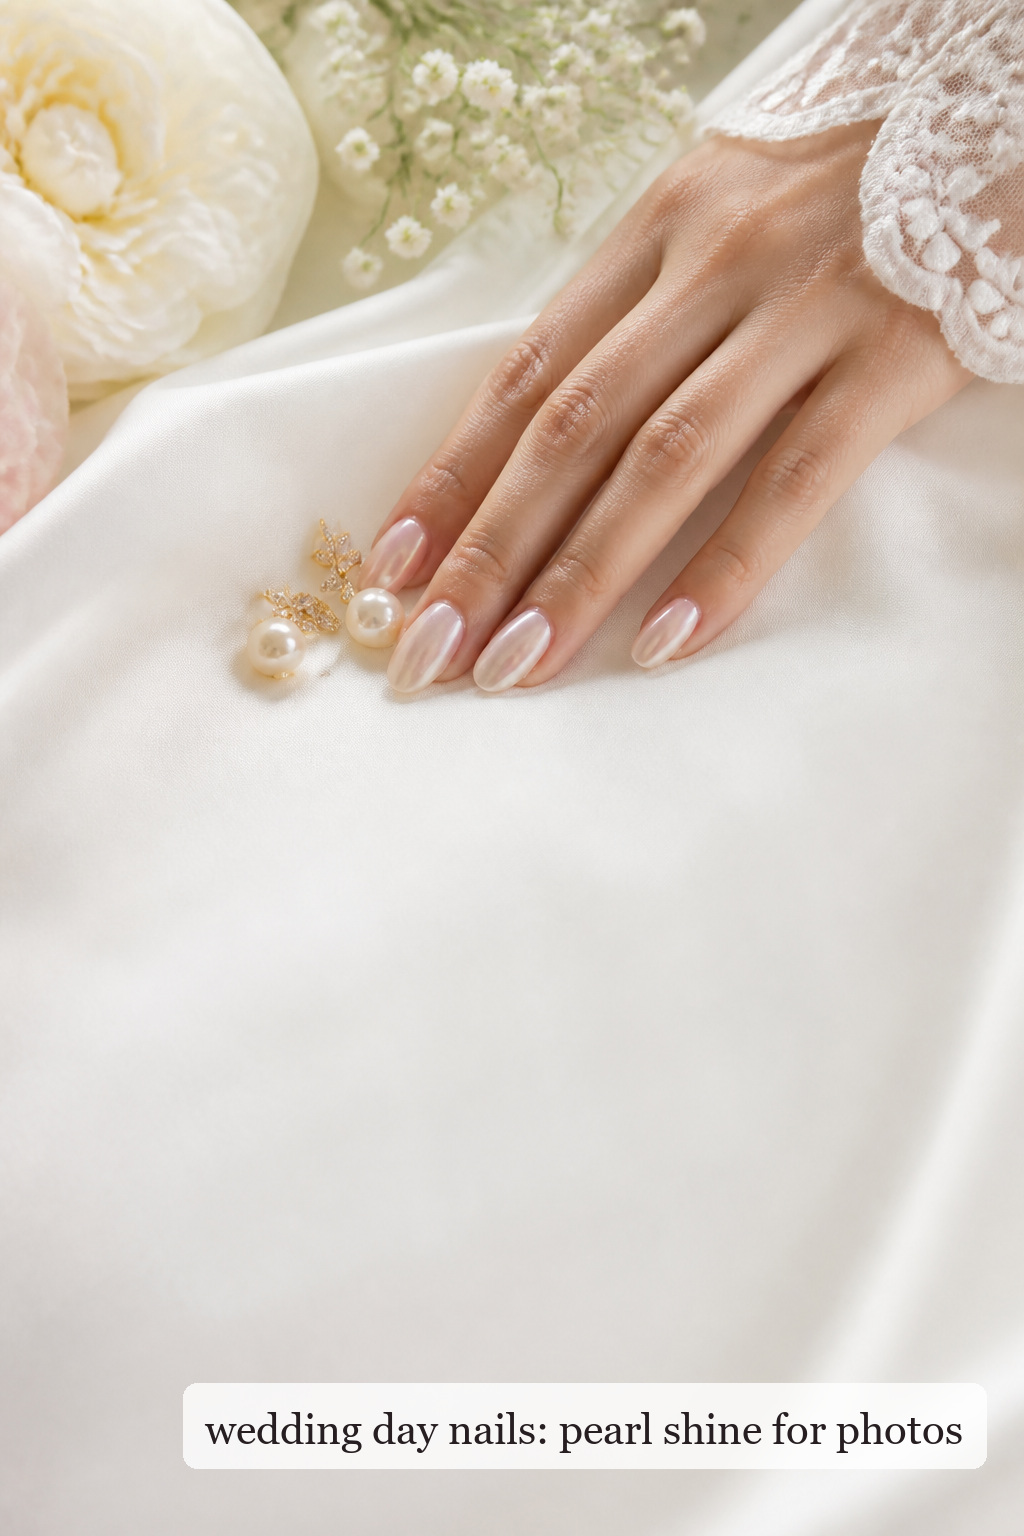
Pearl chrome or a glazed veil. A fine reflective layer brings movement to a simple manicure. It can read silver, pink, or champagne depending on the base underneath, so test the exact combination rather than approving chrome from a color chart alone. Pearl finishes are excellent for close-up photos because they pick up daylight and candlelight without needing a busy pattern. The trade-off is that reflection reveals every bump, so a smooth overlay and careful shaping are essential.
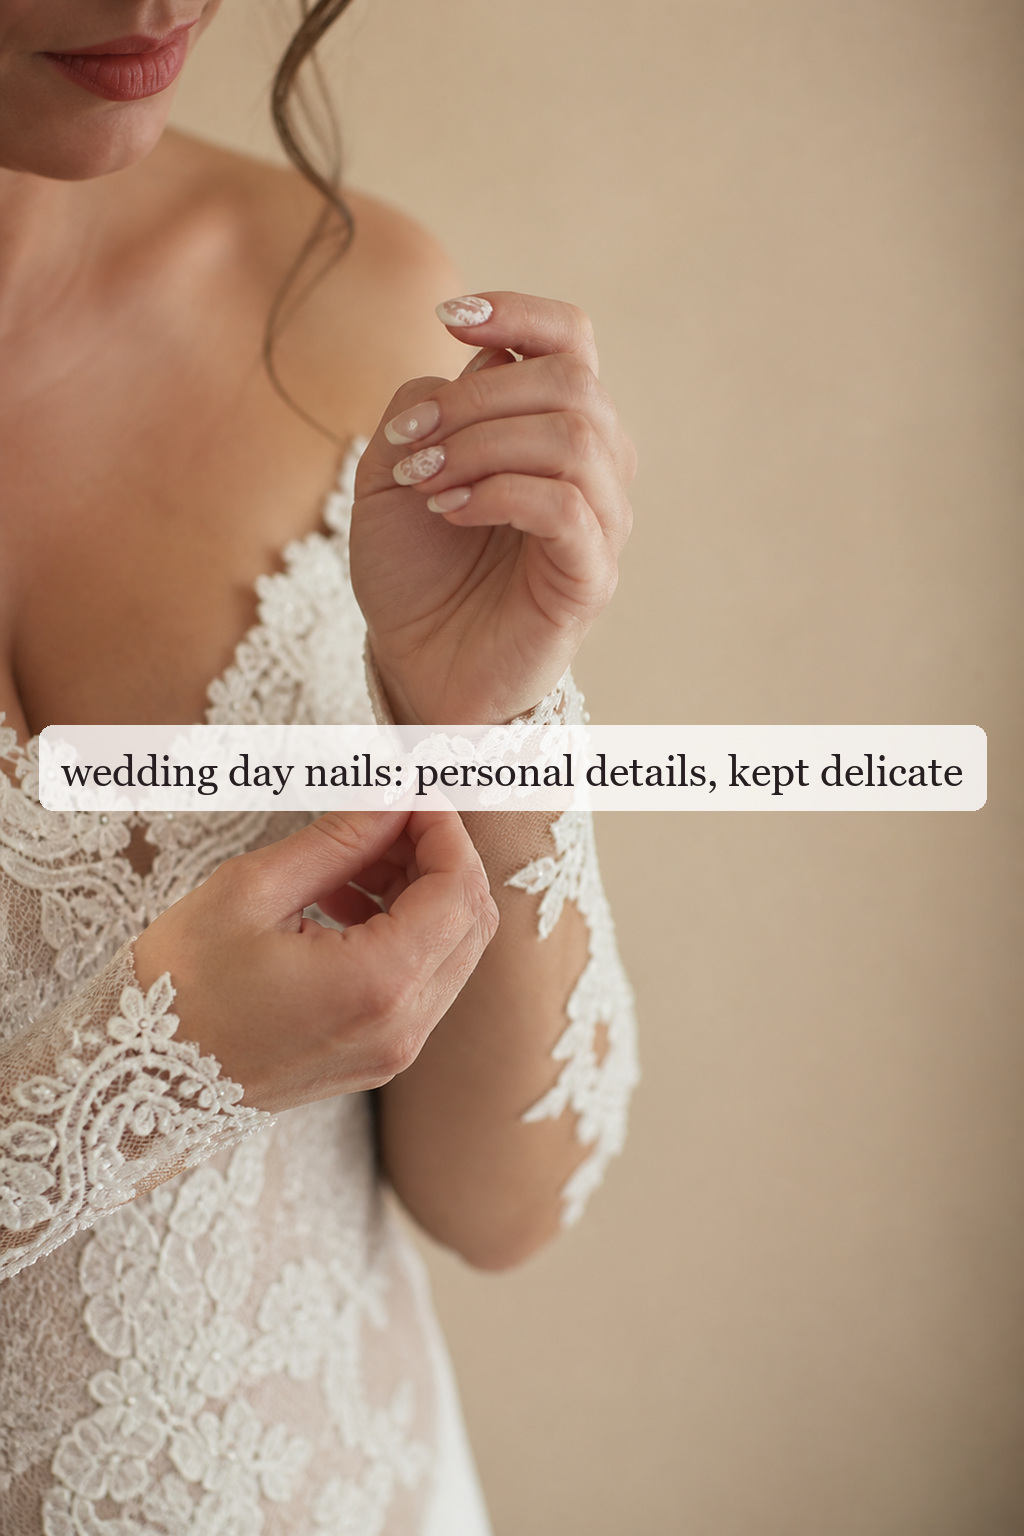
Delicate art. Tiny bows, fine lace lines, micro flowers, small pearls, white swirls, and one accent nail can make the manicure feel connected to the wedding. Choose a detail already present in the styling: a bow on the shoes, pearl earrings, a floral motif, or a metallic stationery edge. Repeat one idea instead of giving each finger a different story. Large charms may catch on lace or hair, and raised decorations can be uncomfortable when you are dressing or holding a bouquet.
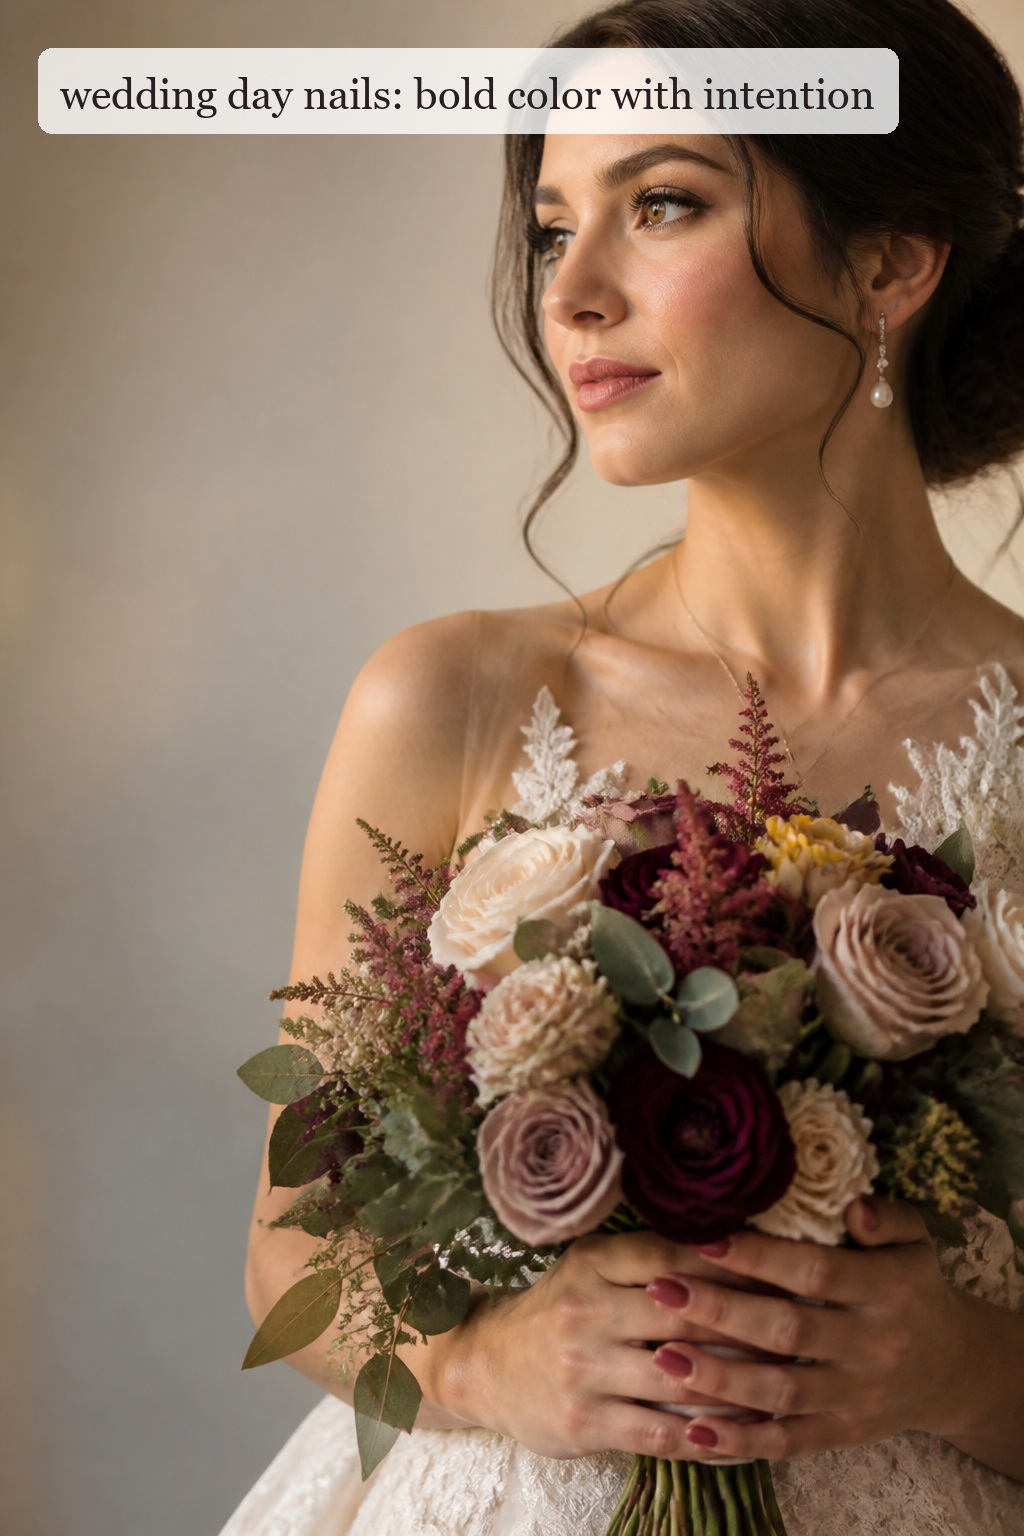
Polished color. Bridal nails can be red, berry, dusty rose, pale blue, sage, terracotta, or plum. A saturated shade feels intentional when it echoes the flowers, shoes, stationery, second-look outfit, or cultural tradition. Keep the surface glossy and the shape tidy so the color remains bridal rather than costume-like. Color deserves a full trial beside the gown because a shade that looks romantic online may fight the fabric or photograph much darker than expected.
- Most flexible: sheer blush, milky neutral, or a soft French.
- Most reflective: pearl chrome over a smooth translucent base.
- Most personal: a quiet base with one motif linked to the wedding.
- Most expressive: a saturated shade with a clear palette connection.
- Most preparation-sensitive: sheer colors and reflective finishes.
You can also use the one-change rule. Start with a simple base, then decide whether the manicure needs one additional element: pearl, a colored tip, a metallic line, or an accent nail. This keeps the result legible. When shape, color, chrome, glitter, gems, and art all compete at once, the eye cannot tell which idea is intentional and your hands may look busier than the rest of the styling.
Think about your reception lighting too. A high-shine finish usually survives both daylight and evening images. Fine pearl can glow under flash. Matte polish can look editorial, but it may show fingerprints and feel less traditional beside a glossy ring. If you love matte, consider a matte accent rather than making every nail flat, and test it in the actual lighting of the venue when possible.
Match Shape, Finish, Dress, and Jewelry
Shape is the foundation of wedding day nails. Short round and squoval nails are practical and look intentional with glossy neutrals, micro-French tips, and a centered detail. They are easy to manage during travel and do not require a dramatic change from your everyday hands. A short nail does not need to imitate a long almond set; clean edges, even length, and a smooth cuticle line create plenty of polish.
Oval nails have a soft, classic proportion that suits French lines, translucent color, and pearl glaze. Almond nails can visually lengthen the fingers and feel romantic, but they need enough length to keep the point balanced. If you are considering extensions, test the shape early and live with it through ordinary tasks. You should be able to fasten jewelry, carry a bag, use your phone, and button clothing without constantly noticing the tips.
Square and squoval shapes bring a graphic quality to French tips, metallic edges, and geometric minimal art. Soft corners are usually easier to wear than very sharp corners during a multi-day celebration. Tapered square or coffin shapes can support a stronger fashion brief, but they should be proportionate to your fingers and the visual weight of your dress. A dramatic silhouette is optional; it should not become a source of wedding-day anxiety.
Use the gown to decide how much visual weight the manicure can carry. Lace and embroidery pair naturally with sheer blush, a fine French, a pearl veil, or delicate art that repeats one motif. Clean satin and crepe can welcome milky color, chrome, a crisp line, or a single deep shade. Beaded gowns often look best with a quieter glossy base so the hands do not become a second cluster of sparkle. A colorful dress can either welcome a matching polish or benefit from a neutral that lets the fabric lead.
Jewelry helps with undertone. Warm gold and champagne stones often harmonize with peach, beige, warm ivory, caramel, and gold details. Platinum and cool diamonds can pair with rosy pink, neutral ivory, blue-white, or silver pearl. Mixed metals make a flexible neutral especially useful. If your engagement ring has a strong halo, colored stone, or detailed setting, a calmer manicure creates a clean frame around it instead of turning the photograph into a competition.
- Short squoval: milky neutral, micro-French, glossy blush, or one small accent.
- Oval: traditional French, pearl glaze, soft ombre, or fine floral detail.
- Almond: elongated French, chrome veil, fine metallic edge, or restrained lace art.
- Square: crisp French, colored tip, negative-space line, or graphic minimal art.
Test pale, reflective, and saturated shades on a swatch and on one nail. Look at them beside your hand, ring, and dress fabric in daylight and indoor light. Check whether the base looks chalky, turns yellow, disappears against the gown, or reflects more than you expected. This is also the moment to decide whether a white tip should be bright, soft, ivory, or slightly translucent.
Make sure the manicure fits the full beauty picture. A soft romantic hairstyle and lace dress can support a pearl or micro-floral detail. A slick bun and minimalist gown may look better with a clean glazed finish or a precise French. The aim is not perfect matching; it is a shared level of finish. When the hair, makeup, dress, jewelry, and nails all speak at the same volume, the bride remains the focus.
Plan the Trial, Product, and Wedding-Week Timing
A nail trial is worthwhile when you are changing length, trying extensions, testing chrome, choosing art, using a new salon, or wearing a product you have never tried. Book it early enough to discover irritation, lifting, discomfort, or a shape that does not fit your routine. Wear the trial through normal activities. Notice whether the edge catches on fabric, whether the color works in photos, and whether you still like looking at it after the first excitement fades.
Bring the actual ring if you can, plus a dress-fabric photo taken in daylight. Show the technician the bouquet palette and one or two outfit references. Explain the wedding location and schedule: a beach celebration, a garden weekend, a city-hall ceremony, and a formal ballroom each create different practical demands. Be specific about your comfort level with length and maintenance. “Elegant but easy to live with” is useful only when you define what easy means for you.
Product choice is a balance of appearance, wear time, removal, and nail condition. Regular polish offers simple removal and can be a good choice for people who dislike curing lamps or need a low-commitment option, but it needs enough drying time and can chip sooner. Gel polish cures quickly and usually gives a durable glossy surface, but it should be removed correctly rather than peeled. Builder gel or extensions can add structure and length, yet they need a skilled application and a safe removal plan.
Press-ons can work beautifully when fitted and secured carefully, particularly for a short engagement or a bride who prefers an at-home option. Test the exact set before the wedding and keep replacements, adhesive, and a small file in your emergency kit. Do not wait until the morning of the ceremony to discover that the shape interferes with your dress buttons. Any product can fail when it is rushed, applied to an unprepared surface, or exposed to activities it was never tested for.
For the final appointment, many brides prefer the manicure one to three days before the wedding. The right window depends on the product, your nail growth, travel, rehearsal events, and your technician’s advice. Earlier can be sensible if you are traveling or have fragile nails; closer can be useful for regular polish or a design that needs maximum freshness. Leave a buffer for a repair and confirm who to contact if a nail lifts.
- Start daily cuticle oil and hand cream several weeks before the wedding.
- Schedule a trial early for extensions, chrome, art, or a new product.
- Approve the shape before color and the color before decoration.
- Confirm appointment length, curing method, aftercare, and safe removal.
- Pack a file, adhesive or polish, cuticle oil, and the salon contact for emergencies.
In the final week, avoid using your nails as tools. Do not open cans, scrape labels, or lift heavy objects with the free edge. Wear gloves for cleaning and keep cuticle oil nearby. If a nail breaks, call the salon instead of trying an unfamiliar repair the night before. A calm correction is much easier when you have not already filed the shape unevenly or layered incompatible products over it.
Use This Final Salon Brief
When you are ready to book, send your technician a short brief rather than a collage. Include the exact shape and approximate length, the base color or undertone, the finish, the level of art, the product you want to use, and the date of the wedding. Add what you do not want: bulky tips, sharp points, high-contrast white, raised charms, or a design that hides the ring. Clear boundaries help the professional make a beautiful adaptation.
A useful example might read: “I want short-to-medium oval wedding day nails with a warm translucent blush base, a very fine soft-white French tip, and a subtle pearl sheen. Please keep the surface smooth and the tip narrow. My dress is warm ivory satin and my ring is yellow gold. I want one tiny pearl accent at most, no large charms, and a finish that photographs cleanly in daylight and candlelight.”
Before you leave, check every angle. Hold your ring, turn your hands palm-up, make a fist, and mimic the bouquet hold. Look at the cuticle line, sidewalls, length, and finish. Take a close-up and a full-hand photo. If you see a shape issue, say so while the appointment is still happening. The goal is not to be difficult; it is to make the final result comfortable and dependable.
The strongest wedding day nails are rarely the ones with the most elements. They are the ones with a clear point of view: the right shape for the hands, the right undertone beside the dress, the right amount of light for the photographs, and enough preparation to survive the real day. Choose a manicure you will enjoy seeing in the images years from now, but also one you can forget about while you are busy getting married.
FAQ
What are the most timeless wedding day nails?
Sheer blush, milky neutral, soft French tips, and a fine pearl finish are among the most adaptable choices. Timelessness comes from balanced shaping, a flattering undertone, and a design that supports your ring and dress rather than copying a trend.
What wedding day nails work best for short nails?
Short round, squoval, and softly tapered nails suit glossy neutrals, micro-French tips, sheer blush, and small centered details. Keep lines thin and leave breathing room so the design respects the smaller canvas.
Should wedding day nails match the dress?
They do not need to match exactly. They should relate to the dress, jewelry, bouquet, or overall palette. Test the polish beside the actual fabric because bright white, ivory, champagne, and blush can change how the color reads.
When should I get my wedding manicure?
Many brides schedule the final manicure one to three days before the wedding. Adjust the timing for regular polish versus gel, travel, rehearsal events, nail growth, and your technician’s recommendation. Leave enough time for a repair if needed.
Do I need a wedding nail trial?
A trial is especially useful for extensions, chrome, nail art, a new product, a new technician, or a significant change in length. Wear the trial through ordinary activities and photograph it with your ring and dress fabric before finalizing the brief.
Can a bride wear red or another bold nail color?
Yes. Red, berry, pale blue, sage, or another saturated shade can look bridal when it connects to the palette or your personal style. Test the color beside the gown, keep the shape tidy, and simplify the art so the color feels intentional.