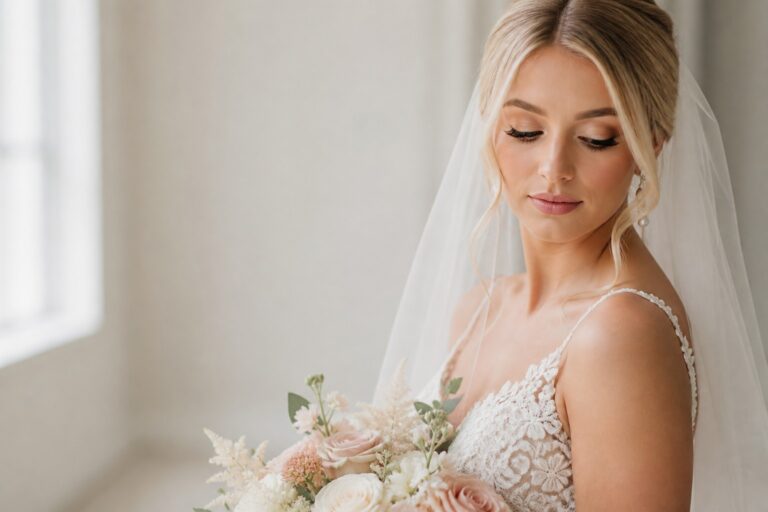
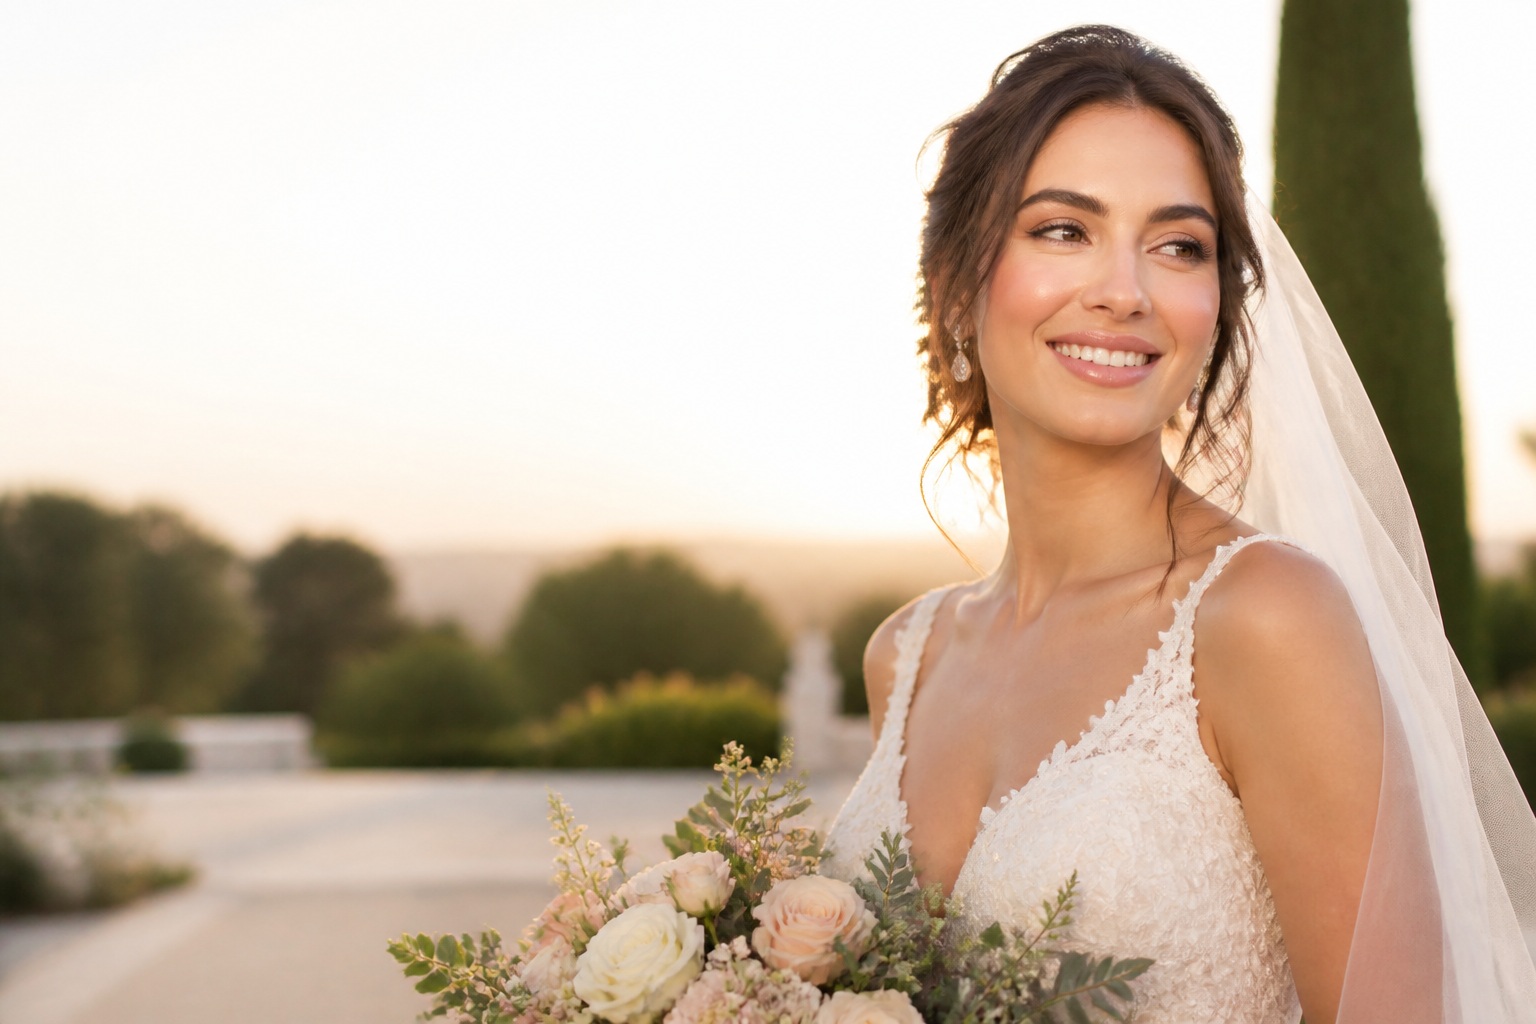
Glowy Bridal Makeup That Photographs Beautifully
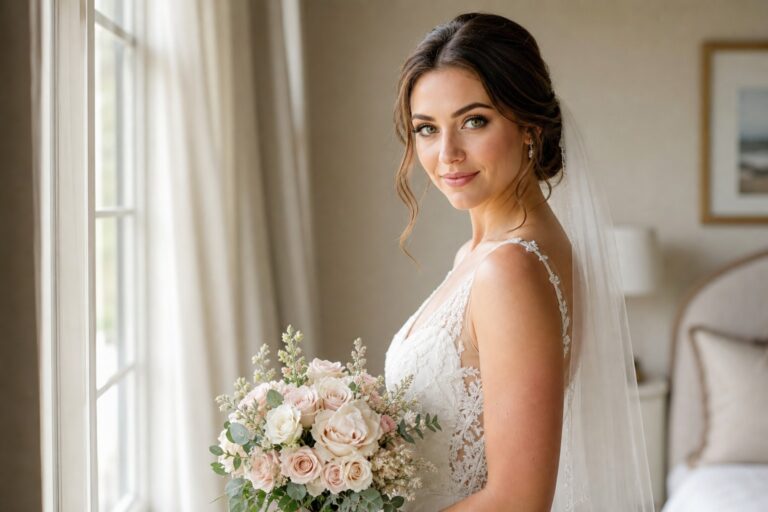
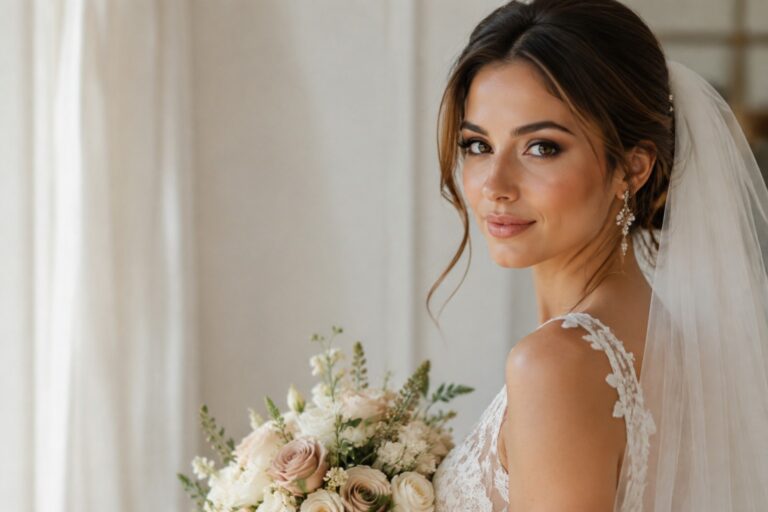
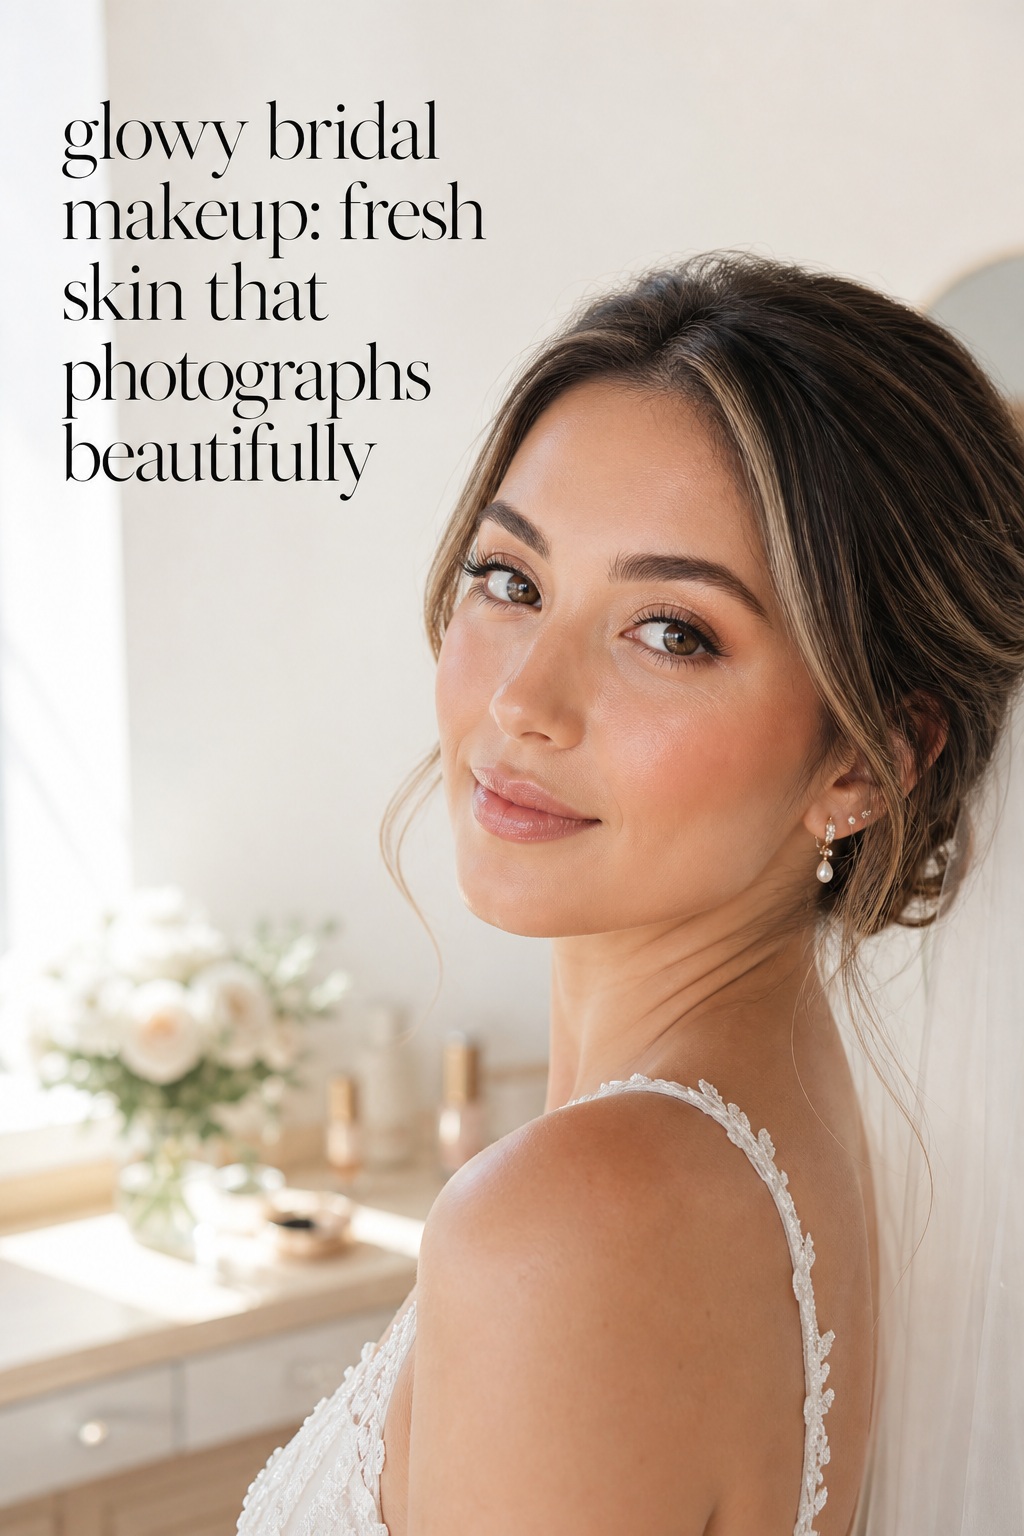
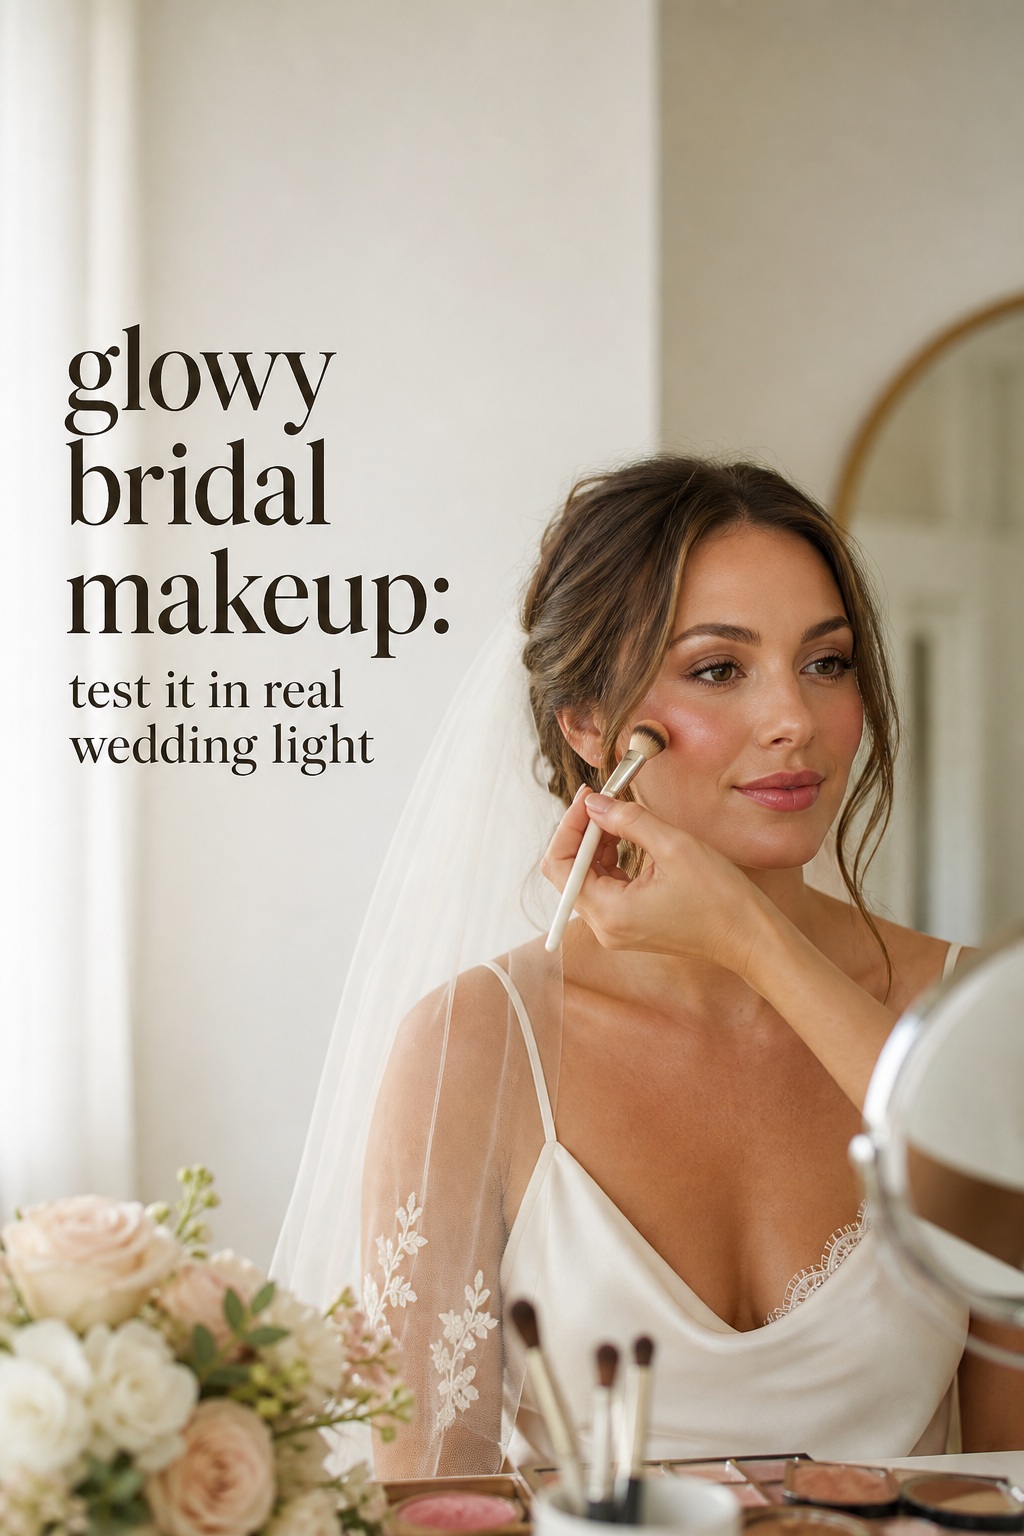
Glowy bridal makeup is having a useful moment because it answers a real wedding-day wish: skin that looks healthy, dimensional, and unmistakably like you. The best version is not a wet layer of shine across the entire face. It is a controlled balance of hydration, light coverage, soft color, and carefully placed reflection that still looks polished when you move from window light to flash photography.
Current bridal inspiration often shows dewy skin with champagne or pearlescent eyes, peach or rose blush, and a glossy or satin lip. Those ideas are a starting point, not a prescription. Your skin type, climate, venue, dress, jewelry, camera style, and comfort level should decide how luminous the final look becomes. Use this guide to translate the trend into a wedding makeup plan you can test and explain.
1. Define the Kind of Glow You Actually Want
Before choosing products, describe the finish in ordinary language. Do you want skin that looks fresh and hydrated, softly luminous, sun-warmed, or visibly reflective? These phrases lead to different makeup decisions. Fresh and hydrated usually means a thin radiant base, cream blush, and restrained highlight. Sun-warmed may add bronzer and peach tones. Visibly reflective may include pearlescent eyes or a stronger cheek highlight, but it needs more careful placement for photographs.
The word dewy can also create confusion. Dewy skin has controlled light on the high points and enough powder or blurring around areas that become shiny. Oily skin reflects light in places you may not want to emphasize, especially around the nose, center forehead, and upper lip. Ask your artist to preserve glow on the cheekbones while setting the areas that need stability. That contrast is what makes the complexion look intentional.
Your wedding look is only the beginning.
Keep your guest list, vendors, timeline, and every important detail together with Zarellea — so your day feels as considered as your style.
Fresh skin versus glossy skin
Fresh skin looks even, comfortable, and alive. You can see a soft sheen, but the complexion still has structure. Glossy skin has a stronger surface reflection and may suit an editorial portrait or an evening celebration, yet it can look greasy under direct flash if every area carries the same shine. Save the strongest reflection for one or two features and keep the rest softly satin.
Natural glow versus soft glam
A natural direction lets skin texture remain visible, uses lighter coverage, and often pairs the glow with brushed brows, a soft brown lash line, rosy cheeks, and a balm or satin lip. Soft glam keeps the same luminous skin idea but adds more sculpting, lash definition, eye contrast, or lip color. Neither is automatically more bridal. The right choice is the one that matches how you normally recognize yourself in photographs.
- Fresh and natural: sheer radiant base, cream blush, soft brown eyes, satin balm.
- Romantic: rose or peach cheeks, champagne lid, fluttery lashes, pink-nude lip.
- Soft glam: layered complexion, gentle bronzer, defined eyes, satin or glossy lip.
- Evening luminous: deeper cheek or lip color, controlled pearlescent detail, stronger setting plan.
Save references that show the makeup in a similar lighting environment, not only close-up studio portraits. A bright outdoor ceremony, a candlelit reception, and a direct flash portrait can make the same foundation appear completely different. Bring three or four images that share the finish you want and tell your artist what you like in each one. One may show the complexion, another the eye shape, and another the lip balance.
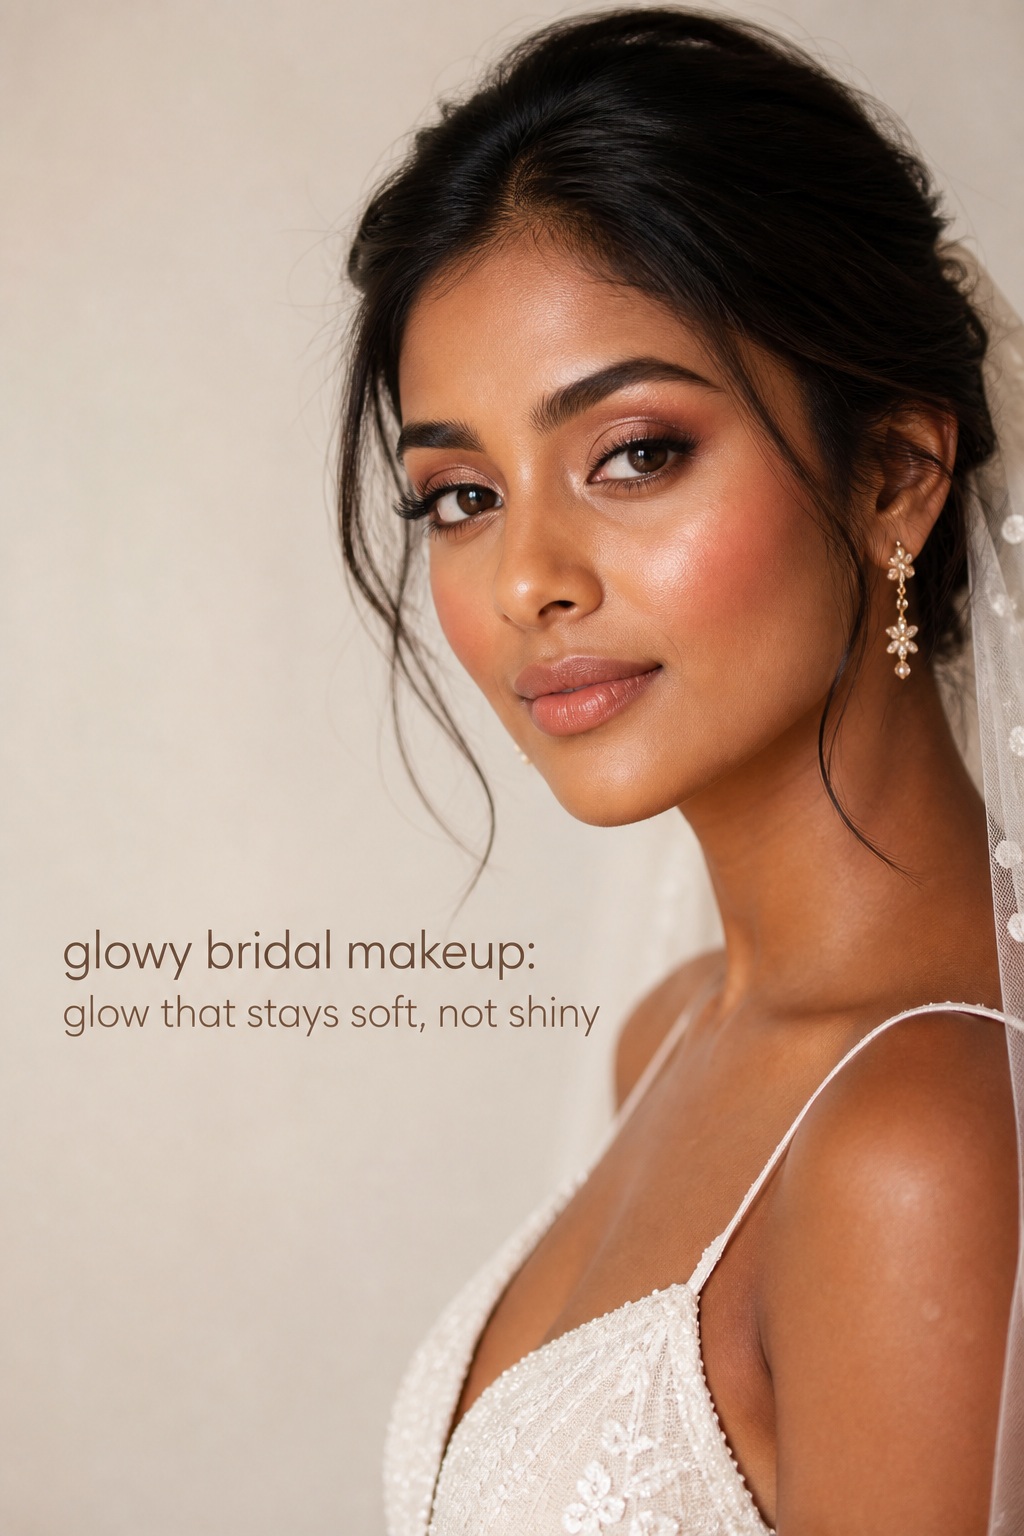
2. Build the Glow From Skin Prep to Complexion
Glow begins before foundation, but more skincare is not always better. The goal is a calm, hydrated surface that can hold makeup without pilling or becoming slippery. Keep your routine familiar near the wedding. A new exfoliant, strong active, facial oil, or heavily fragranced product can cause irritation at exactly the wrong time. Your makeup artist needs to know what your skin normally tolerates, not what a trend recommends in theory.
Prep according to skin behavior
Dry or flaky skin usually benefits from gentle cleansing, a familiar hydrating layer, and enough time for moisturizer to settle. Do not cover visible flakes with extra highlighter. That makes texture more noticeable. Combination or oily skin may need hydration in the drier zones and a more balancing primer around the center of the face. Sensitive skin needs the simplest tested routine. Mature or textured skin often looks more luminous when thin layers are pressed into place instead of built heavily across every area.
Primer should solve a specific problem. A hydrating primer can soften the look of dryness, a smoothing primer can help around pores, and a gripping formula can support wear where makeup tends to move. You do not have to use one primer everywhere. Applying different textures to different zones can preserve glow on the cheeks while improving control around the nose and forehead.
Use thin complexion layers
Choose foundation by the finish you can maintain, not only by how radiant it looks during the first ten minutes. A light or medium buildable formula lets your real skin contribute to the glow. Start in the center of the face where you want evenness, then sheer the edges toward the hairline and jaw. Add coverage only where redness, blemishes, or discoloration genuinely need it. The result is more dimensional than applying an opaque layer over the entire face.
Concealer should also be targeted. Brightening the inner under-eye and covering a small area of discoloration can make the complexion look rested without turning the whole under-eye into a dry, reflective patch. Let each layer settle before deciding whether you need more. A damp sponge can soften excess product, while a small brush can keep coverage precise around the nose and mouth.
Place reflection where the camera can use it
Cream or liquid highlight is most useful on the upper cheekbone, the outer brow area, and sometimes the cupid’s bow. Use a small amount and press it into the skin rather than drawing a thick stripe. The bridge of the nose can catch beautiful light, but it can also become the brightest feature in a flash photograph, so test that placement before the wedding. Keep highlighter away from active texture unless you want to emphasize it.
Powder does not cancel a glowy look. It gives the glow a frame. Set under the eyes, around the nostrils, along the smile lines, and in the center of the forehead if those areas move or shine. Leave the cheekbones and other intentional high points less powdered. If you need more longevity, use a light compatible powder layer after cream products have settled rather than repeatedly adding luminous spray.
- Hydrate familiar areas and allow skincare to settle before makeup begins.
- Use zone-specific primer when your skin has different needs across the face.
- Apply foundation in thin layers and keep coverage targeted.
- Use cream blush and highlight sparingly, then soften edges before powder.
- Set movement-prone zones while leaving selected high points luminous.
Test the complexion in daylight, warm indoor light, and flash. Look at the face from normal conversation distance as well as in a close-up. If the skin looks beautiful only when the light hits one angle, the glow may be too reflective. If it looks flat in every environment, you may need a small amount of cream color or highlight rather than another layer of foundation.
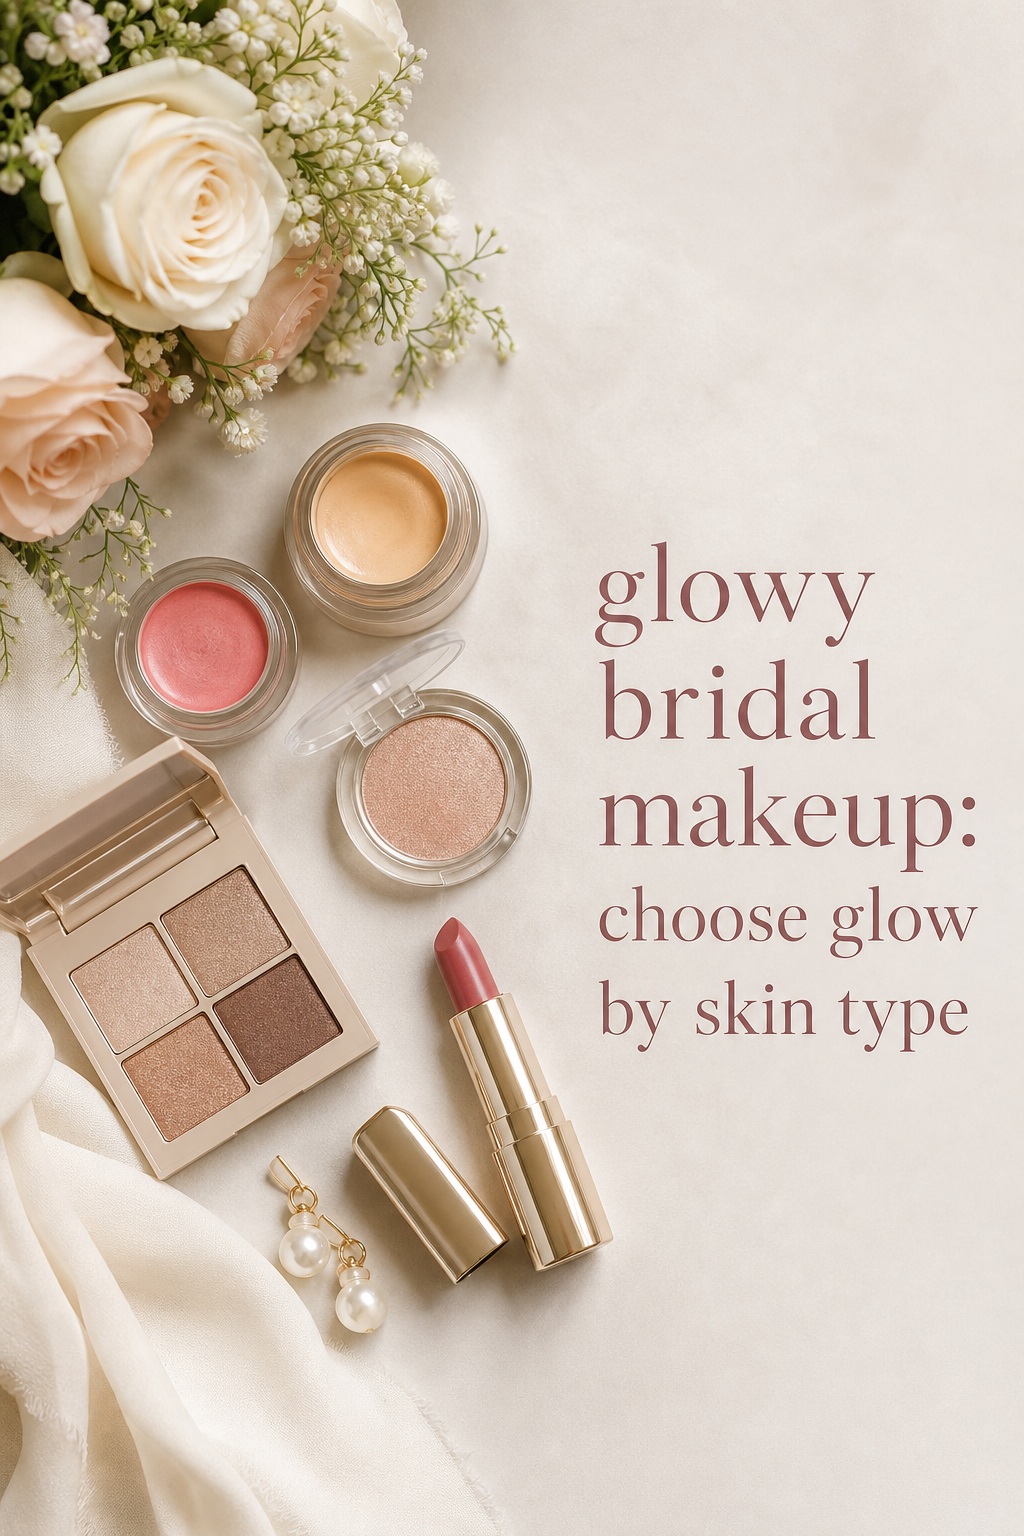
3. Pair Luminous Skin With the Right Color Story
Glow is a finish, not a complete makeup design. Color gives the face life and keeps luminous products from making the complexion look pale. Start with the undertones in your skin, dress, flowers, jewelry, and hair, then choose one leading color family. Peach, rose, mauve, bronze, champagne, berry, and soft pink can all work, but repeating every shade at full intensity can make the face feel crowded.
Eyes that catch light without taking over
Champagne, rose gold, taupe, bronze, and pearlescent neutrals are flexible choices for a glowing bridal eye. Use a matte or satin transition shade to give the lid dimension, then place shimmer where the eye naturally catches light. A thin brown, charcoal, or plum lash line can define the shape without turning the look heavy. Chunky glitter is usually less forgiving than a fine reflective wash, especially when the ceremony and portraits include strong light.
If the cheeks and skin are very luminous, keep the eye shimmer smaller. If you choose a quiet satin complexion, a pearlescent lid can become the feature. Brides with deep skin tones can explore rich bronze, copper, plum, and rose-gold reflect without automatically choosing pale shimmer. The important test is whether the shade creates clarity and dimension in your actual lighting.
Blush that makes the glow look healthy
Blush is often what separates radiant skin from a washed-out complexion. Peach can feel sunlit and lively, rose can look romantic, mauve can add sophistication, and berry can give depth to an evening look. Apply the color where you want the face to look lifted, then blend the outer edge into the complexion. The blush should still be visible after foundation, powder, and photography, but it should not compete with the highlight.
Lips that support the finish
A glossy nude or pink lip keeps the look soft, but it needs a reapplication plan. Satin lipstick offers a little more structure and may be easier during portraits, dinner, and dancing. Rose, peach, mauve, berry, or a muted red can work with glowy skin if the cheek color is adjusted to match. If you choose a stronger lip, reduce the amount of eye shimmer so the face has one clear focal feature.
- Peach and champagne: warm, fresh, and especially useful for daytime or outdoor weddings.
- Rose and pink: romantic, recognizable, and easy to connect across cheeks and lips.
- Mauve and taupe: softly defined and less sweet when you want a polished modern mood.
- Bronze and nude: sun-warmed, flexible, and effective with a simple satin lip.
- Berry and rose: deeper contrast for evening, winter, or a more expressive bridal look.
Ask your artist to show the color story beside your dress fabric and jewelry. A pale pink may become gray beside a cool ivory dress, while a warm peach may look too orange against a blue-white gown. These are not fixed rules. They are reasons to test the full combination rather than choosing a shade from a screen.
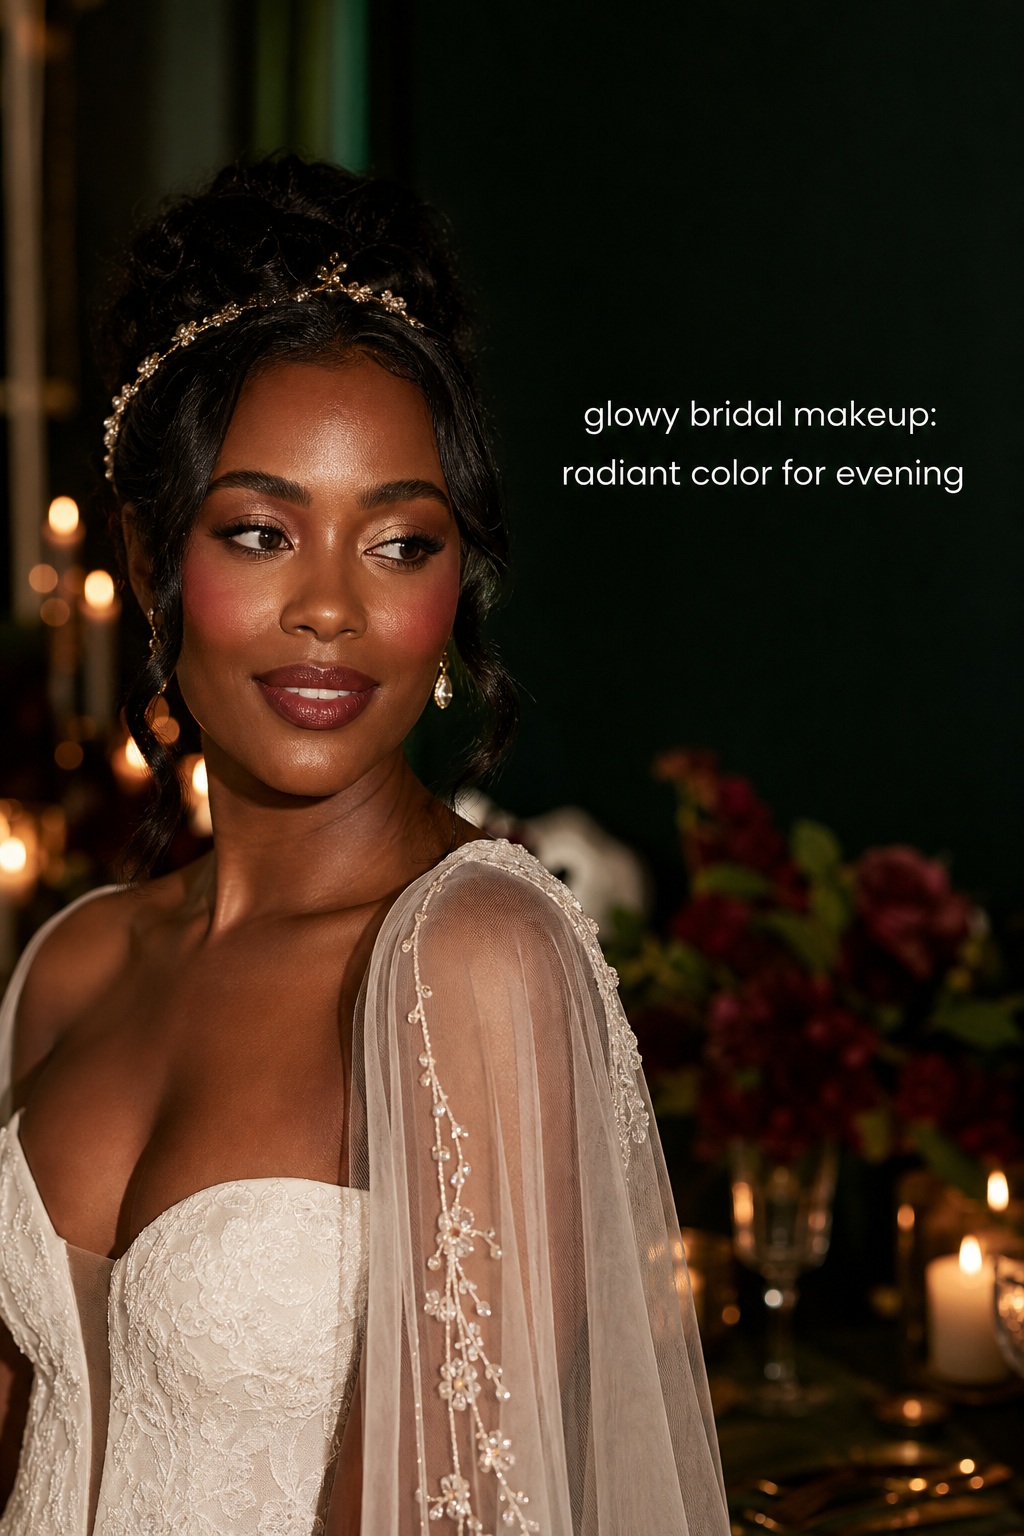
4. Adapt Glowy Bridal Makeup to the Wedding Day
A glowy look should survive the actual event, not only the trial chair. Climate, schedule, venue, tears, hugs, heat, and photography all change the surface of makeup. Ask how the finish will be adjusted for your ceremony and reception conditions. A beach wedding may need stronger control around the center of the face. A dry winter venue may need more flexible hydration. A candlelit room can handle a little more reflection than direct midday sun.
Weather and venue adjustments
In humidity, keep skincare light enough to settle and use reliable thin layers. Set the areas that tend to break up, then reserve glow for the cheekbones and eyes. In cold or dry weather, prevent flaking through familiar preparation and avoid over-powdering the whole face. For an outdoor ceremony, check the look in direct daylight. For a ballroom or evening venue, check warm artificial light because yellow surroundings can change how peach, bronze, and rose appear.
Flash photography is not a reason to remove all luminosity. It is a reason to test the formulas and placement. Look for an overly white cast, heavy glitter, or a bright stripe on the nose. Ask for a test portrait with the camera and settings your photographer expects to use. A small adjustment in powder, highlighter, or foundation depth can preserve a healthy glow without flattening the face.
Make the trial a wear test
Wear the makeup for at least several hours during the trial. Move normally, drink water, smile, sit near a window, and if possible spend time in the temperature expected on the wedding day. Take photos at the beginning, halfway through, and near the end. Check whether the glow remains on the cheeks, whether the T-zone becomes distracting, whether the lip fades evenly, and whether the eyes feel comfortable.
Bring the veil, earrings, neckline, and a hairstyle close to the final plan. A luminous complexion can read differently beside lace, satin, beading, or bare shoulders. Jewelry also affects the color story. Gold may make peach and bronze feel warmer, while silver or pearl can sharpen pink, mauve, and champagne. Seeing the complete frame helps you decide whether the makeup needs more contrast or more softness.
Create a simple touch-up system
A touch-up kit should restore the original plan rather than add more shine. Pack the lip product, tissues, blotting sheets, a small mirror, cotton swabs, and only the powder or concealer your artist recommends. Blot first, then correct a specific area. Rubbing can move the base and create uneven reflection. A trusted person can check the lip and center of the face before portraits without repeatedly touching the cheeks.
Mistakes that make glow look accidental
- Trying an unfamiliar active skincare product shortly before the wedding.
- Using the same high-shine product across the forehead, nose, cheeks, and chin.
- Adding more foundation when the real issue is missing blush or definition.
- Applying highlighter over visible texture or directly beside the nose.
- Choosing a glossy lip without deciding how it will be refreshed after eating.
- Skipping flash and daylight checks because the look is beautiful in a salon mirror.
- Copying a reference photo without considering skin depth, undertone, venue, or camera light.
- Powdering everything heavily after seeing one shiny area instead of setting selectively.
The most reliable brief for your artist is specific: “I want skin that looks hydrated and dimensional, with controlled shine around the center of my face, soft rose-peach cheeks, defined eyes, and a comfortable satin lip. I want to look like myself in daylight and still have enough contrast for flash.” Add your skin behavior, climate, dress colors, and how much maintenance you are willing to do. That gives your artist a useful design problem to solve.
FAQ
Is glowy bridal makeup suitable for oily skin?
Yes. The key is controlled placement rather than removing glow completely. Use familiar hydration, a balancing primer where needed, thin complexion layers, and selective powder on the center of the face. Leave the cheekbones and one or two intentional high points luminous, then test the finish in daylight and flash.
How do I keep glowy makeup from looking greasy in photos?
Set movement-prone areas, keep highlighter away from texture, and avoid using high-shine formulas everywhere. Blot before adding powder during the event. A camera test can reveal a bright cast or excess reflection that is difficult to judge in a mirror.
Should I use powder with a glowy bridal makeup look?
Usually, yes. A light, targeted powder layer can stabilize the under-eyes, nose, forehead, and smile lines while allowing cheekbones to stay radiant. The amount and location should follow your skin behavior and the climate, not a rule that all powder ruins glow.
What eyeshadow works best with luminous bridal skin?
Champagne, rose gold, bronze, taupe, mauve, and fine pearlescent neutrals are versatile. Pair reflective lid color with a matte or satin transition shade and a soft lash line. If the complexion is very luminous, keep shimmer focused so the face has a clear hierarchy.
Can glowy bridal makeup work for a winter wedding?
Absolutely. Prioritize a calm, familiar hydration routine, avoid over-powdering dry areas, and use rose, mauve, berry, bronze, or champagne accents to add depth. Check the makeup in the warm indoor lighting of the reception as well as in outdoor daylight.
When should I have my glowy bridal makeup trial?
Schedule it early enough to adjust the finish, color story, or artist choice if needed. Bring your dress or fabric, jewelry, veil, and lighting references. Wear the look for several hours and photograph it in the conditions closest to your ceremony and reception.
What should I put in a bridal glow touch-up kit?
Pack your lip color, tissues, blotting sheets, a small mirror, cotton swabs, and the small amount of powder or concealer approved by your artist. Keep the kit with a trusted person. Blot first, then correct only the area that needs attention so the complexion stays balanced.