Clean Bridal Makeup: A Fresh, Lasting Wedding Look
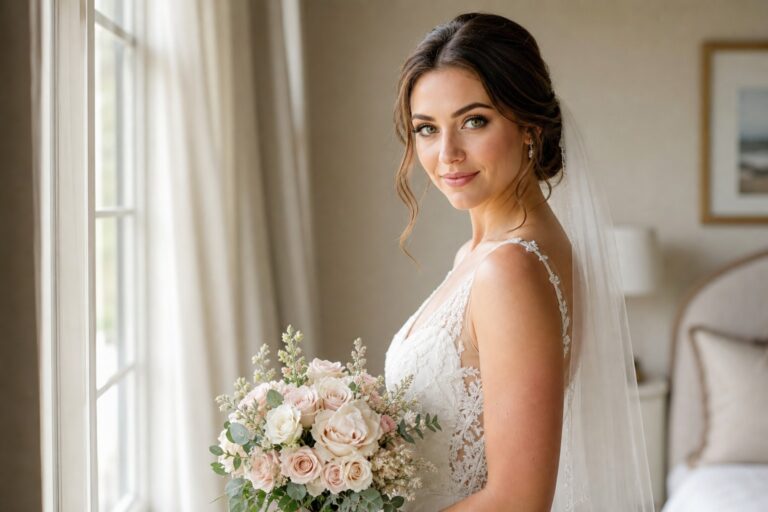
Clean bridal makeup is not about wearing no makeup. It is about making every layer earn its place. The skin should still look like skin, the brows should frame rather than dominate, and the eyes, cheeks, and lips should feel balanced enough that you recognize yourself in every photograph. At the same time, a wedding is not a quiet morning. There may be humidity, tears, hugs, flash photography, a veil, a long ceremony, dinner, dancing, and very few chances to start over.
The most reliable version of this look combines a fresh complexion with selective coverage, soft definition, and deliberate durability. You can keep freckles, natural texture, or a favorite feature visible while still evening the areas that need support. The key is to decide where you want light, where you need hold, and how much contrast your face requires to remain visible in photographs. Use the guide below to plan a clean bridal makeup look that feels modern in person and finished on camera.
Why Clean Bridal Makeup Works for a Wedding
The appeal of clean bridal makeup is its balance. A very light everyday face can disappear in a large venue or a group photograph, while a full-glam application may feel unfamiliar when you look in the mirror. The clean approach sits between those extremes. It keeps the complexion breathable and recognizable, then adds definition exactly where the camera needs it: around the eyes, brows, cheeks, lips, and the edges of the face.
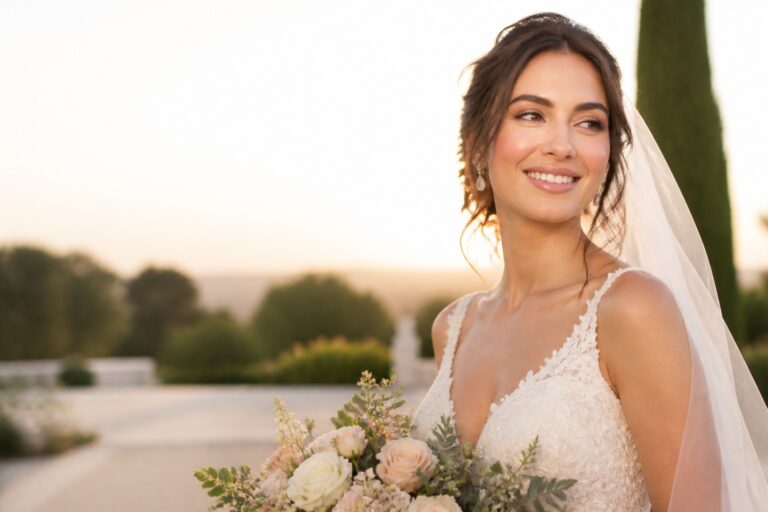
Think of the finish as skin with structure. The base can be sheer in the center of the face and slightly more polished around redness, under-eye shadow, or uneven tone. Cream blush can bring life back after foundation, while a small amount of powder can protect the areas that crease or become shiny. The result is not flat and it is not wet. It has controlled dimension that moves naturally when you smile.
Your wedding look is only the beginning.
Keep your guest list, vendors, timeline, and every important detail together with Zarellea — so your day feels as considered as your style.
- Recognizable features: your freckles, eye shape, brows, and natural expressions remain part of the look.
- Targeted coverage: product is placed where it improves evenness instead of being spread heavily over every inch of skin.
- Soft contrast: lashes, liner, blush, and lip color are visible without becoming separate graphic shapes.
- Photographic awareness: the finish is tested in daylight, indoor light, and flash before the wedding.
- Practical durability: the formulas and placement can survive emotion, movement, and touch-ups.
The word clean can also mean different things to different brides. For one person, it means a dewy complexion and brushed-up brows. For another, it means satin skin, brown mascara, and a defined lip. It should not force you into a trend or a particular product label. Use it as a brief for the visual result: fresh, edited, polished, and still yours.
Build the Base with Skin Prep and Targeted Coverage
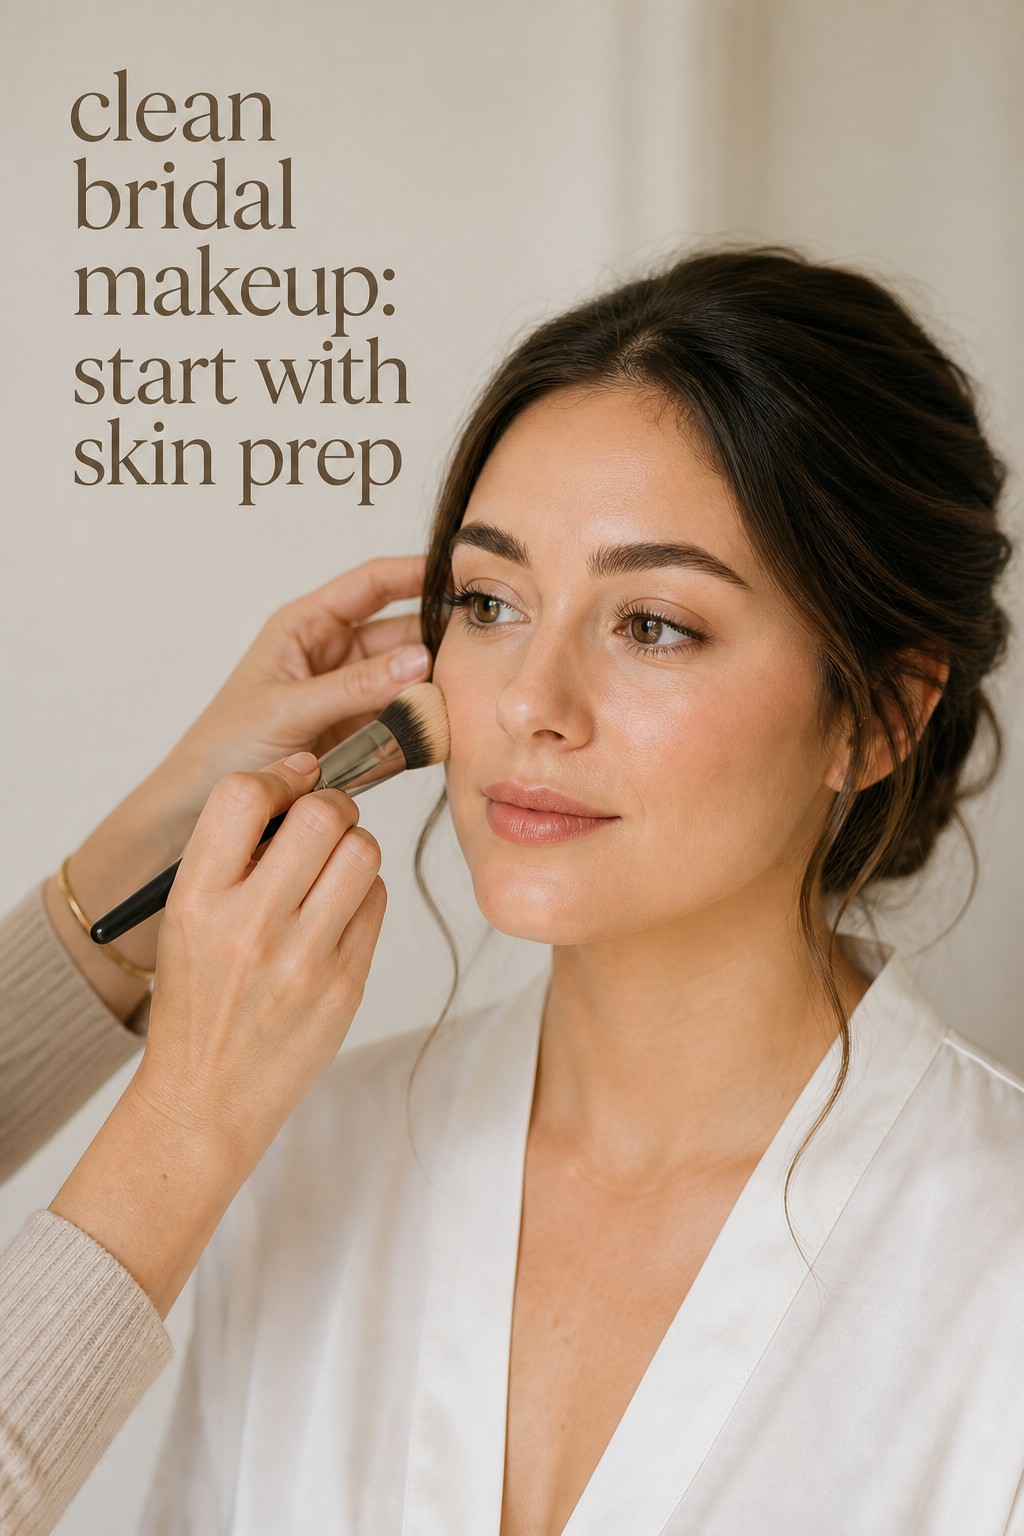
Begin with skin that is calm and familiar. On the wedding morning, cleanse gently or rinse according to what your skin tolerates, then use the moisturizer that has already proved comfortable under makeup. If you normally use sunscreen for a daytime event, discuss the formula with your makeup artist because some mineral filters and very reflective products can contribute to flashback. Never introduce a new acid, peel, retinoid, strong mask, or unfamiliar fragrance immediately before the ceremony.
Give each skincare layer time to settle. Excess slip is one of the fastest ways to make a light base separate. A thin hydrating layer can help dry areas, while a gel moisturizer or oil-controlling primer may suit an oily T-zone. You do not need the same primer everywhere. Use smoothing product around visible pores if it helps, a gripping layer where makeup fades, and no primer on areas that already feel comfortable. The goal is a stable surface, not a complicated stack.
Choose foundation by finish and behavior, not only by coverage level. A sheer or light-medium formula can look beautiful when the undertone is correct, but it may need a second thin layer around the nose or chin. A fuller formula can also support a clean finish if it is applied in a very small amount and pressed into the skin rather than painted across the face. Ask for the base to be checked on the jaw and near the hairline in the light where your portraits will happen.
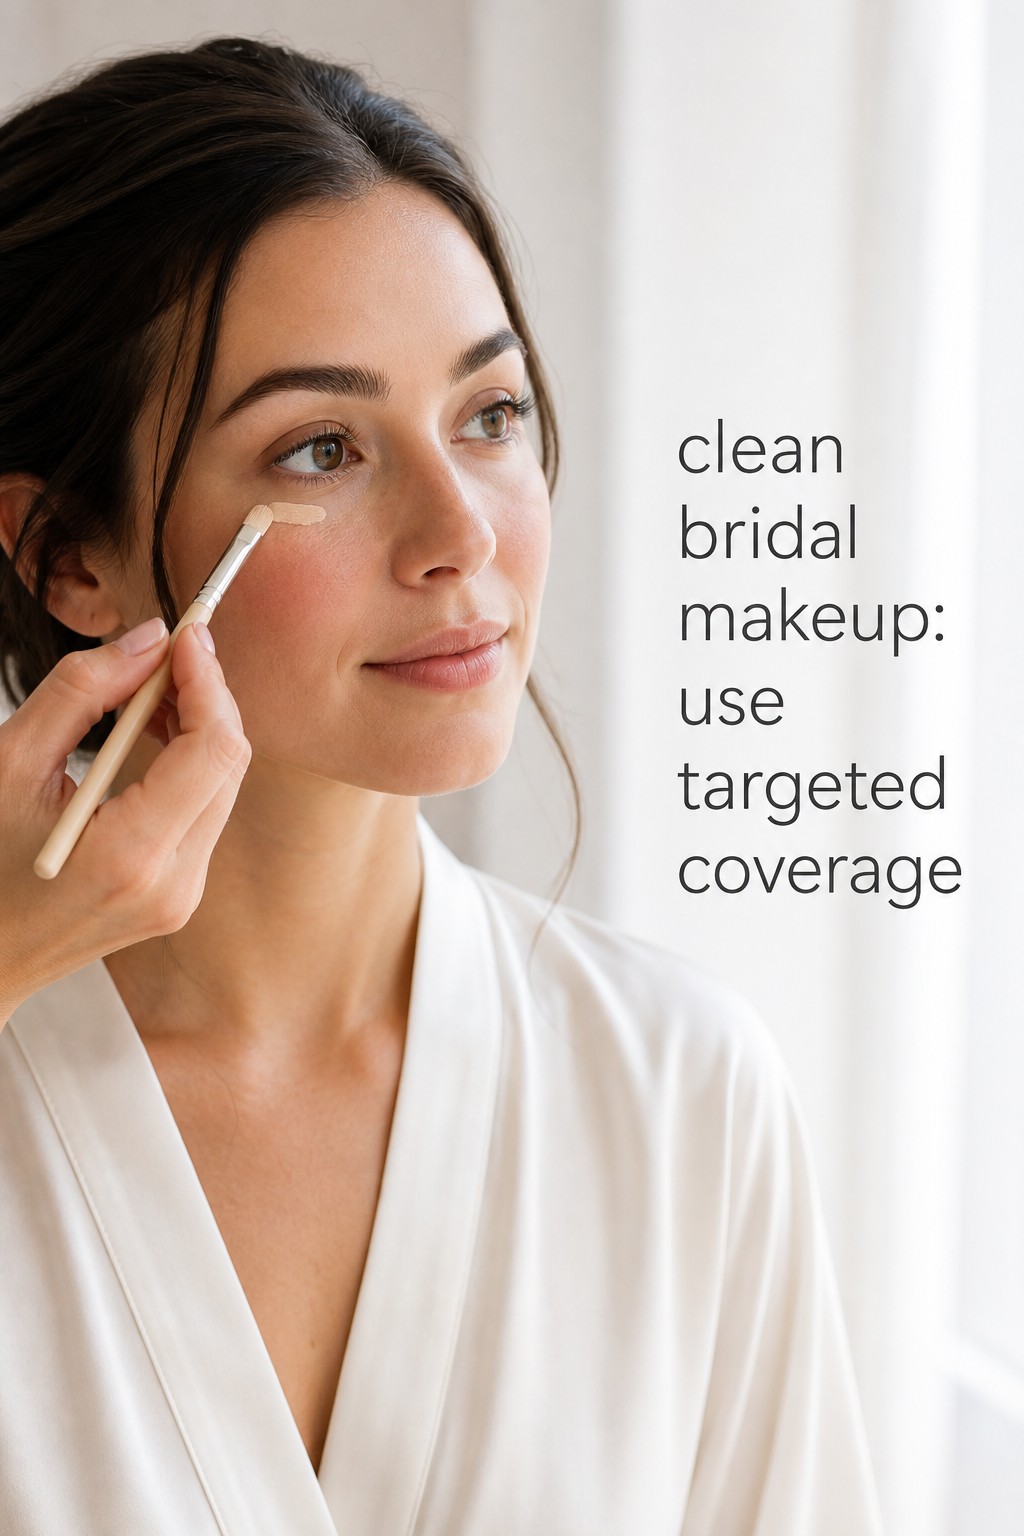
Concealer should solve a specific problem. Use a thin layer to soften darkness, then add coverage only where needed. If you have dry under-eyes, heavy powder can make the area look older and less natural. If you crease easily, keep the skincare light, allow concealer to settle, and set only the fold or inner corner that actually moves. A clean finish is often created by removing extra product, not by adding another brightening layer.
Bring back dimension with cream or liquid products before setting everything. Place blush high enough to lift the face but not so close to the eyes that it competes with the concealer. Add cream bronzer or contour where the face naturally catches less light, then blend until no stripe is visible. If your skin is oily or the venue is warm, a small amount of powder bronzer and blush over the cream can improve wear. Keep the center of the cheeks and the high points softly alive rather than covering the entire face in powder.
- Dry skin: use thin hydration, a flexible base, cream blush, and powder only at movement-prone points.
- Oily skin: control the T-zone with a tested primer, light layers, and pressed powder rather than a thick all-over veil.
- Combination skin: mix finishes by area, keeping the cheeks comfortable and the center of the face more set.
- Textured skin: avoid piling product over texture; smooth with preparation and apply coverage in small, well-blended amounts.
- Sensitive skin: keep the routine familiar, check ingredient tolerances, and tell the artist about reactions before the trial.
Highlighter should support the skin rather than announce a separate stripe. A cream or liquid sheen on the upper cheek can look fresh in daylight, but too much texture may reflect strongly in close flash photographs. Try the highlight while smiling and with a relaxed face. If you can see a hard edge from several feet away, soften it with a clean brush or use a satin blush instead.
Define Eyes, Brows, Cheeks, and Lips Without Losing Softness
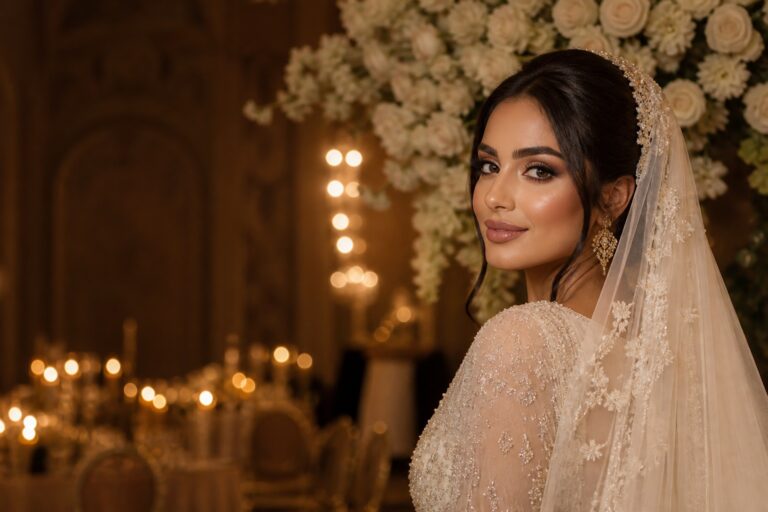
Clean bridal makeup still needs a focal point. Decide whether yours is the eyes, the lips, or the glow of the complexion. If the dress has a high neckline, ornate lace, or statement jewelry, a softly defined eye and quiet lip may create better balance. If the gown and accessories are minimal, a rosy lip or a little more lash definition can give the face enough presence. This is not about following a rule. It is about distributing visual weight.
Start the brows with their real shape. Brush the hairs upward and outward, then fill only gaps that affect the silhouette. A pencil, powder, or tinted gel can work, but the color should sit close to the natural brow rather than looking painted on. Clean the underside lightly if needed, then soften any strong edge with a spoolie. Overly crisp, dark brows can make a fresh complexion look less natural, especially when the rest of the face is softly blended.
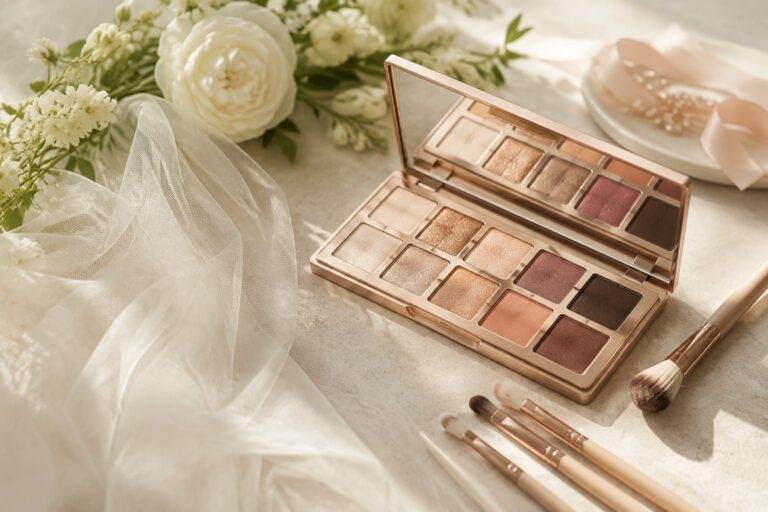
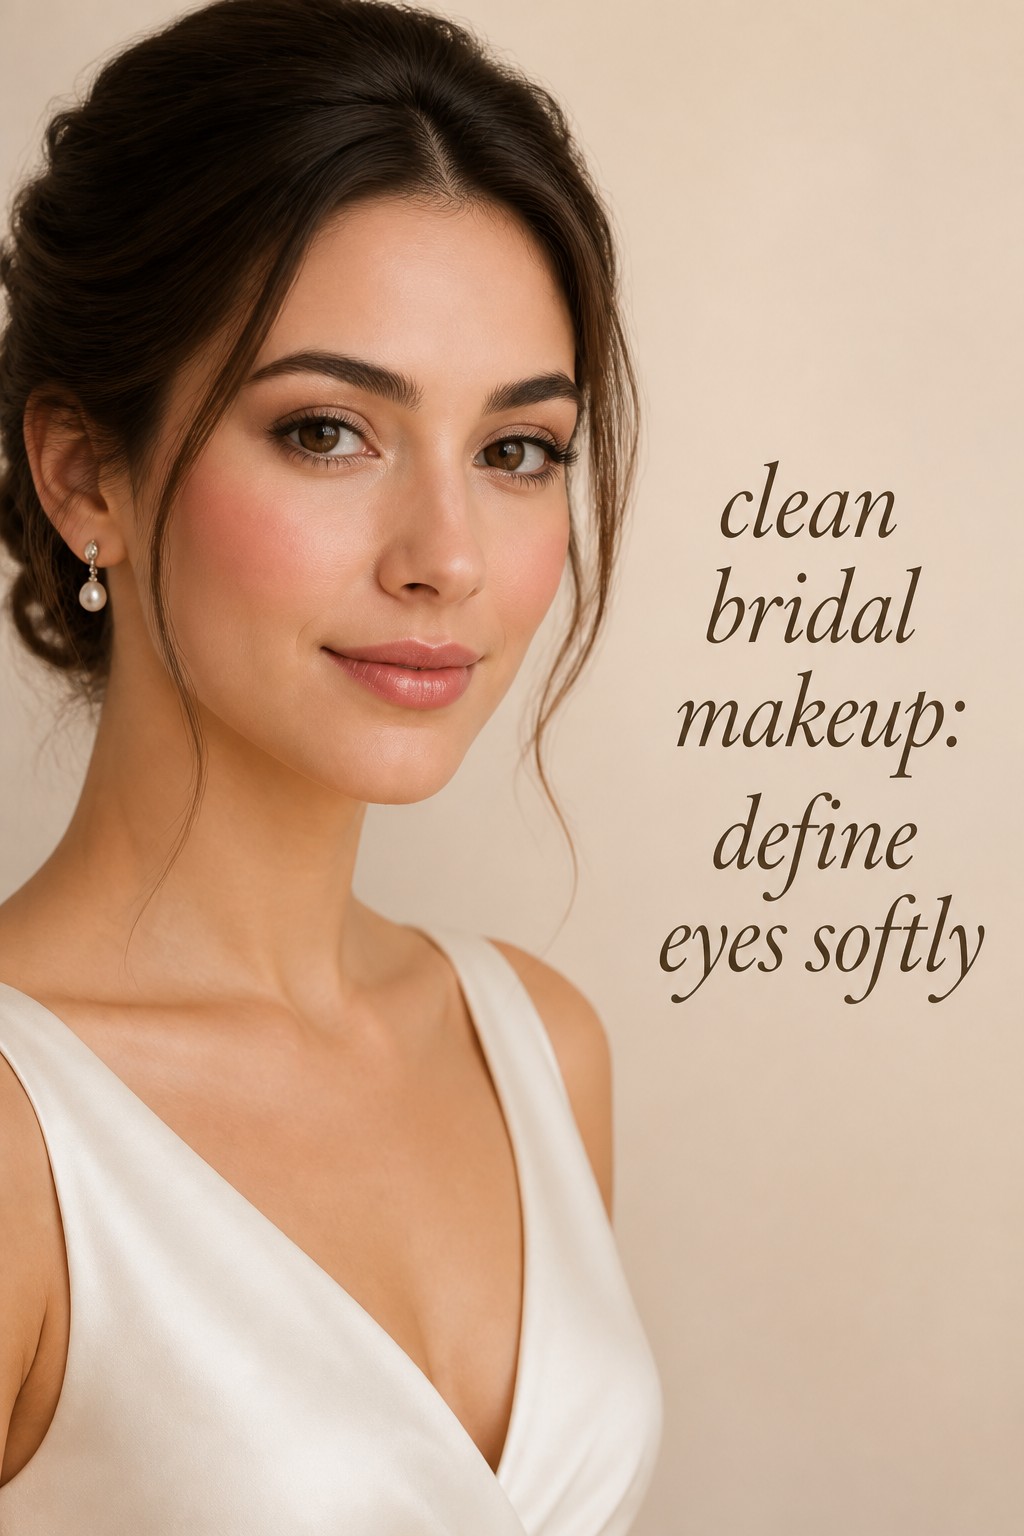
For the eyes, choose shades that create depth without covering the entire lid in darkness. Taupe, soft brown, rose beige, champagne, muted bronze, and cocoa can all define the eye while keeping the look flexible. Place the deeper tone close to the lash line and outer corner, then blend the edges until the transition is invisible. A satin or softly reflective shade on the center lid can catch light, but glitter particles should be tested in close photography before you commit.
Liner does not have to be a dramatic wing. A brown pencil smudged into the upper lashes can create density, while a thin black line can keep the eyes visible without changing their shape. If you like a lifted effect, extend the outer corner in the direction of your lower lash line rather than drawing a long, separate point. Ask the artist to check the liner with your eyes open and relaxed. A line that looks perfect with the lid closed may disappear or fold when you are speaking.
Lashes are one of the most important choices for photographs. Mascara alone may be enough if your natural lashes are dark and lifted. A few individual clusters can add length while leaving the lash line flexible. A half lash focused on the outer corner can create a clean lift, and a full strip can work when it is lightweight and proportionate to your eyes. Wear the selected style during the trial, look down, smile, and blink. Comfort matters because you will notice a heavy or poking lash for hours.
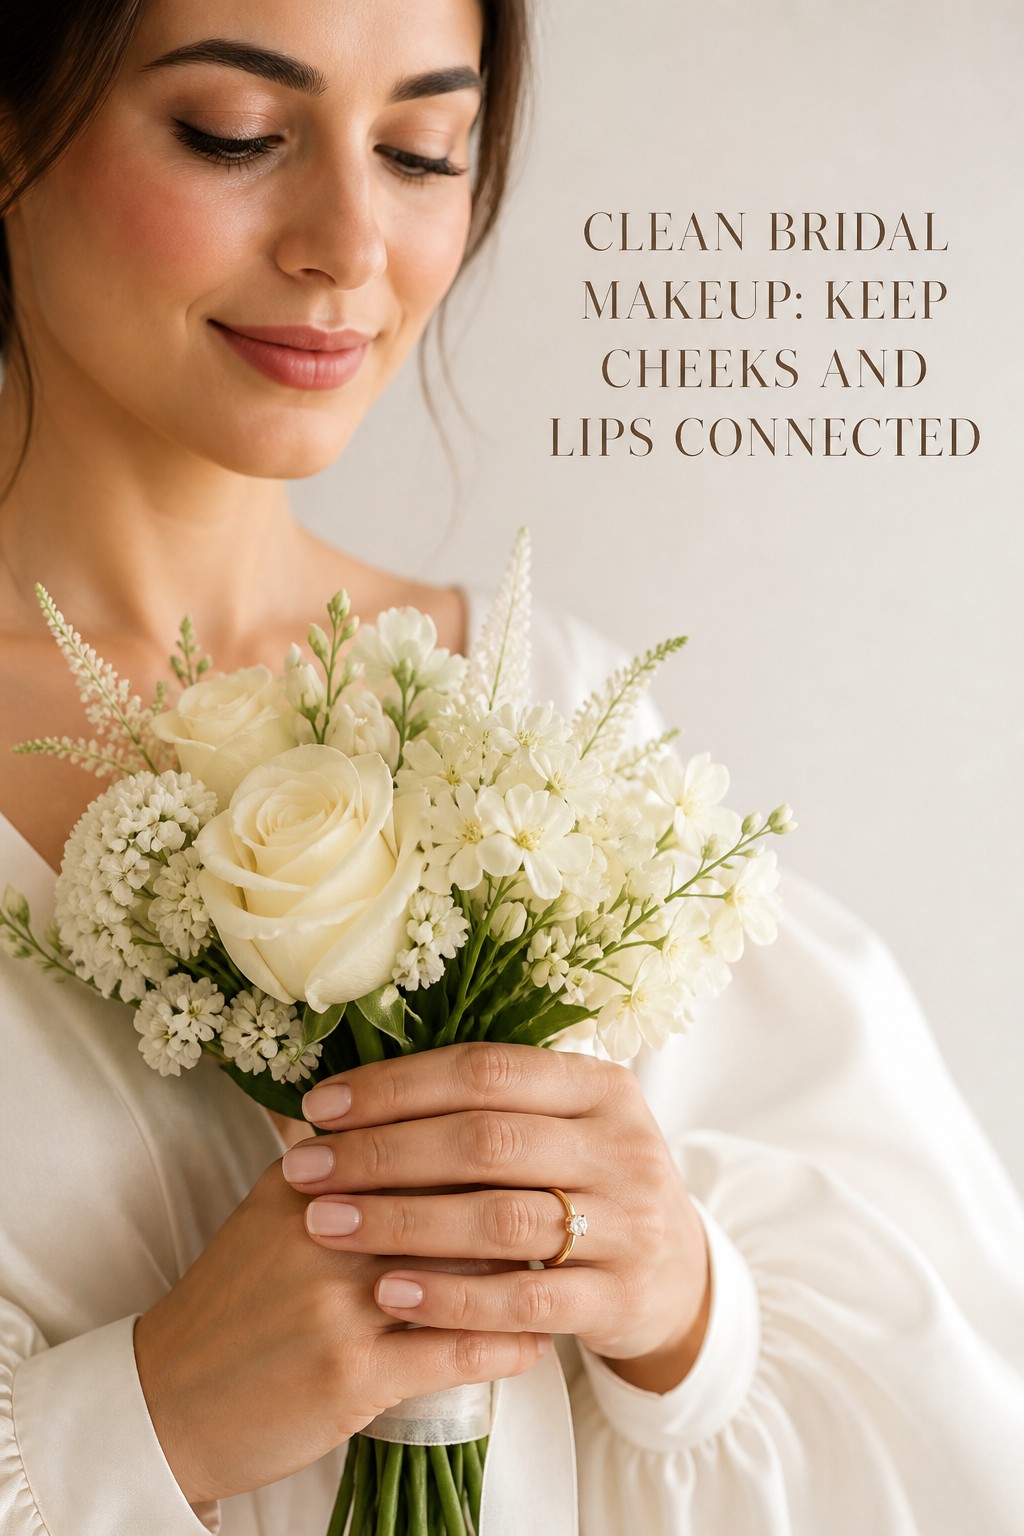
Keep the cheeks connected to the complexion. Pink, peach, rose, terracotta, or muted berry can look clean when the intensity matches your skin tone and the rest of the makeup. Place color where you naturally flush, then bring a little across the bridge of the nose only if that suits your style. Cream formulas can look especially skin-like, but they need a setting plan for heat or oily skin. A veil, bangs, or strong blush may alter how the color reads, so check the whole look together.
For lips, choose a shade you can maintain. Rosy nude, pink beige, soft mauve, peach, terracotta, and berry can all fit a clean bridal direction. Use liner to create a stable edge, then press lipstick into the center and remove excess before adding a comfortable layer. A stain beneath balm or lipstick can keep color present after eating, but test it first because some stains cling unevenly to dry patches. The best wedding lip is not the one that never moves. It is the one that fades gracefully and can be refreshed quickly.
Make the Look Last Through Photos, Tears, and Dancing
A trial is where you turn a pretty idea into a reliable plan. Schedule it early enough to change the products, lash shape, color balance, or coverage level without pressure. Wear the makeup for several hours and take photographs in daylight, warm indoor light, and direct flash if possible. Ask someone to photograph you from the front, three-quarter angle, and side. Review the images later rather than judging only in the salon mirror.
During the trial, test the parts that create real wedding friction. Cry briefly if you know you are likely to tear up, then blot rather than wipe. Wear a neckline or top color similar to the dress so the complexion does not seem disconnected. Check how the base looks after a meal, how the lip survives a glass, and whether the lash feels secure. If the wedding is outdoors, discuss humidity, wind, sweat, and the amount of time between getting ready and portraits.
Set strategically. Loose or pressed powder can protect the sides of the nose, under-eyes, forehead, and chin, but it does not need to cover every luminous area. Pressing powder with a puff can improve hold more effectively than brushing on a large amount. A setting spray can help marry layers, but it is not a substitute for the right base, and too much wet spray can disturb makeup. Use the smallest amount that has already worked during the trial.
Be careful with touch-ups. Blot oil before adding powder, otherwise you may create a thick surface that eventually separates. Press a dampened sponge or clean puff over a crease before applying a tiny amount of concealer. Refresh blush and lip color after eating, then inspect the face in a photograph rather than chasing every mark in the mirror. A little movement is normal. The aim is a face that stays attractive as the day unfolds, not a frozen mask.
- Do not skip the trial: clean makeup can look simple, but undertone, texture, lashes, and wear time still need testing.
- Do not use a new treatment before the wedding: irritation and peeling are difficult to disguise with a light base.
- Do not rely on one lighting source: check daylight, venue light, and flash because each reveals different problems.
- Do not powder automatically: set movement and shine where needed, while preserving dimension elsewhere.
- Do not choose a lip you dislike maintaining: comfort and a simple reapplication plan are part of the final look.
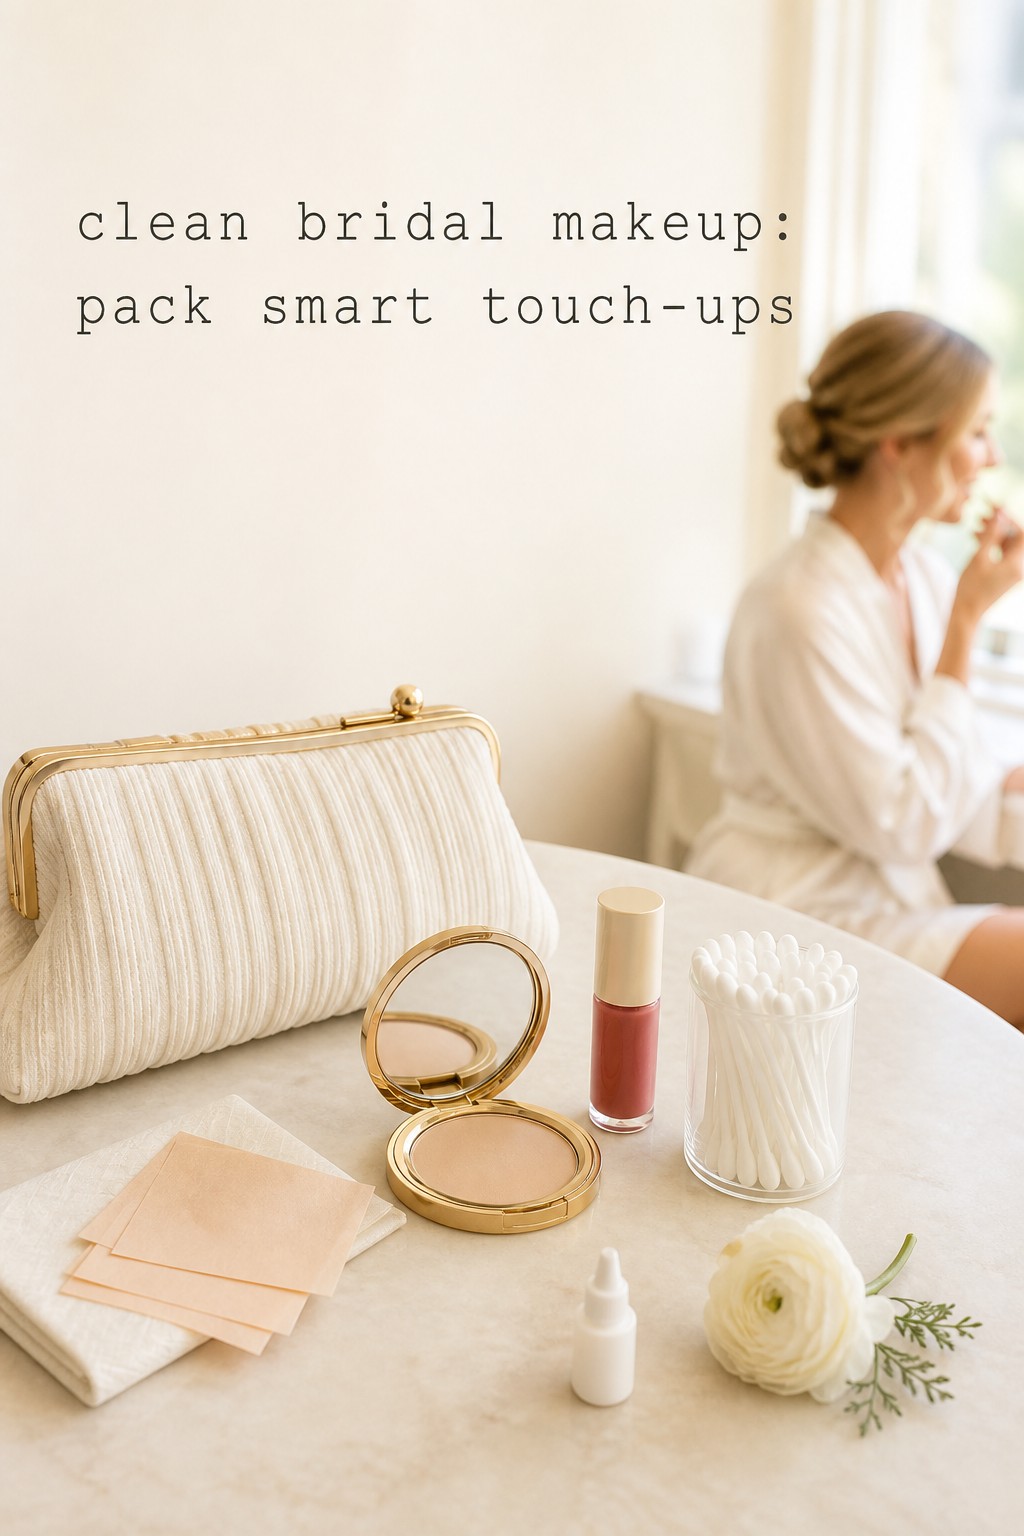
Pack a small touch-up kit with blotting papers, the lip color or stain, a compact powder, a cotton swab, a tiny concealer if needed, lash adhesive, and a clean sponge or puff. Ask your artist to explain what each item is for. Give the kit to a trusted person instead of carrying it through every portrait. If you are doing your own makeup, write down the order and take a photo of the finished products so you can recreate the adjustments without guessing.
Finally, remember that clean bridal makeup is successful when it supports the day. Your face should look polished beside the dress, alive in close photographs, and comfortable enough that you can laugh, cry, eat, and dance. If a feature matters to you, let it remain visible. If a product feels heavy, remove a layer. The most modern result is not perfect sameness. It is thoughtful makeup that gives your natural face the right amount of help.
FAQ
What does clean bridal makeup mean?
Clean bridal makeup usually means a fresh, skin-like, edited finish with selective coverage and soft definition. It does not require zero makeup, a particular brand, or a completely dewy face. The goal is to keep your recognizable features visible while adding enough structure for the wedding setting and photographs.
Is clean bridal makeup suitable for oily skin?
Yes. Use a tested oil-control primer only where needed, apply thin layers, and set the T-zone strategically. Blotting papers and a small amount of pressed powder can manage shine without making the whole face look flat. Test the full routine for several hours before the wedding so you know where makeup actually fades.
Should I wear SPF under clean bridal makeup?
Follow your normal daytime skincare needs, but discuss the exact sunscreen with your makeup artist, especially if you will use flash photography. Some formulas can create a pale or reflective cast in photographs. Do not test a new sunscreen on the wedding morning. Use a familiar product and check it during the makeup trial.
How far ahead should I book a clean bridal makeup trial?
Book the trial early enough to change the base, lash style, colors, or artist if the result is not right. Many brides plan it several weeks or months before the wedding, depending on availability and how many beauty decisions remain. Bring dress, jewelry, and lighting references when possible, and wear the makeup long enough to evaluate comfort and wear.
Can clean bridal makeup photograph well without full coverage?
Yes. Photography depends on even tone, well-placed definition, controlled shine, and the right undertone as much as on coverage. Use foundation or concealer where it improves the complexion, then leave comfortable areas lighter. A trial with daylight and flash will show whether you need more coverage in particular zones.
What should I keep in my clean bridal makeup touch-up kit?
Pack blotting papers, lip color, a compact powder, cotton swabs, lash adhesive if you wear false lashes, and a clean puff or sponge. Add a tiny concealer only if your artist recommends it. Give the kit to a trusted person and ask them to blot before powdering so touch-ups stay thin and natural.