Wedding Nails for Bride: A Problem-Solving Guide
Choosing wedding nails for a bride can feel like a tiny decision with an outsized amount of pressure. Your hands will appear in ring photos, bouquet photos, getting-ready pictures, the exchange of vows, and almost every toast. At the same time, you may be balancing a dress, jewelry, travel, a rehearsal dinner, a limited appointment window, and nails that do not naturally grow to the length shown in your inspiration folder.
The most useful starting point is not a trend name. It is the problem you need the manicure to solve. You might want a timeless look that will still feel right in ten years, a durable set for a busy wedding weekend, a design that works on short natural nails, or a little detail that connects your manicure to your dress. This guide helps you make those decisions in order, so you can bring a clear brief to your nail artist and leave with a set that looks beautiful and feels like yours.
Diagnose the Bridal Manicure Problem First
Many manicure disappointments happen because a bride chooses a picture before identifying the constraint. A long almond design may look graceful online, but it may not suit someone who is carrying luggage, fastening a dress, working with young children, or simply dislikes length. A highly reflective chrome finish may look perfect in a ring close-up but feel too modern next to a traditional lace gown. A detailed set may be gorgeous in a still image and too fragile for a weekend that includes travel and dancing.
Write down the main friction before you choose a color. Is your concern chips, weak nails, short nail beds, a reaction to products, a lack of time, uncertainty about the dress, or too many competing ideas? If you can name the concern in one sentence, you can ask your nail artist a much better question. For example, “I need wedding nails for a bride with short, flexible nails that will look polished in ring photos” gives a professional useful information. “I want something bridal” does not.
Your wedding look is only the beginning.
Keep your guest list, vendors, timeline, and every important detail together with Zarellea — so your day feels as considered as your style.
- If photos are the priority: focus on smooth edges, balanced shape, a clean cuticle area, and a finish that catches light without creating distracting glare.
- If your nails are weak: prioritize short length, structure, and safe removal rather than adding maximum length.
- If you have little time: choose a tested service and book early enough for a repair or product change.
- If the dress is highly detailed: let the manicure support the gown with quiet color and controlled shine.
- If the outfit is minimal: use one intentional feature, such as a micro-French, pearl, fine line, or softly reflective finish.
Also consider how you use your hands during the weekend. If you type, pack, garden, play an instrument, or handle small children, a very long or pointed extension may be uncomfortable even if you love the look. A short oval, squoval, or rounded shape can appear elegant and intentional when the surface is carefully prepared. Comfort is not a compromise that makes a bridal manicure less special. It is part of making the look last.
Pay attention to product sensitivities and previous reactions. If gel, acrylic, adhesive, or fragrance has caused redness, itching, swelling, or nail separation, tell the professional before the appointment. Do not use the wedding as the moment to experiment with an unfamiliar product without a trial. A beautiful color is not worth an avoidable reaction, and a trial gives you time to change the plan with less stress.
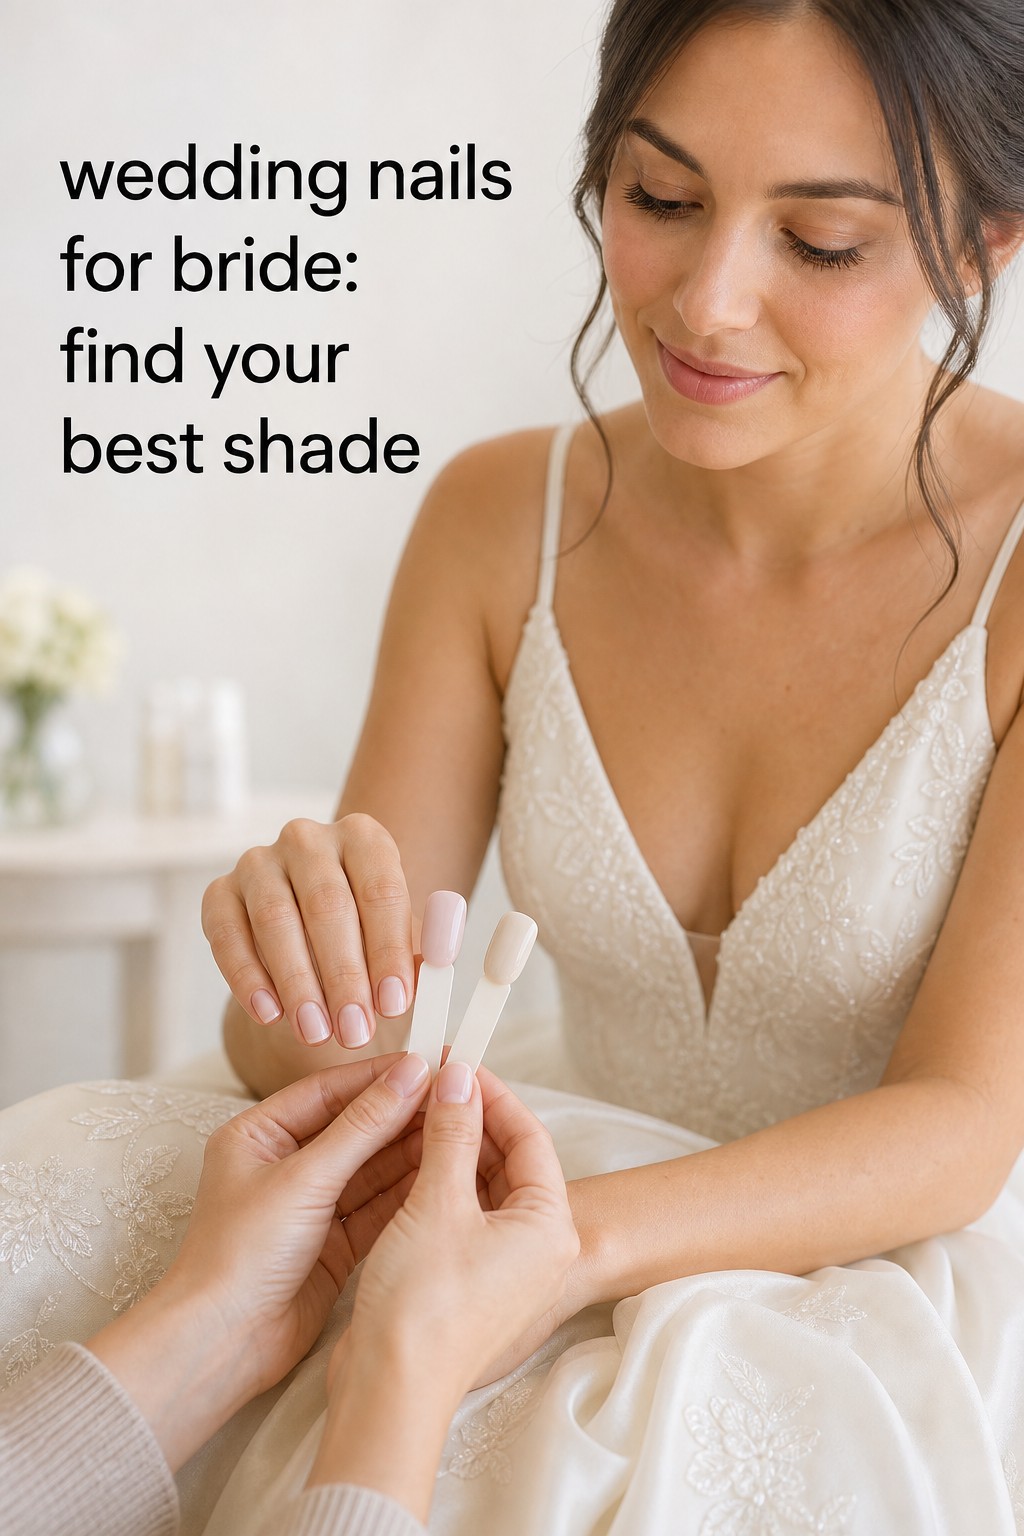
Choose Wedding Nails for a Bride by Situation
Once you know the problem, narrow the design by situation. This keeps you from treating every saved photo as an equal option. The same sheer pink, French tip, or pearl finish can look completely different depending on length, shape, skin tone, dress fabric, lighting, and the amount of maintenance you can manage.
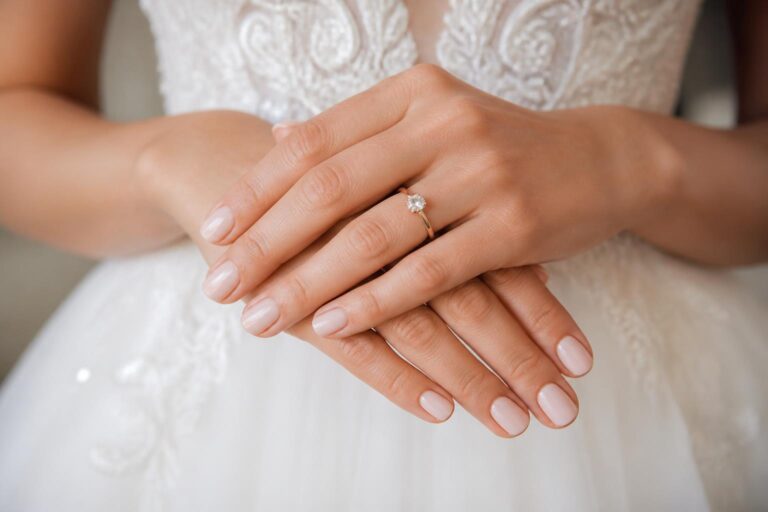
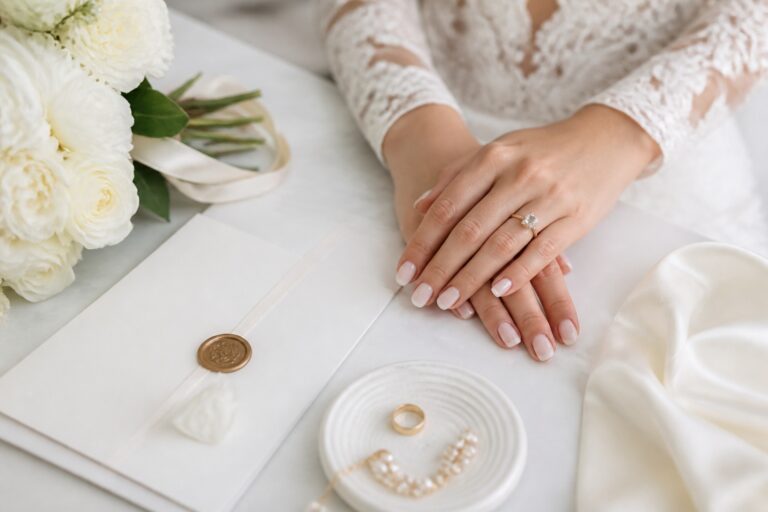
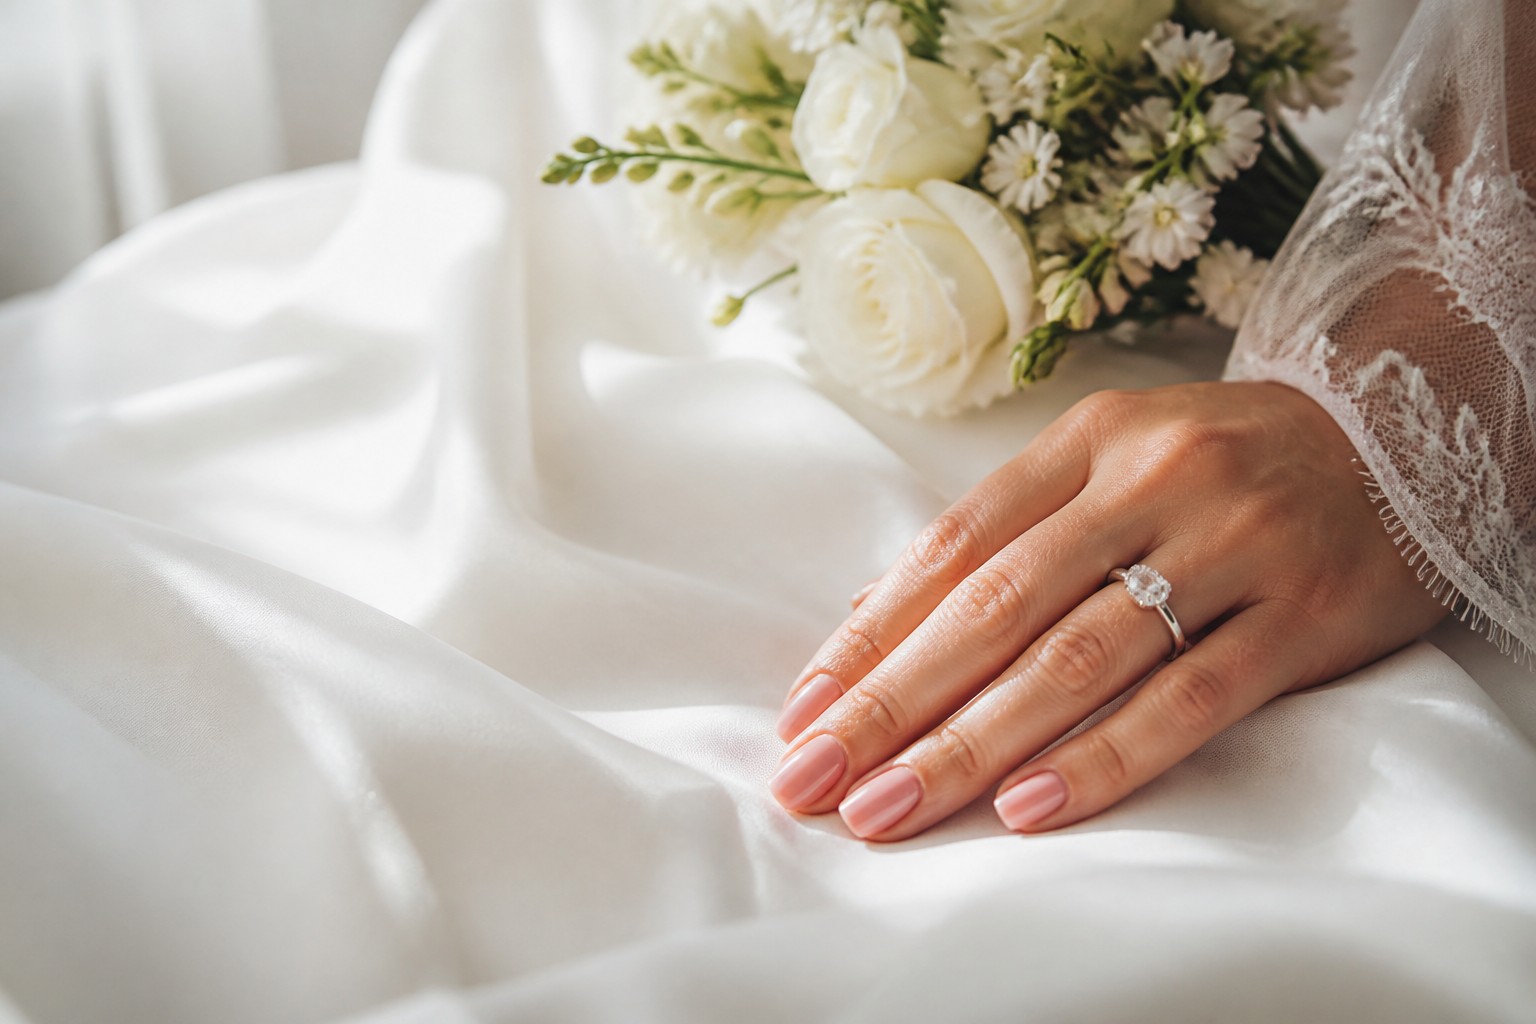
For the timeless bride, start with a sheer pink, soft nude, milky white, or traditional French. These choices stay visually quiet around lace, veils, pearls, and detailed jewelry. A barely-there French uses a softer tip and a closer base color than a high-contrast French, so it feels modern without losing the familiar bridal reference. If you want a design that will not dominate your album, choose a classic base and place personalization in one restrained detail.
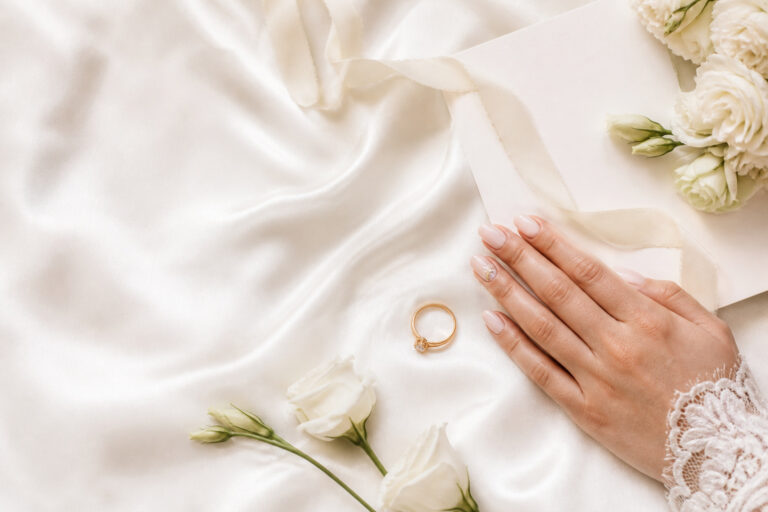
For the bride who wants shine, compare pearlescent, glazed, chrome, and high-gloss finishes rather than asking for “sparkle” as one broad category. A pearlescent finish creates a soft shifting glow. Chrome creates a stronger reflective surface. A glossy topcoat makes almost any color look freshly finished. Fine shimmer can be easier to wear with a traditional dress than large glitter particles. Ask to see the samples in daylight and under the type of indoor lighting used at your venue.
For short natural nails, shape and spacing matter more than complex art. A short oval, round, or squoval can look refined with a sheer base, a lipgloss finish, a narrow French line, or one small accent near the cuticle. A reverse French can make the design feel deliberate without requiring a long free edge. If your nail beds are short, avoid copying a design that depends on a long blank canvas. Ask your artist to scale the proportions to your actual nails.
For a bride with fragile or uneven nails, ask about a structured overlay, a gentle strengthening approach, or short extensions only if a qualified professional believes they are appropriate. The goal is an even, comfortable surface, not a dramatic transformation. If one nail is damaged, a matching short tip may create balance, but do not hide pain, bleeding, lifting, or separation under product. Nail health should determine the service plan.
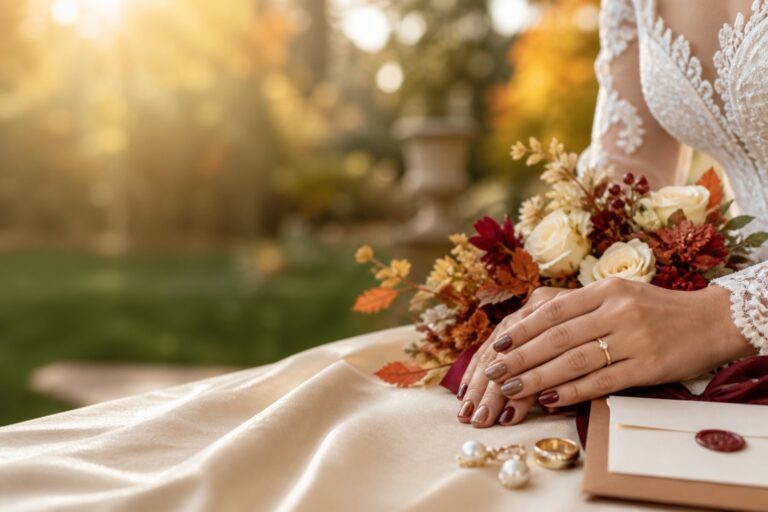
For a colorful or nontraditional dress, white is optional. Dusty rose, muted berry, terracotta, pale blue, soft gray, or deep red can look intentional when the shade repeats a bouquet, shoes, stationery, or another wedding detail. Keep the shape and finish neat if the color is strong. A glossy red on short nails can feel more bridal than an intricate pattern that competes with a colorful gown.
For a destination or outdoor wedding, think about travel, humidity, heat, sand, and the practical demands of moving through the weekend. A compact repair kit is especially useful if you are away from your usual salon. A short-to-medium shape, tested gel, or well-fitted press-on plan may be easier to manage than long extensions with delicate charms. If you are flying, pack repair supplies where you can access them and confirm what your destination salon can remove safely.
- Quiet classic: short-to-medium oval, sheer blush, glossy topcoat, and no art or a very fine French.
- Soft modern: medium almond, milky base, pearl or glazed finish, and one small metallic detail.
- Romantic: rounded shape, translucent pink, tiny floral or pearl accents on two nails.
- Fashion-forward: tapered square or long almond, neutral base, graphic line or chrome, balanced with simpler jewelry.
- Low-maintenance: short natural shape, opaque nude, tested gel or press-ons, plus a repair plan.
Save no more than three reference images for the final consultation. One should show the shape, one the color or finish, and one the level of detail. A single picture rarely communicates all three clearly. Your professional can then combine the useful parts without trying to copy a design that was created for a different hand.
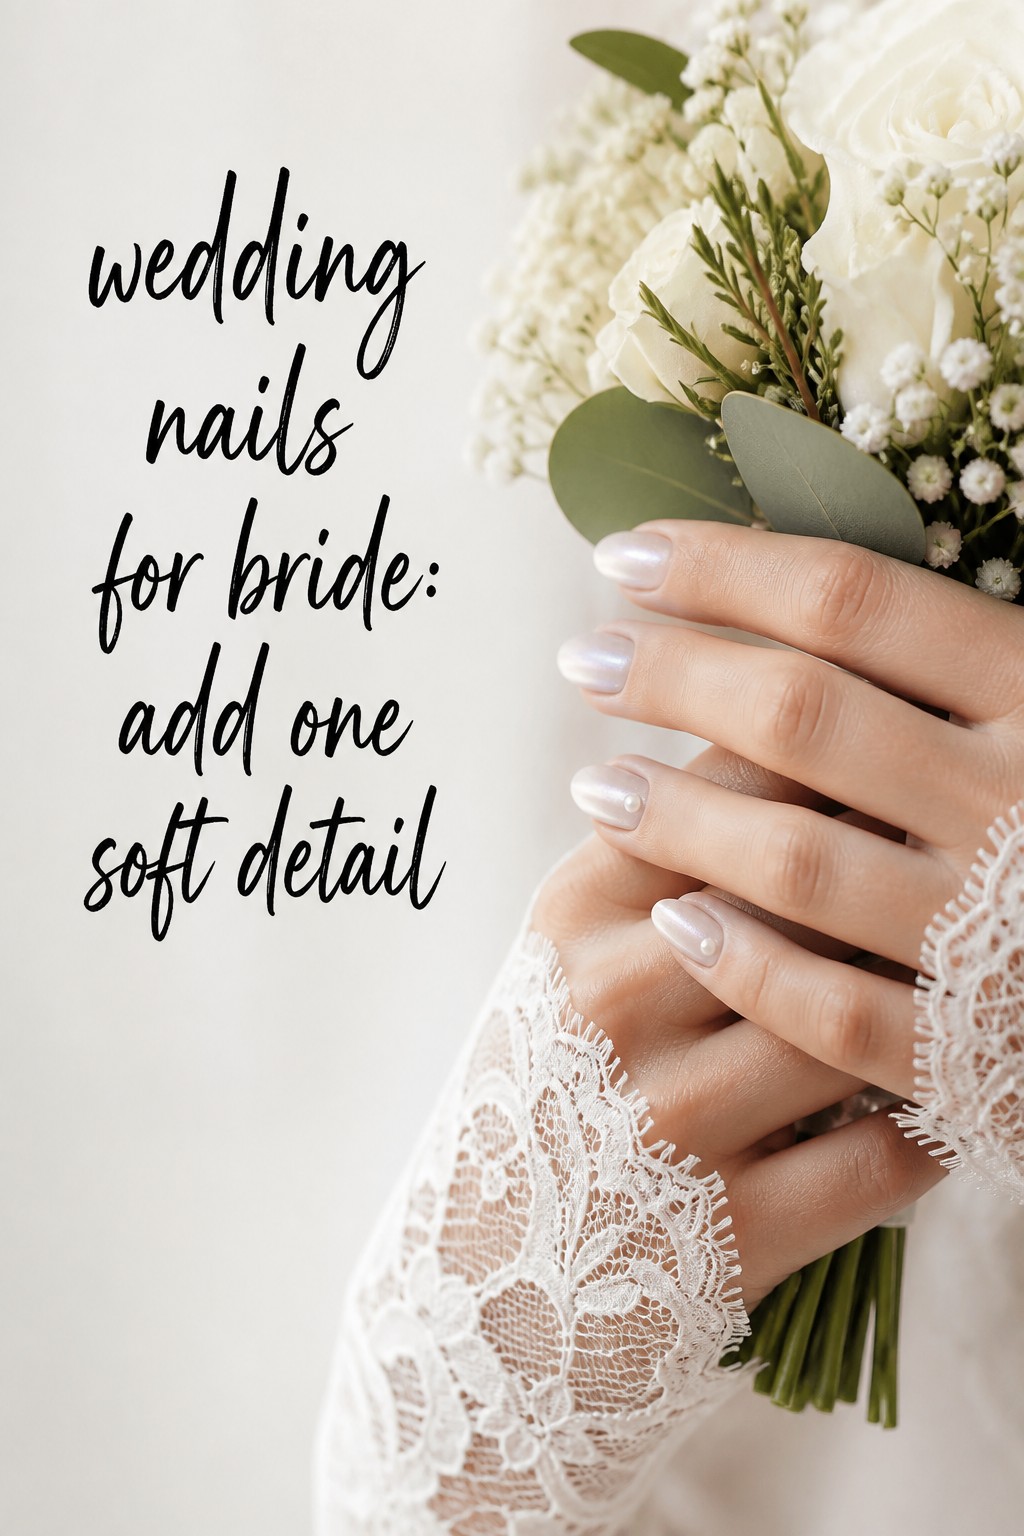
Build the Set: Shape, Color, Finish, and Product
Think of wedding nails for a bride as four connected decisions. Shape controls the outline of the hand. Color controls contrast with skin and clothing. Finish controls how light moves across the nail. Product controls wear, removal, strength, and comfort. Decide them in that order instead of choosing a service name and hoping the details work themselves out.
Start with shape. Almond and oval shapes create a soft, lengthening line, but they need enough length to avoid looking cramped. Round and squoval shapes are practical when you want a shorter edge and a secure feeling. Tapered square and coffin shapes have a stronger fashion presence and can support graphic French tips, but corners may catch on fabric or feel unfamiliar. Bring the shape reference and state the maximum length you can comfortably wear.
Choose color beside the dress. Phone screens can misrepresent pale polish, so compare swatches with the actual gown or a fabric sample. Bright white can look crisp beside a cool white dress and harsh beside warm ivory. Champagne and beige can blend beautifully with a warm gown but disappear against some skin tones. Sheer colors reveal more of the natural nail, while opaque colors create a more uniform canvas. Neither is automatically better.
Pick the finish with your photographs in mind. High gloss is a reliable choice for ring pictures because it gives the surface a healthy, polished reflection. Pearl and chrome add dimension but can emphasize ridges if the nail has not been smoothed. Matte finishes can be editorial and elegant, but they may show marks or unevenness sooner. If you love a strong reflective finish, use it on a clean shape with controlled art so the hand still looks composed.
Match the product to your wear window. Gel polish is convenient when you want immediate curing and a durable surface. A structured overlay may support some natural nails, but it needs a professional application and removal. Acrylic and full-cover extensions can create length and consistency, yet a trial is important because thickness and comfort vary. Regular polish offers easy removal and color flexibility, while press-ons can be a practical option when sizing, adhesive, and wear have been tested in advance.
Do not assume the longest-lasting option is the best option. A product can be durable and still be wrong for your nail condition, lifestyle, or removal preferences. Ask how the service will be removed, what happens if a nail lifts, and how much growth will be visible by the end of your honeymoon. If a professional recommends a different service after seeing your nails, treat that recommendation as useful information rather than a failure of your original idea.
Write a short service brief before you book. Include the shape, approximate length, base color, finish, art placement, product preference, and what you do not want. “No bulky charms, no sharp points, and no stark white” can prevent more confusion than another saved image. If bridesmaids are joining, decide whether you want identical sets or only a shared color family. Coordination often looks more natural when everyone has a related base and can choose a comfortable shape.
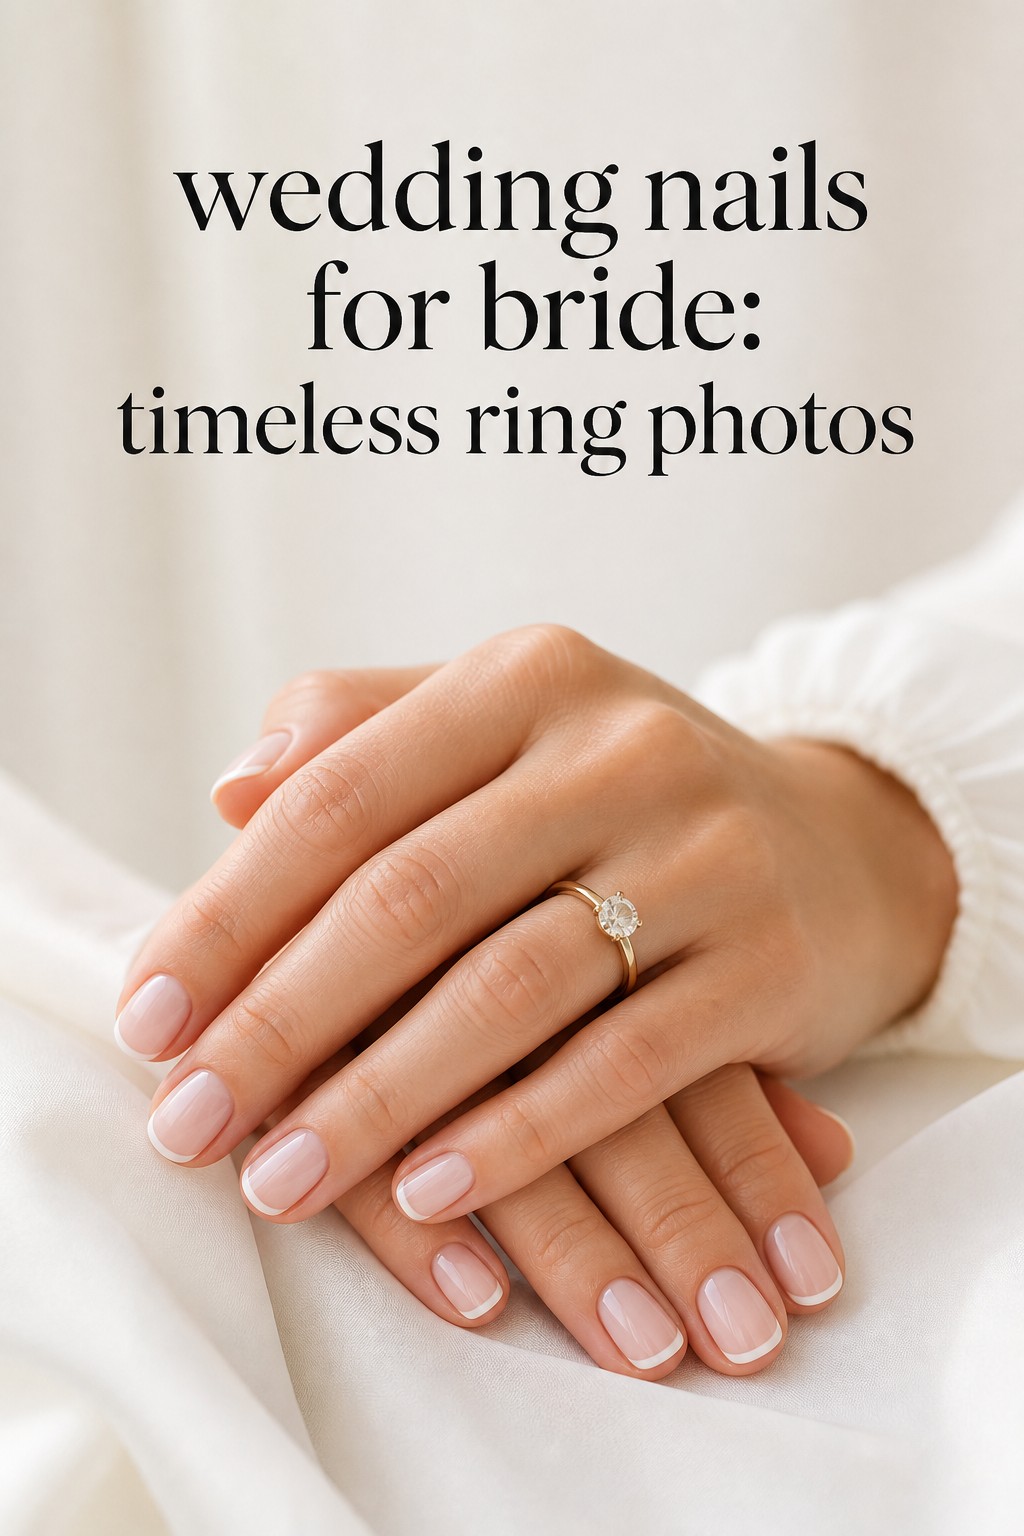
Use a Trial, Timeline, and Wedding-Day Repair Plan
A nail trial is especially valuable when you are considering extensions, a new product, visible art, an unfamiliar shape, or a color that must work with your dress. Book it early enough to observe comfort, wear, growth, and removal. Wear the set through ordinary tasks. Button clothing, open a bag, hold a glass, type, and take your own ring photos. A design that feels elegant for ten minutes should also feel manageable during a full day.
Use the trial to test the complete plan, not five unrelated ideas. If you are unsure between a soft French and a pearl finish, try one version on each hand only if your artist agrees and you can evaluate them fairly. Photograph the set in daylight, warm indoor light, and the lighting where you will get ready if possible. Look for color contrast, glare, visible edges, and whether the design supports the ring rather than fighting it.
For the final appointment, leave a small buffer. Many brides choose gel or a structured service one or two days before the wedding, while regular polish may need more protection and drying time. The right timing depends on your product, nail growth, travel, rehearsal events, and the advice of your technician. Do not schedule so close to the ceremony that there is no time to repair a chip, change a color, or respond to irritation.
In the weeks before the wedding, keep care predictable. Apply cuticle oil and hand cream, use gloves for cleaning, and avoid peeling product away. Reduce aggressive filing and do not introduce a harsh at-home treatment immediately before the event. If your nails are brittle, ask for a professional plan rather than layering random strengthening products. Consistent care gives your final manicure a smoother foundation than a last-minute rescue.
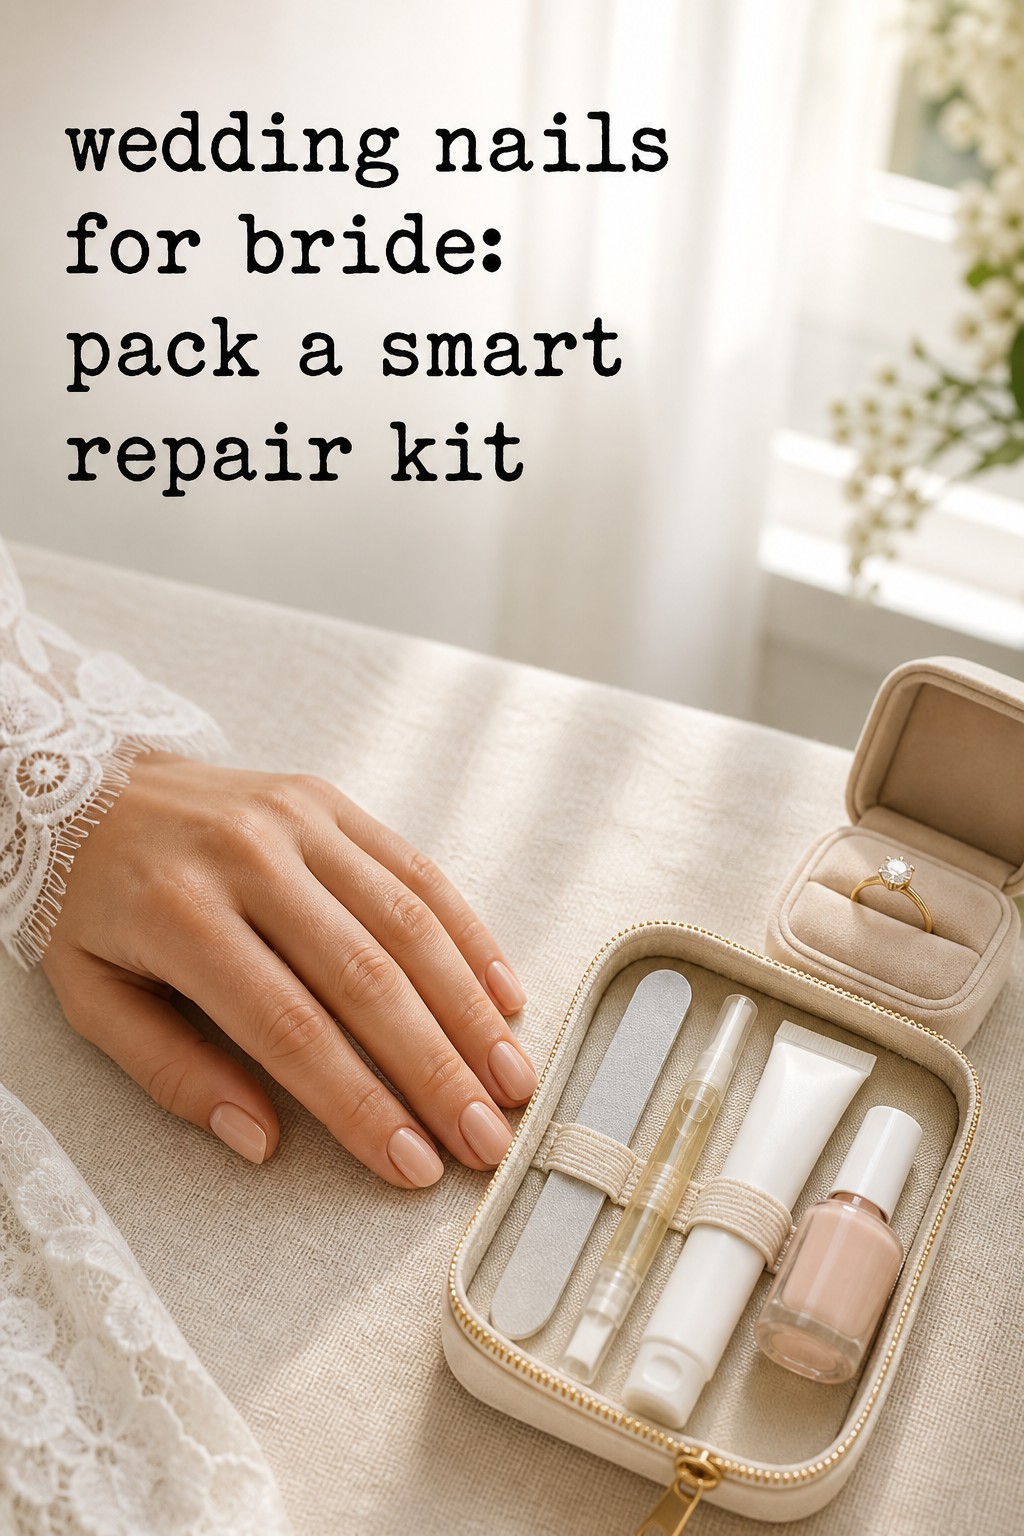
Pack a compact emergency kit with a fine file, cuticle oil, hand cream, the polish color or a small matching bottle when appropriate, and approved adhesive or tabs for a tested press-on or extension plan. Add spare embellishments only if your artist recommends them. For a minor rough edge, gently smooth the area. Do not pull off lifting gel, acrylic, or an extension. If the natural nail is painful, bleeding, red, or separated, seek professional help.
On the wedding morning, keep hand care light and familiar. Follow your professional’s instructions, use cuticle oil if it is part of your plan, and avoid products that leave a greasy film immediately before photos. Give your photographer a chance to capture the ring and manicure when the hands are relaxed. You do not need to hold them rigidly. Natural, comfortable hands usually look better than a forced pose.
Before you approve the final wedding nails for a bride plan, ask five questions: Can I comfortably hold my bouquet? Does the finish look right beside my dress? Will the product survive travel and the reception? Do I know how it will be removed? Do I have enough time for a repair? If the answers are yes, your manicure is doing its job. It looks intentional, photographs well, and leaves you free to focus on the day.
FAQ
How many days before the wedding should a bride get her nails done?
Many brides schedule gel or structured wedding nails for a bride one or two days before the ceremony, while regular polish may need more time to dry and protect. Keep a buffer for a repair, especially if you are traveling or attending a rehearsal event. Your technician’s advice should take priority because nail growth, product, and your schedule all affect the ideal timing.
What wedding nails for a bride work best on short natural nails?
Short round, squoval, and softly tapered shapes work well with sheer blush, milky neutrals, lipgloss finishes, micro-French tips, reverse French lines, and one small centered detail. Keep the art scaled to the nail and leave enough space around it. A glossy surface and careful cuticle preparation can make a short set look polished and intentional.
Is gel better than regular polish for bridal wedding nails?
Gel can be useful because it cures immediately and often resists chips during a busy wedding weekend. Regular polish is easier to remove and may suit a bride who prefers a simple service or has product sensitivities. The best choice is the one you have tested, can comfortably wear, and can remove safely afterward.
Should wedding nails for a bride match the dress exactly?
No. The manicure can relate to the dress, jewelry, flowers, stationery, or overall palette without matching one item exactly. Compare polish swatches with the actual fabric because ivory, champagne, bright white, and blush change the way a color reads. A stronger shade can look intentional when it repeats another detail in the wedding design.
Do I need a bridal nail trial?
A trial is worthwhile when you want extensions, a new product, detailed art, a different length, or a finish that must photograph well. Schedule it early enough to test comfort, durability, color, and removal. Bring the dress fabric or a photo in natural light and refine one complete plan instead of testing only isolated design details.
What should I do if a wedding nail chips on the day?
For a small rough edge, gently smooth it with a fine file and protect the nail until a professional can repair it. Bring a matching polish or approved repair supplies when your technician recommends them. Do not pull off lifting gel or an extension, and seek professional help if the natural nail is painful, bleeding, red, or separated.