Outside Wedding Ideas: A Site-Walk Checklist
The most useful outside wedding ideas start with the place itself. Before ordering an arch, aisle runner, or string lights, walk the site and notice what guests will see first, where they will move next, and which features already give the space character. Then add only the details that make the ceremony and reception easier to understand and more enjoyable to use.
This checklist turns that walk into a design plan. It works for a garden, a family backyard, a broad lawn, or another open-air venue. The goal is not to fill every patch of grass. It is to create a few clear zones, give each one a purpose, and let the setting do some of the visual work.
Preparation: Walk the site before choosing decor
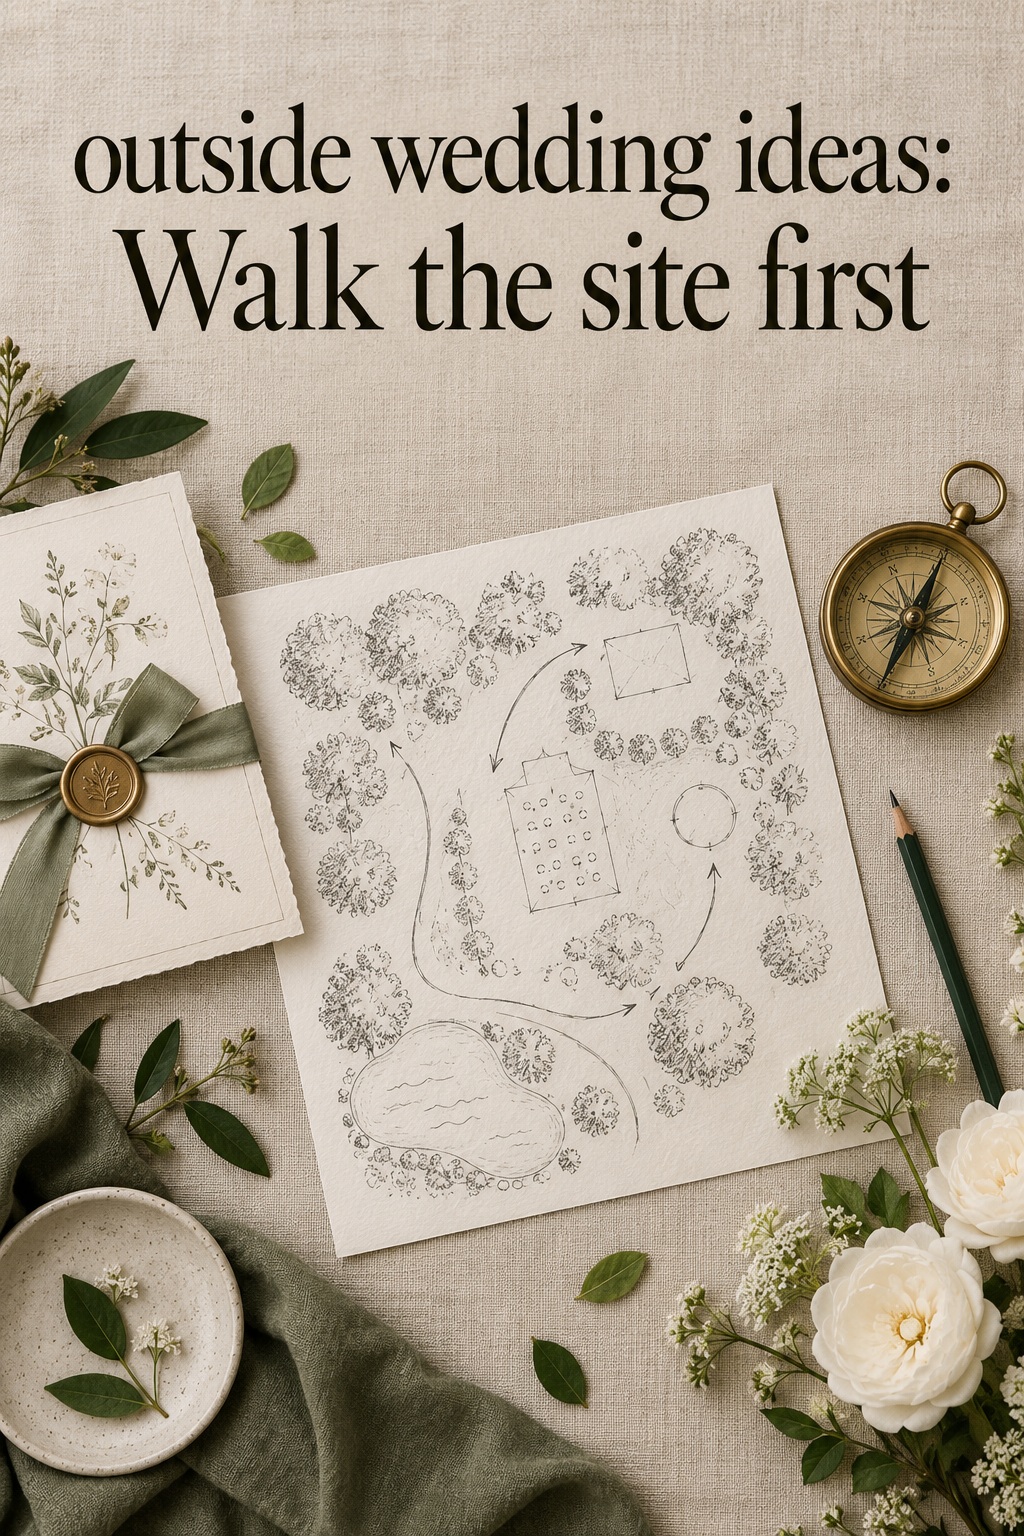
Visit the outdoor space with a notebook and walk it as a guest would. Begin at the place where people arrive, follow the likely route to the ceremony, then continue toward drinks, dinner, dancing, and restrooms. A site that looks beautiful from one photo angle may feel confusing when the route between those areas is not obvious. Your first pass is for noticing, not shopping.
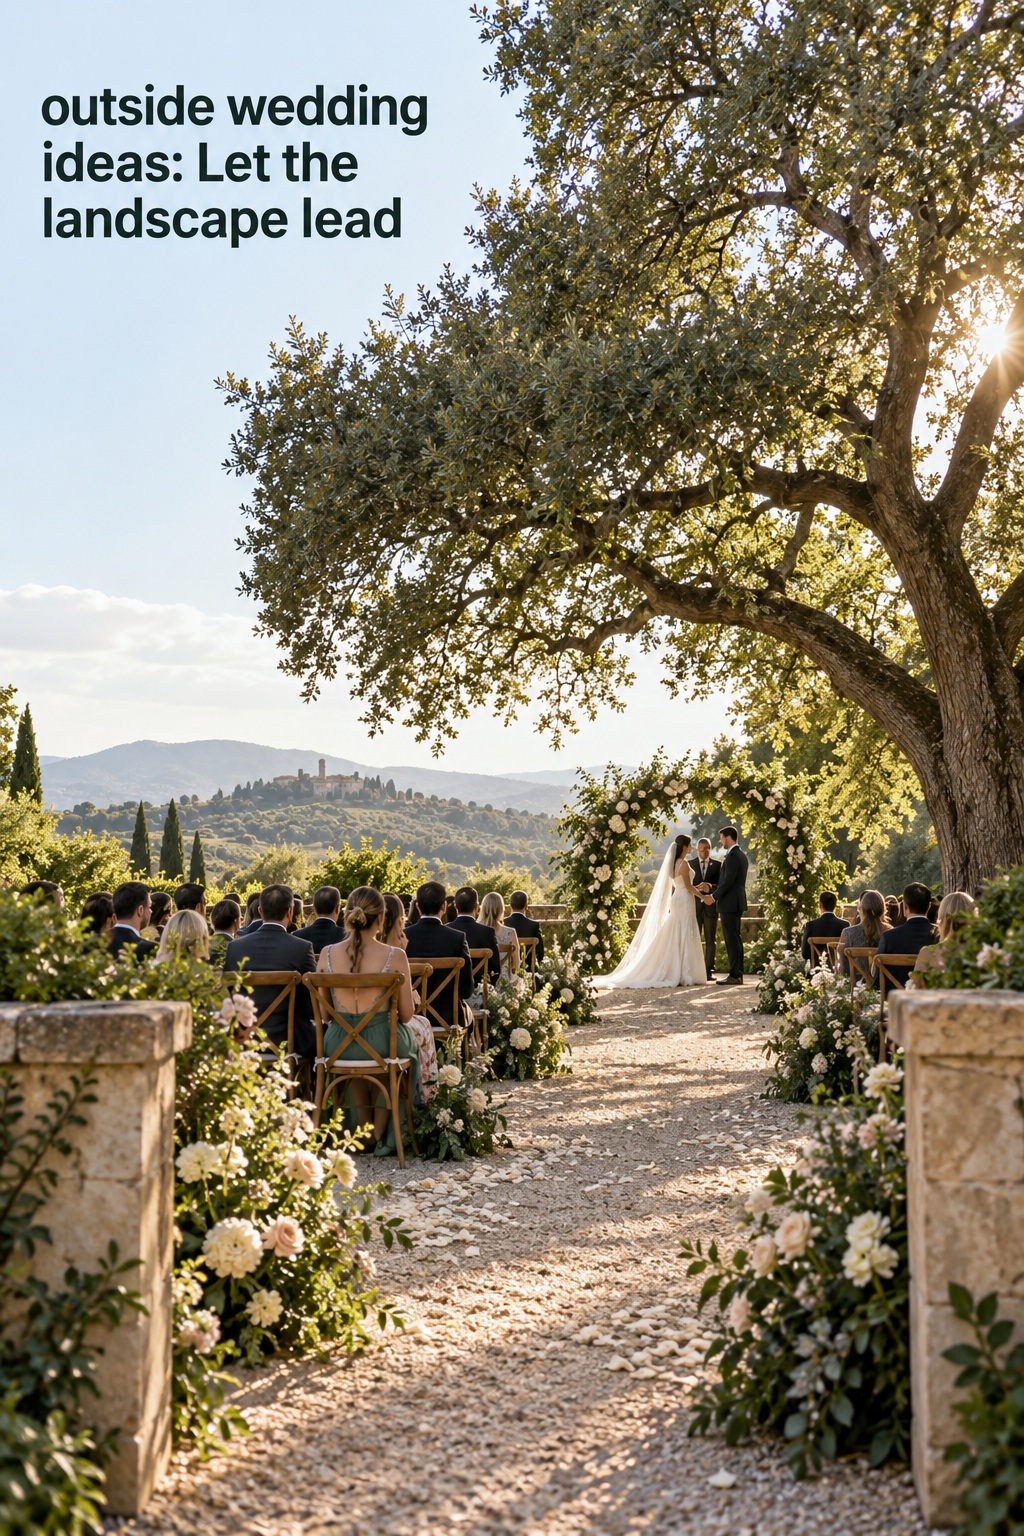
Start with the natural focal points. Look for a distinctive tree, a garden opening, a stone wall, a view across water, a doorway, or an interesting line of trees. Ask which feature already makes you pause. It may be the best ceremony backdrop or the ideal place for a welcome sign. If the venue has a strong feature, plan around it instead of building a competing installation in front of it.

Your wedding look is only the beginning.
Keep your guest list, vendors, timeline, and every important detail together with Zarellea — so your day feels as considered as your style.
Next, notice the less glamorous parts of the view. Where do service doors, parked cars, bins, utility areas, and vendor routes sit? Some can be hidden by changing the direction of a table or moving the ceremony focal point. Others should stay clear so staff can work. Do not assume a screen, floral wall, or furniture arrangement can go anywhere. Ask the venue which views and access routes need to remain open.
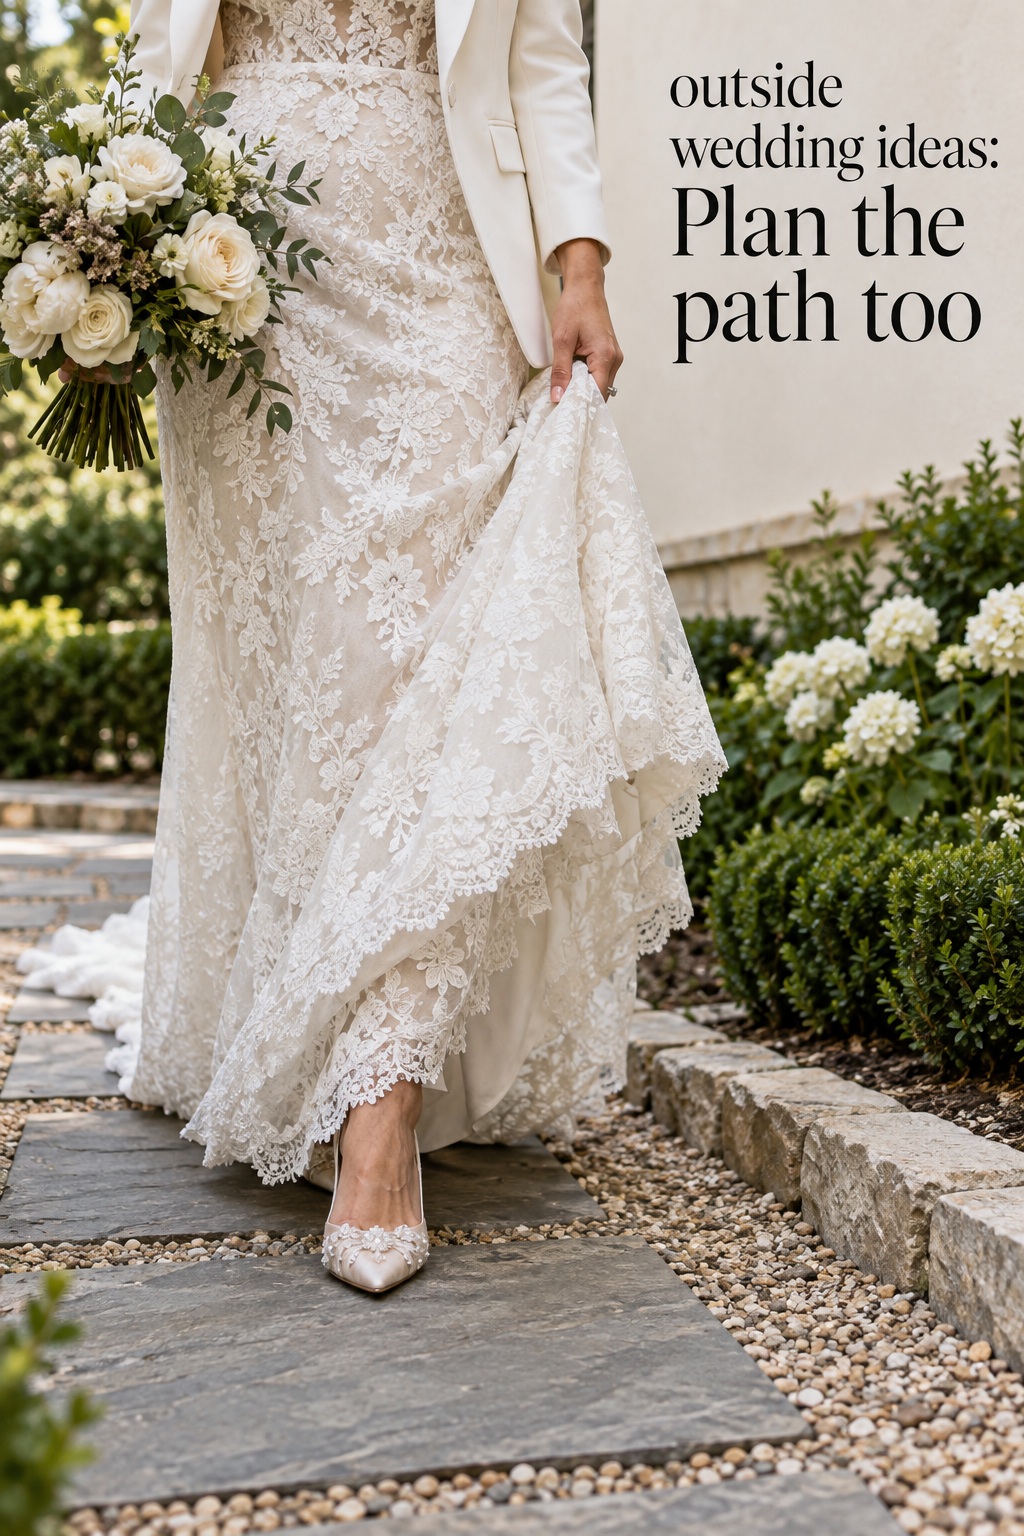
Trace the walking surfaces. Is the route a firm path, grass, gravel, sand, paving, or a mix? Are there slopes, narrow turns, or places where chairs and tables could make a passage tight? Think about guests using mobility aids, guests who need a level route, and anyone who may prefer a seat close to the ceremony. Ask the venue which paths can be improved with temporary flooring and which must remain unobstructed. Design a beautiful route that people can actually use.
Finally, look at the space in terms of scale. An open field may need a strong visual anchor so the ceremony does not feel lost in a large landscape. A small garden may need fewer objects and a layout that keeps the plants visible. A backyard can borrow the home’s porch, fence, or mature tree as part of the design. Take a few wide photographs from guest height, then use them to sketch the zones before choosing details.
Use these prompts during the walk:
- What is the best existing view, and from which direction is it strongest?
- Where should guests enter, gather, and find the ceremony without asking?
- Which routes must stay clear for guests, staff, catering, and equipment?
- Which areas already feel complete, and which feel empty or disconnected?
- What needs the venue’s approval before anything is hung, staked, plugged in, or moved?
Keep the answers close as you design. The notes help distinguish a real need from a decorative impulse. If the view is already vivid, a simple frame may be enough. If guests cannot tell where to go, a sign or visible transition point matters more than another centerpiece.
Decision checklist: Give every outdoor zone a job
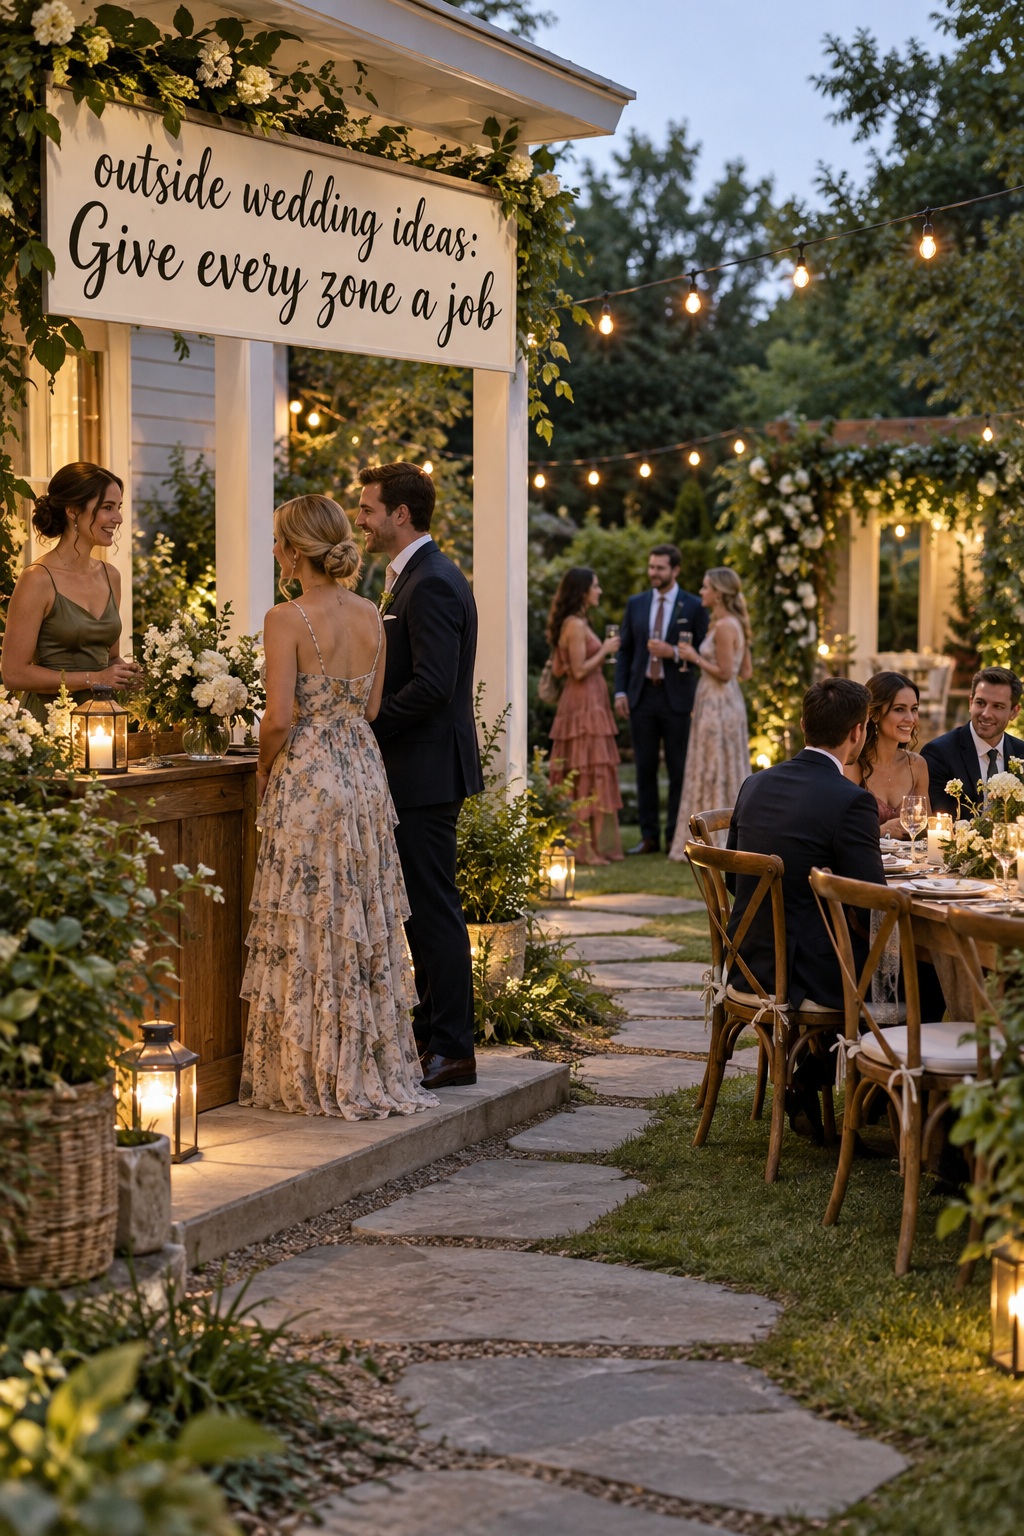
A celebration feels considered when each area has a clear purpose. Sketch the guest journey in order, even if the actual venue uses a different layout. For every zone, choose one visual anchor and one practical improvement. This keeps ideas connected to how the event will work instead of turning the lawn into a collection of unrelated photo moments.
Arrival: Make the first turn easy
Use a welcome sign, a small floral marker, or a simple arrangement of lanterns to indicate the entrance. Place it where guests make a decision, not after they have already passed the turn. If the ceremony is visible from the arrival point, the sign can be minimal. If there are several paths or buildings, use directional signs with plain language. A guest should be able to move from arrival to the gathering area without interrupting the couple or asking a vendor.
For a home or garden, make the entrance feel distinct from the everyday approach. A potted plant pair, a fabric panel on a permitted frame, or a small table for programs can signal that guests have arrived at the celebration. Choose an idea that leaves the doorway and path wide enough for people to pass comfortably.
Ceremony: Frame the couple and preserve the view
An existing tree, garden opening, pergola, or architectural edge can serve as the ceremony frame. Add flowers or fabric only where they clarify the focal point. If the setting is already lush, a pair of arrangements at the aisle entrance may be more effective than a large arch. If the backdrop is visually quiet, a freestanding frame or a more sculptural arrangement can give the ceremony a center.
Consider a shallow semicircle or angled seating when the site allows it. These arrangements can help guests see one another as well as the couple, but they need careful spacing and a clear entrance for the processional. Traditional rows are often easier to lay out. Choose the arrangement after checking the view from the back and sides, not only from the front row.
Rugs can distinguish an aisle from the surrounding ground, especially in a compact backyard or courtyard. If you use one, ask the venue how it should be secured and whether its surface is suitable for the route. A line of potted plants, chairs with restrained floral ties, or a pair of arrangements at the aisle entrance can mark the path without covering the full surface.
Transition: Give guests somewhere to go next
After the ceremony, guests need a natural direction for the next part of the celebration. A visible drinks station, a sign, or a small grouping of cocktail tables can draw them toward the reception area. If the ceremony and dinner happen in separate spaces, make the route feel intentional with repeated details such as the same flower, color, or lantern style. Avoid placing a photo backdrop directly in the narrowest part of a path where guests are already moving through.
A lounge corner works when it has a real place in the flow, such as a quiet edge near the cocktail area or a spot beside the reception tables. Use a few chairs and a low table rather than filling it with furniture. Keep the route to food, drinks, and restrooms visible so that the lounge reads as a place to pause, not an obstacle.
Dinner and dancing: Define the evening center
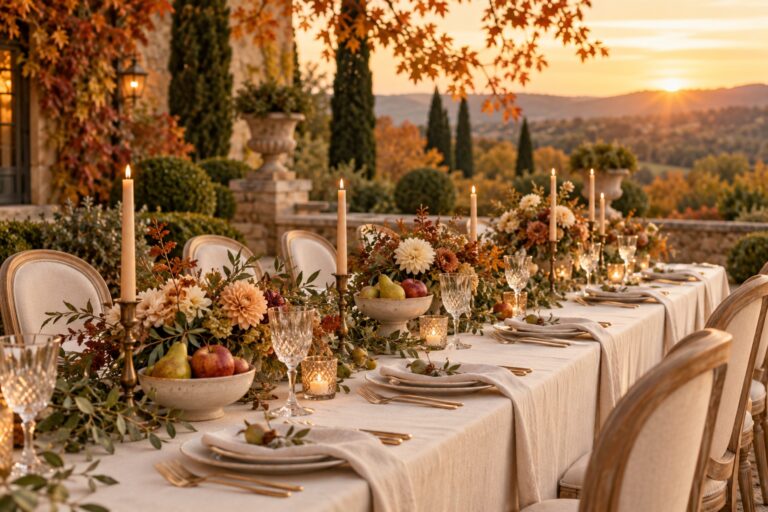
For dinner, long tables can emphasize the shape of a lawn or courtyard, while smaller tables can make a broad site feel more intimate. Let the placement follow the natural geometry of the space. A table aligned with an existing path can look deliberate; one turned across the main route may divide the space awkwardly. Keep a clear route to service areas and an open view toward speeches or the dance floor.
Outdoor centerpieces need to be visible without obscuring conversation. Low arrangements, bud vases, or a runner of greenery can keep the table open. If the ceremony already has a strong floral moment, repeat a smaller version at dinner rather than introducing a separate visual theme. For dancing, define the area with overhead lights, a floor surface, or a change in table placement. One clear boundary helps guests recognize that the reception has shifted into its next phase.
Worked examples: Build a layout around the place
The same ideas can produce very different celebrations because every outdoor site has its own shape. Use these examples as starting points, then adjust the details to the actual views, paths, and venue rules. Each one focuses on a sequence of choices rather than a shopping list.
A garden with a natural focal point
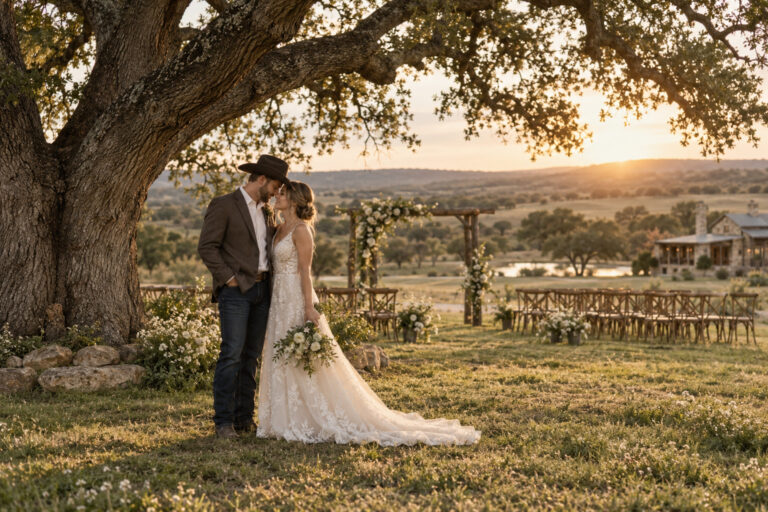
Suppose the garden has a mature tree or a clear opening between planted areas. Use it as the ceremony focal point and place chairs so the view remains visible from the back. Mark the aisle with a small number of potted flowers or arrangements at the entrance, then leave the surrounding beds on display. This keeps the space connected to its existing landscape.
For the transition, lead guests along a path that already exists instead of cutting across the planted areas. Set the drinks station near the reception zone, with a simple sign where guests can see it before they need to choose a direction. Dinner can sit on a nearby lawn with low table decor that echoes the garden’s colors. If the path is dim later, ask the venue which pathway lighting is allowed and how it should be installed.
A compact backyard with limited room
In a small yard, define one ceremony view and make each other area do more than one job. The porch can become the welcome point, a fence or tree can frame the vows, and a patio can serve as the drinks area before becoming part of the reception. Keep the ceremony seating compact and moveable if the venue team needs to reset the space for dinner.
Use vertical details sparingly. A permitted floral frame, a fabric backdrop, or a few overhead lights can add definition without consuming floor space. Choose tables that fit the route from the house to the yard, and avoid filling every edge with lounge furniture. In a small space, an open passage is part of the design. Guests should be able to move around the celebration without having to squeeze between decor and chairs.
A broad lawn or waterfront view
A broad site can make a small ceremony setup feel isolated. Gather chairs around a defined focal point and use the landscape as the backdrop. A simple arch, a pair of arrangements, or an intentional aisle entrance can give the ceremony a center while preserving the view. Keep the ceremony footprint proportional to the guest group and avoid filling the horizon with multiple installations.
After the vows, draw guests toward the reception with a visible transition. A cluster of cocktail tables, a small bar, or a lounge edge can bridge the ceremony and dinner areas. For a large open lawn, use repeated points of light or small groups of tables to make distances feel deliberate. At a waterfront, orient the dining area to enjoy the view without placing chairs or installations where they could obstruct a required access route. Confirm site rules before attaching or placing anything near the edge.
These examples share one planning rule: choose the site feature first, then decide which zone should benefit from it. It might be a tree, a view, a porch, or a path. A short list of ideas linked to that feature will usually feel more coherent than borrowing every detail from several different inspiration images.
Final review: Check sightlines, movement, and setup
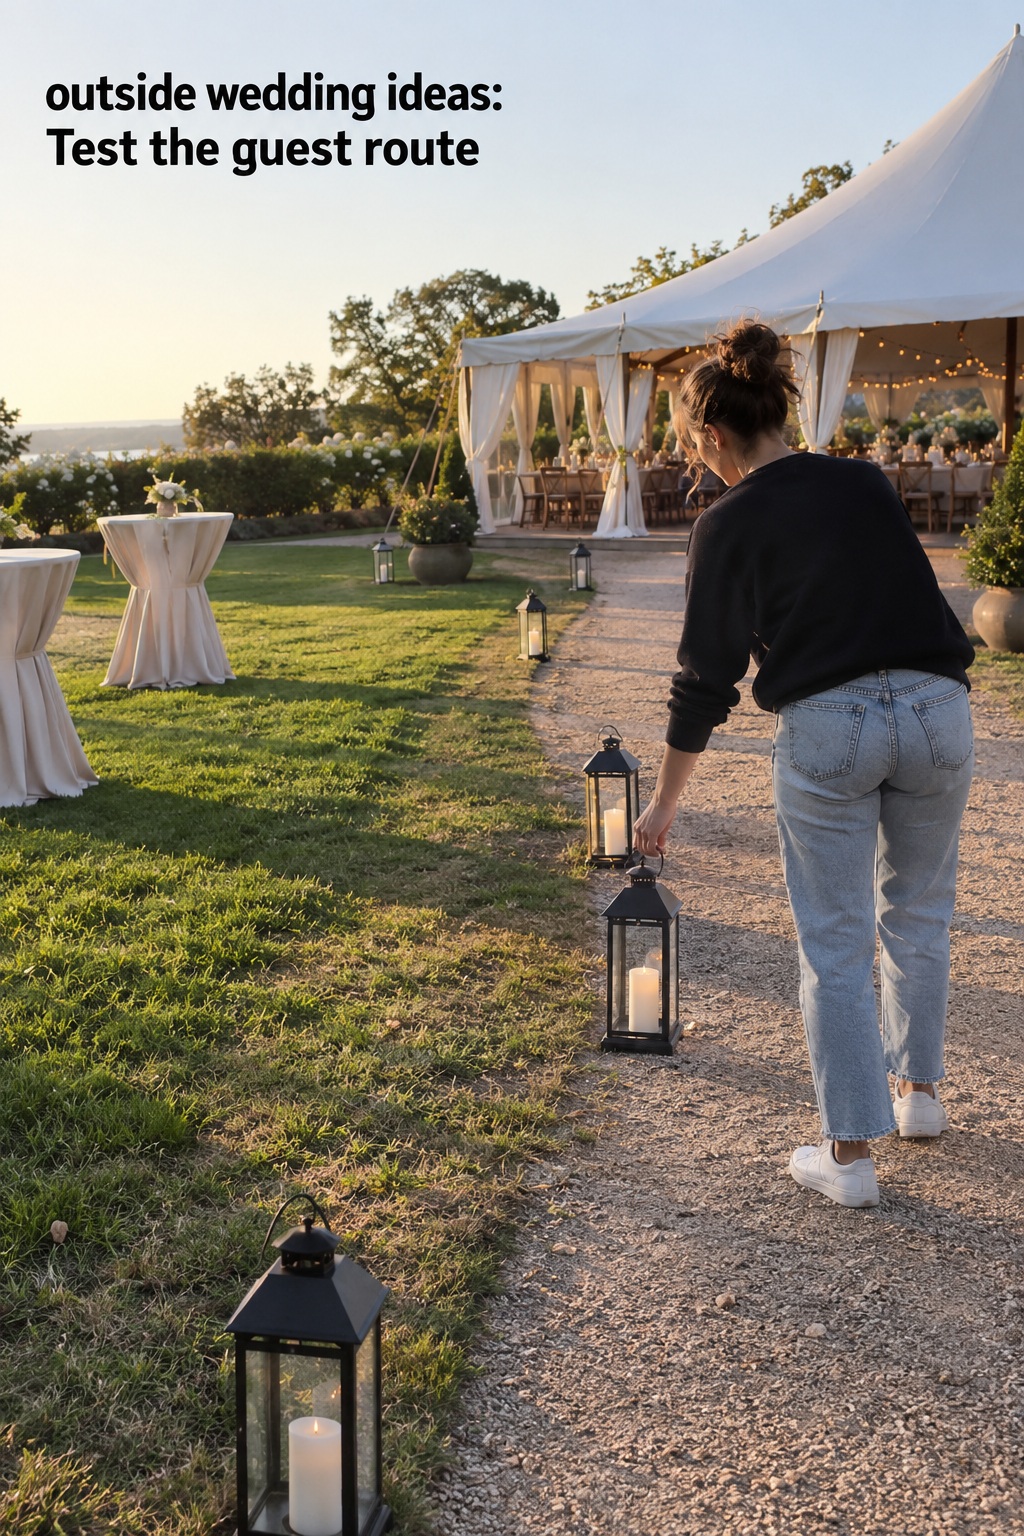
Before finalizing rentals or decor, walk the planned route once more with someone who was not part of the design conversation. Ask them to move from arrival to ceremony, then to drinks, dinner, dancing, and restrooms using only the signs and visual cues you have planned. If they hesitate or walk through a work area, adjust the layout or add a clearer marker.
Review the plan from more than one viewpoint. Sit in the last row and check that the couple remains visible. Stand beside the main path and see whether a table, floral arrangement, or sign blocks movement. Photograph the ceremony area from guest height and look for background distractions. These quick checks catch problems that are easy to miss when viewing a site from the couple’s position.
Confirm setup details with the venue and vendors. Ask which structures can be staked, hung, plugged in, moved, or placed on the ground. Verify who supplies and switches on any lights, and whether paths and service routes will remain clear after setup. If an idea depends on electricity, sound equipment, an open flame, or a rental floor, let the appropriate vendor confirm what the site permits and what is needed.
Outdoor design also needs a separate contingency conversation. Confirm the venue’s backup location or tent plan, who makes the final decision, and how guests will be told about a change. This is a practical safeguard, not the central design idea. Keeping it separate makes it easier to enjoy the open-air plan while knowing what the team will do if conditions require a change.
Use this final review before approving the setup:
- Can every guest identify the ceremony focal point and see it from their seat?
- Are arrival, accessible paths, vendor routes, and exits open and clearly marked?
- Does each zone have a recognizable purpose without competing decor?
- Are signs, lighting, decor attachments, and rentals approved by the venue?
- Do vendors know the setup sequence and the contingency plan?
- Will the space still feel balanced after guests begin using it?
When these checks are complete, stop adding. Leave open space where guests need to move and let the most meaningful feature remain visible. That is often the detail that makes an outdoor celebration feel personal: not a perfect copy of an inspiration board, but a plan that belongs to the site and the people gathering there.
Sources and methodology
This checklist is based on a page-level review of ten US search results for outside and outdoor wedding ideas. Editorial and planner guides supplied examples of ceremony framing, backyard and garden decor, guest routes, lighting, and site logistics. The zone-by-zone method is an original planning synthesis, not a guarantee that a specific setup will suit every venue. For broader outdoor planning context, see The Knot’s outdoor wedding guide and WeddingWire’s outdoor planning tips. Confirm site access, attachment, power, sound, and backup arrangements with the venue and relevant vendors.
FAQ
What are some simple outside wedding ideas?
Use an existing tree or view as the ceremony backdrop, mark the entrance with a clear sign, and carry one repeated detail from the ceremony to the reception. A few purposeful choices can make the site feel finished without filling it with decor.
How do you decorate an outdoor wedding without overdoing it?
Choose the strongest natural feature first, then add details where guests need a focal point or direction. Repeat one or two colors or materials and leave the rest of the landscape visible.
How can an outdoor ceremony feel more intimate?
Group the seating around a clear focal point, bring the first rows closer when the layout allows, and use a small number of arrangements or lights to define the ceremony area. Keep the setup in scale with the guest group and the site.
What should be included in an outdoor wedding layout?
Plan the arrival, ceremony, transition to drinks, dining, dancing, restrooms, and clear paths between them. Include space for vendor access and any venue-required routes before adding lounge or photo areas.
How do you make a backyard wedding look special?
Use a feature that already belongs to the property, such as a porch, tree, fence, or garden path, as part of the design. Then make the ceremony and reception areas distinct with seating, lighting, or a repeated decorative detail.
What is a good alternative to a traditional wedding arch?
A mature tree, a garden opening, a pergola, a doorway, or two arrangements beside the couple can create a focal point. Choose the option that frames the view and fits the venue’s setup rules.
How can guests find their way around an outdoor wedding?
Put directional signs at decision points, use a visible feature to mark each gathering area, and keep the paths between zones open. If areas are separated, tell guests what comes next with a clear sign or a vendor’s cue.
What should couples confirm before installing outdoor wedding decor?
Ask the venue about staking, hanging, candles, power access, sound, rental flooring, and the backup location. Have the vendors responsible for each item confirm setup and safety requirements before the wedding day.