Camera Makeup: A Wedding-Day Guide to Photogenic Skin
Camera makeup is not about covering your face with a heavy layer of product. It is about helping your real features keep their shape, color, and polish when a lens, flash, and changing light translate a three-dimensional face into a flat image. The look that feels perfect in a bathroom mirror can seem pale, shiny, or undefined in photographs. A look that feels slightly more deliberate in person can appear balanced and natural once it is captured.
That difference matters on a wedding day, a bridal portrait session, engagement photos, professional headshots, and any event where you want to recognize yourself in every frame. The best camera makeup still feels comfortable at close range. It has enough coverage to even the complexion, enough contrast to restore dimension, and enough flexibility to work in window light, outdoor shade, indoor lighting, and flash. Use this guide to build the look, test it properly, and make small adjustments before the camera has the final say.
Why Camera Makeup Looks Different from Everyday Makeup
Your eyes see depth continuously. A camera records a single frame, and that frame depends on lens choice, exposure, color temperature, distance, and the direction of the light. In a photograph, natural shadows can disappear, bright areas can become more reflective, and subtle colors can lose their presence. This is why a soft blush may vanish while a small patch of shine suddenly becomes the most visible detail on the forehead.
Flash can make the difference more obvious. Direct light reduces the shadows that normally model the cheekbones, nose, and eye sockets. It can also bounce from reflective ingredients and create a pale cast, often called flashback. That cast may come from the combination of a flash, SPF or mineral sunscreen ingredients in the base, a powder with a high amount of silica, or too much product sitting on the skin.
Your wedding look is only the beginning.
Keep your guest list, vendors, timeline, and every important detail together with Zarellea — so your day feels as considered as your style.
High-resolution cameras create a second challenge: they record texture honestly. Dry patches, unblended edges, visible powder, foundation around the nose, and an overly glossy highlight may be more noticeable than they are in person. The answer is not to erase every natural feature. It is to prepare the skin, apply thinner layers where possible, and set only the places that need control.
- Dimension gets flattened: brows, blush, contour, liner, and lashes may need slightly more definition than your daily look.
- Shine gets amplified: the forehead, nose, chin, and cheek texture can reflect light more strongly than expected.
- Color gets muted: blush and lip color may need to be a little clearer so the face does not look washed out.
- Texture gets recorded: thick layers and dry powder can look less smooth than they feel in a mirror.
- Light changes the result: a base that works in daylight may need a small adjustment for a dark reception or direct flash.
Think in terms of translation rather than correction. Camera makeup translates the face you want people to see into the conditions in which the image will be made. A bridal look should not become a separate identity. It should remain recognizably yours while giving the camera enough information to preserve your expression, structure, and coloring.
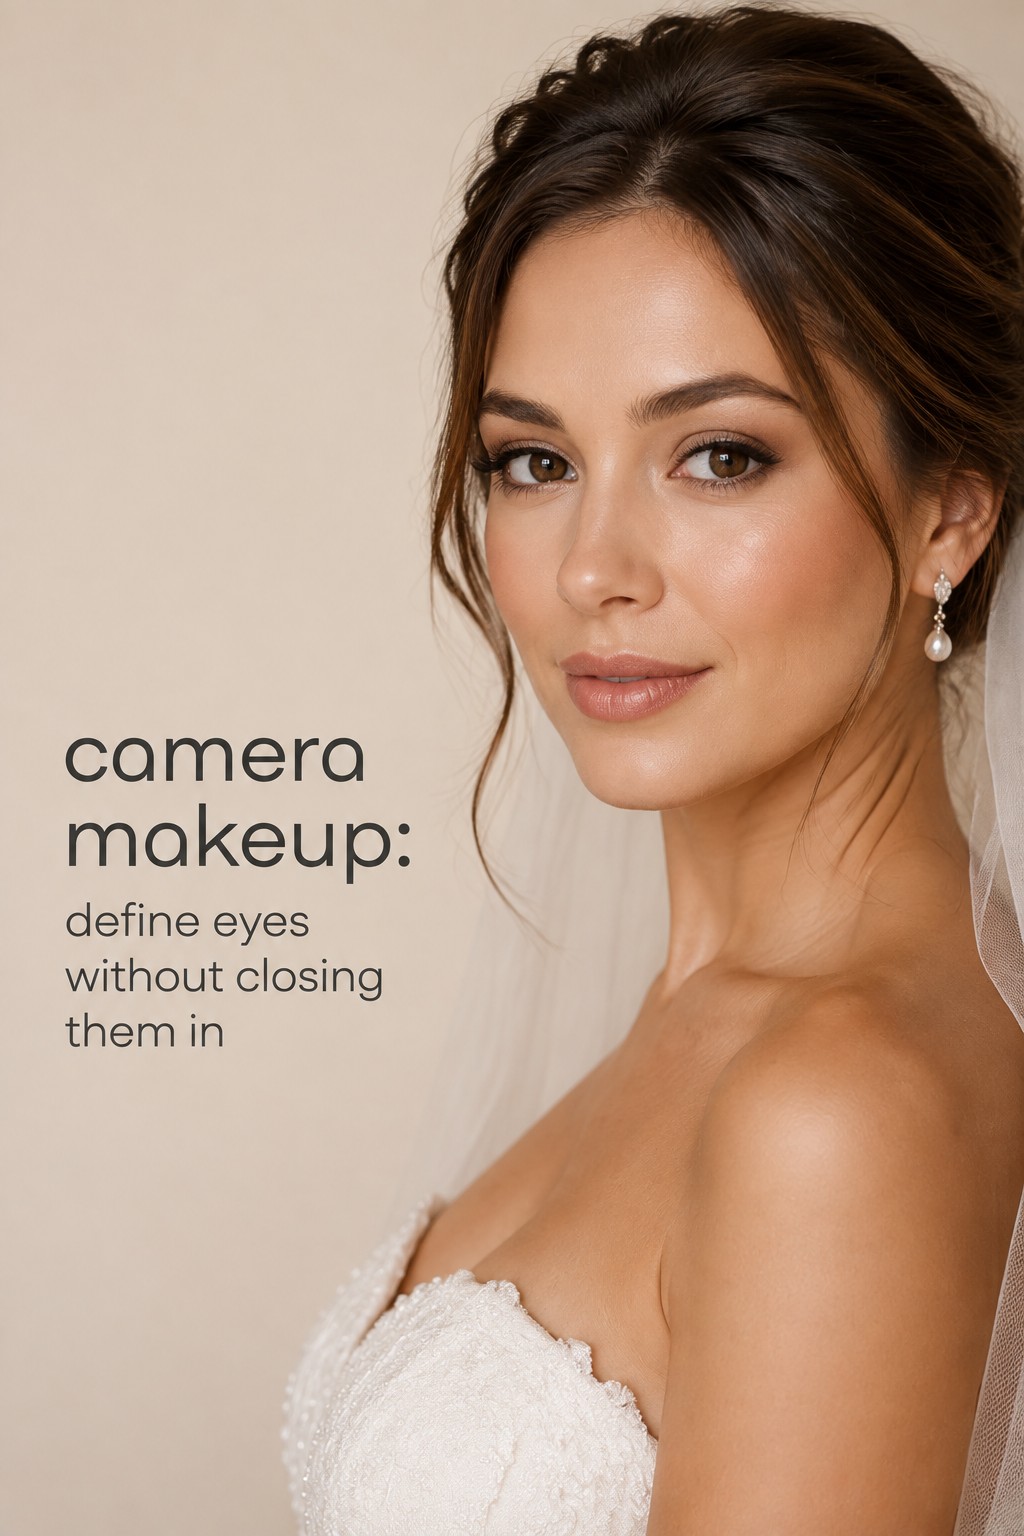
Build a Skin-Like Base That Holds Up in Photos
The complexion is the foundation of camera makeup, literally and visually. If the base is patchy, overly shiny, too pale, or visibly thick, stronger eye makeup will not rescue the final image. Begin by treating your skin as a real surface with changing needs rather than assuming that one finish works for everyone.
Prepare the skin without experimenting
Keep your cleansing and moisturizing routine familiar in the weeks before an important photo day. Hydrated skin usually accepts makeup more evenly, but adding a new acid, peel, retinoid, facial, or heavily fragranced product shortly before the event can create redness or unexpected texture. On the morning of the event, use enough moisturizer to prevent tightness, then give it time to settle. If you use sunscreen, choose a formula you have already tested and discuss the lighting plan with your makeup artist. Do not make a last-minute change solely because someone online says every sunscreen causes flashback.
Use primer where it solves a problem
Primer is useful when it improves the behavior of the next layer. A smoothing or softly mattifying primer can help the T-zone if shine is your main concern. A hydrating primer may be better on dry cheeks. You do not have to cover the entire face with the same formula. Apply a small amount, allow it to set, and check whether the foundation still moves comfortably over it. Too many incompatible layers can pill, separate, or emphasize texture.
Choose coverage and finish for the lighting
Medium coverage is often a useful starting point because it evens redness and tone while leaving room for the skin to look like skin. Add coverage only where you need it, such as around the nose, on a blemish, or beneath the eyes. A satin or natural-matte finish tends to be adaptable because it controls shine without making the entire face look flat. Very sheer base products can disappear under strong light, while an intensely dewy finish may turn reflective in flash photography.
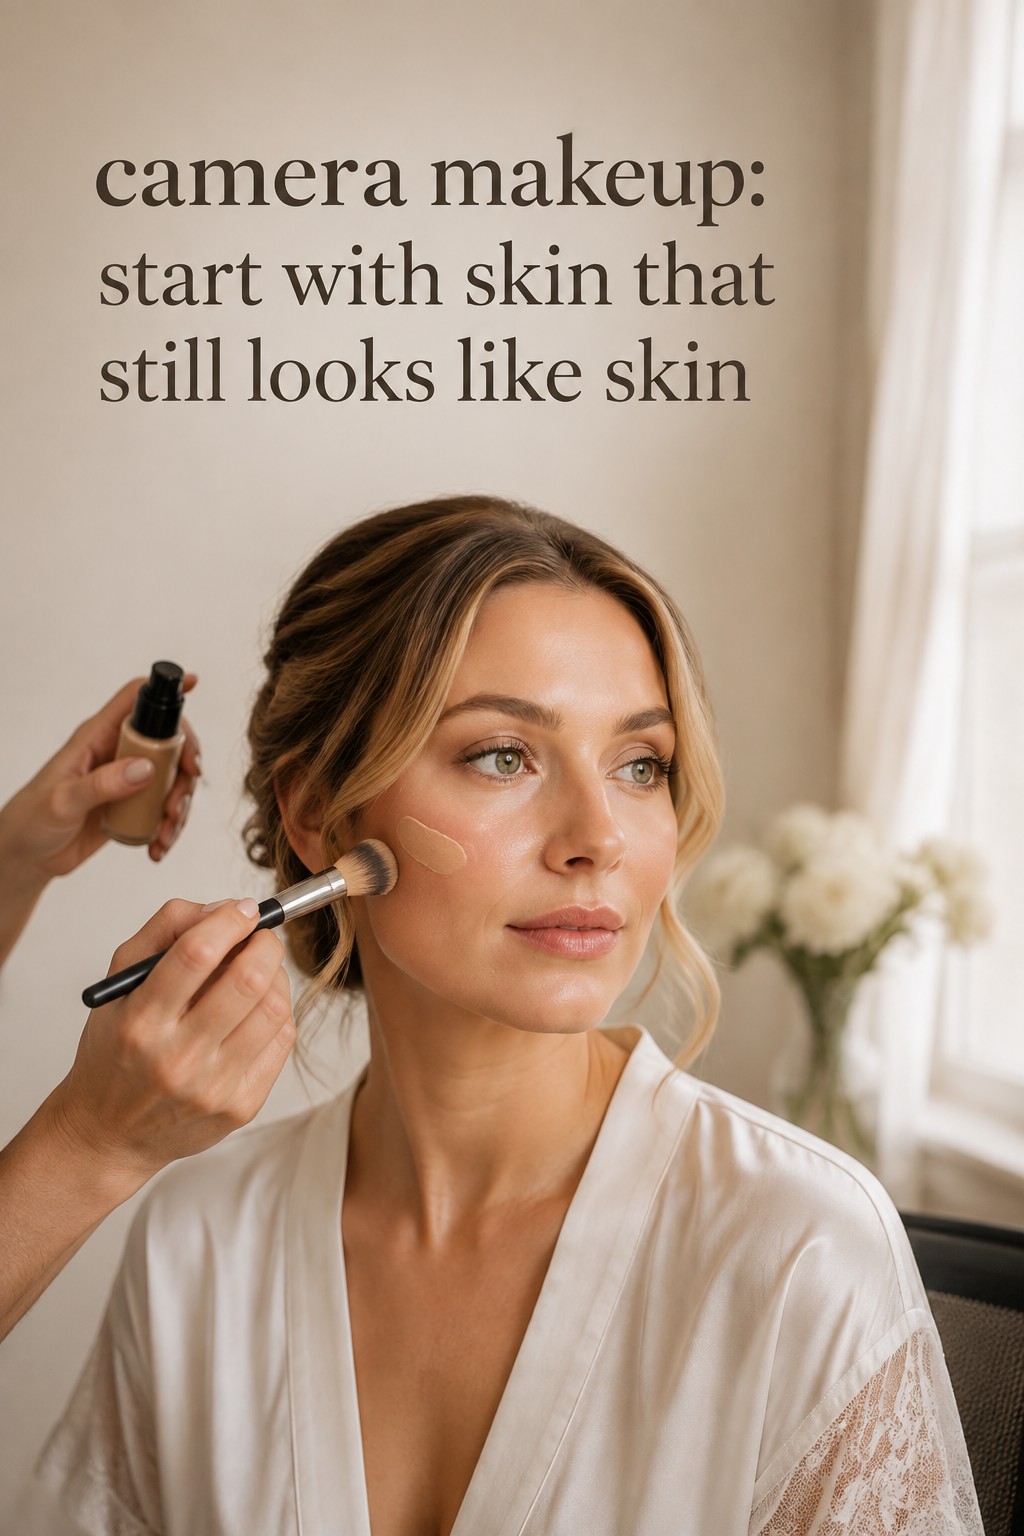
Shade matching is more important than chasing a formula marketed specifically for cameras. Match the face, jaw, and neck in the light where the photographs will be taken. If the face is warmer or lighter than the neck, the difference will be visible in close-up images. Apply the foundation in thin layers with a brush, sponge, or fingers according to the formula, then press rather than drag over areas that tend to separate.
Control powder and flashback thoughtfully
Powder should set the places that crease, shine, or need to stay still. It does not need to turn every part of the face completely matte. Press a finely milled powder into the T-zone, around the nose, beneath the eyes if needed, and anywhere the foundation remains tacky. Brush away excess so the skin keeps some life. Before a flash-heavy event, test the actual powder and base together. If a product combination creates a white cast, replace it during the trial rather than discovering the problem in the reception gallery.
Concealer should support the base, not create a bright triangle beneath the eyes. Use a shade that corrects darkness without becoming dramatically lighter than the foundation. Place it where you need it, blend the edge, and set only if the area creases. A little extra care around the nose and mouth often improves photos more than another layer across the cheeks.
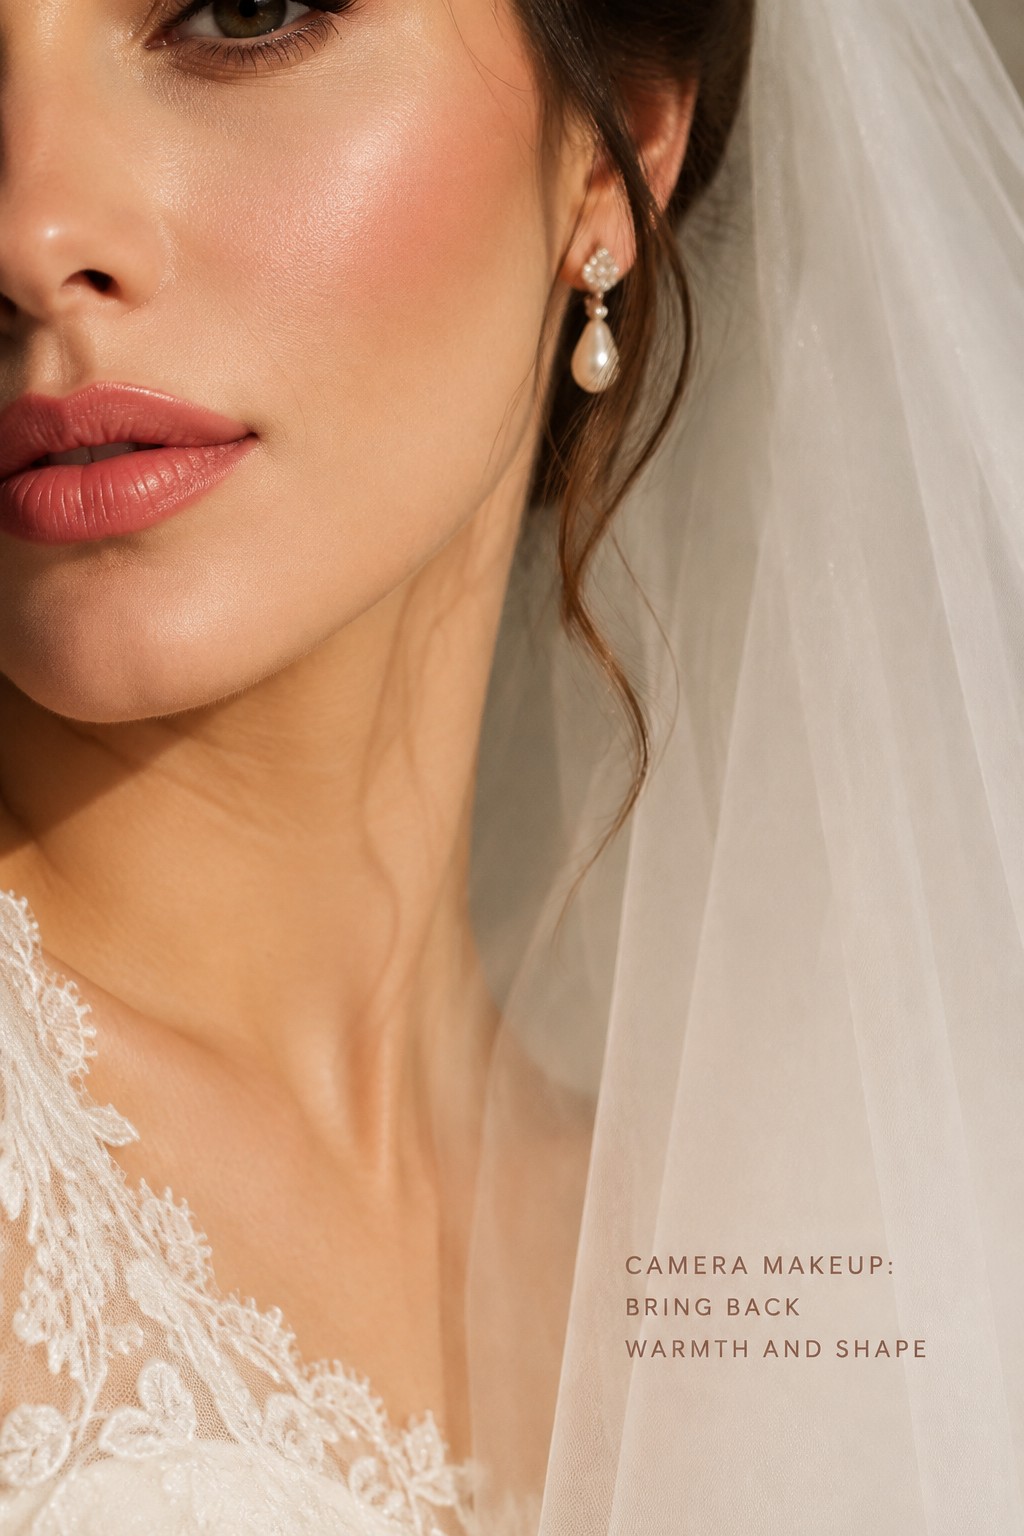
Add Definition That Survives the Lens
Once the complexion is even, add structure in a controlled order. The goal is not to make every feature equally strong. Choose a focal point, then give the supporting features enough definition to remain visible beside it. For a wedding, the eyes often lead, but a softly sculpted cheek or a clear lip can create an equally polished result.
Brows frame the entire image
Brows can disappear when the rest of the face is polished, especially if the hair is light or the photograph is brightly exposed. Fill gaps with small, hair-like strokes and keep the front of the brow softer than the arch and tail. If you tint, wax, thread, or reshape your brows, do it several days before the event so redness has time to settle. The best camera makeup brow is balanced with the face, not drawn as a separate graphic.
Define eyes without closing them in
Use a matte or satin transition shade to give the eye a little depth, then add definition at the lash line. Tightlining the upper lashes can make them look fuller without creating a thick visible stripe. A soft brown liner is often more forgiving in daylight, while espresso or black can hold up well for an evening reception. If you use a wing, keep its direction connected to your natural eye shape and check it with your eyes relaxed, not only closed.
Shimmer should be fine and intentional. Place it on the lid or inner corner rather than spreading reflective particles across the entire eye. Chunky glitter can scatter flash and look uneven. Waterproof mascara and tested lash adhesive are practical choices for a wedding, but the lash must suit the eye. A dense strip that hides the lid may photograph less elegantly than a lighter strip or a few outer-corner clusters.
Restore warmth and shape with cheeks
Blush gives a camera something to read. Choose a shade that relates to your natural flush, then build it until it remains visible without becoming a hard circle. Cream blush can look skin-like, while powder blush can add longevity. You can layer the two if the formulas work together. Place the color according to the mood you want: higher toward the temples for a lifted effect, across the apples for a fresh romantic effect, or in a diffused combination for a softer portrait.
Bronzer and contour do different jobs. Bronzer adds warmth, while contour recreates a shadow. Use either one lightly, or use both in separate areas. A matte contour close to your natural shadow color can restore cheek and jaw definition, but a shade that is too dark or too warm may look muddy. Blend the edges and take a photograph before adding more. The camera often rewards subtle structure more than obvious stripes.
Give the lips a clean shape
Lip liner is especially helpful for camera makeup because a defined edge remains readable in close-up photos. Choose a liner that works with the lipstick rather than outlining the lips with a disconnected color. Fill in the lip lightly, add a thin layer of lipstick, blot, and apply a second thin layer. Satin or soft-matte finishes usually create fewer bright reflection points than a thick layer of gloss. If you love shine, keep it controlled at the center and carry a matching color for touch-ups.
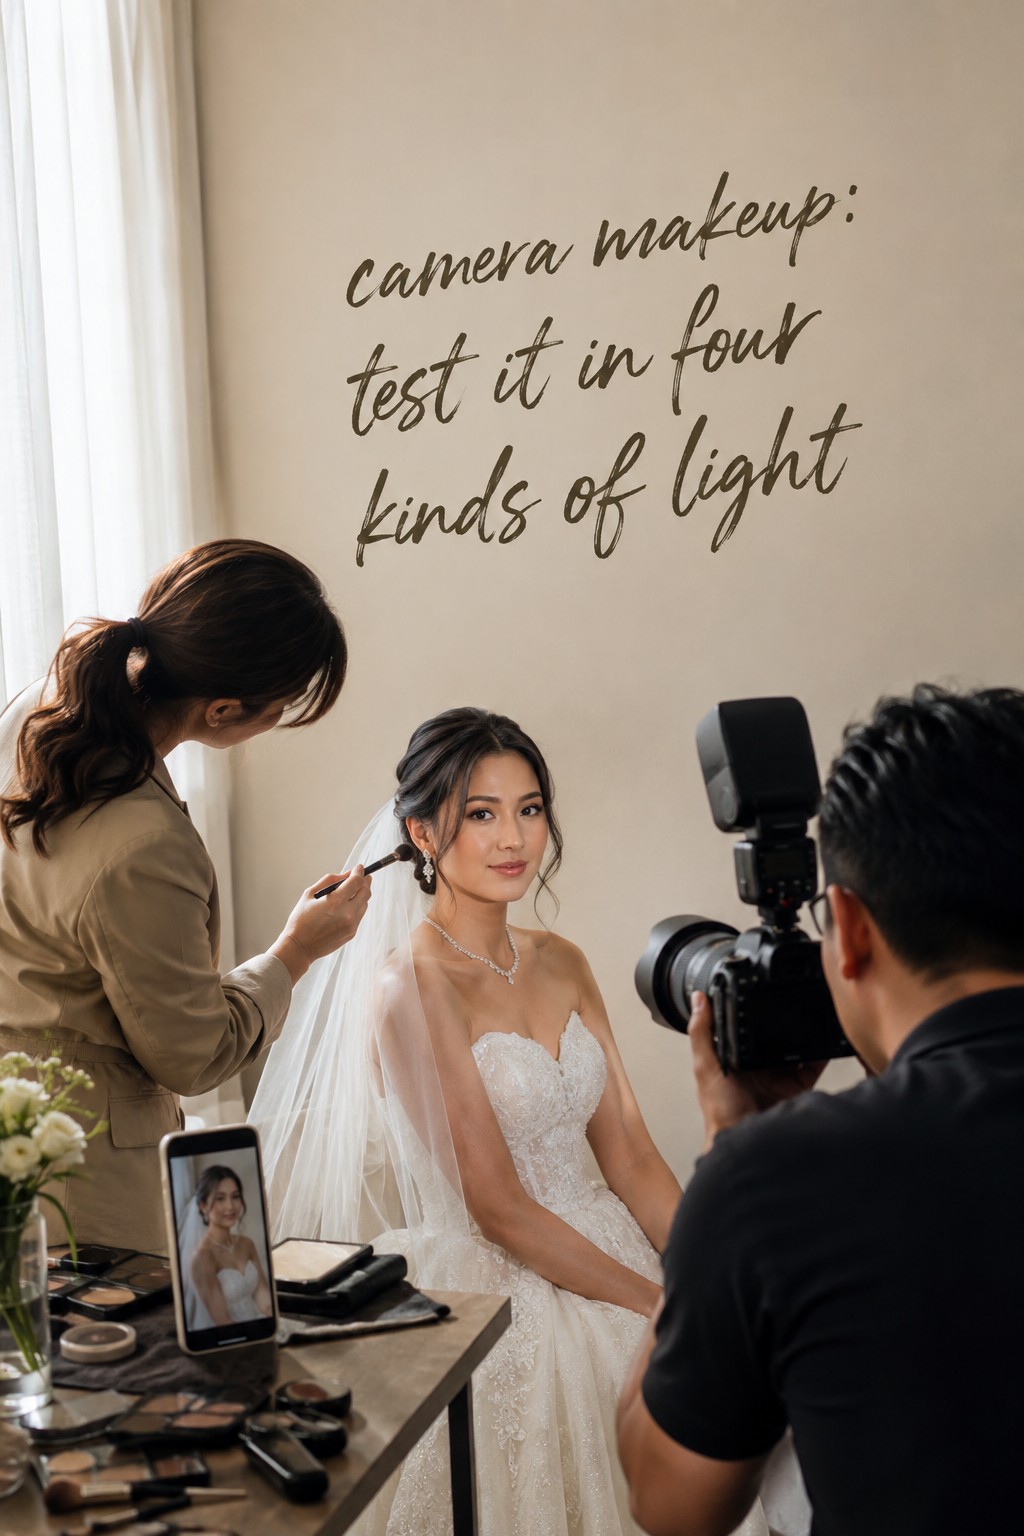
Test Camera Makeup Before the Wedding or Photo Session
A makeup trial is not complete when the mirror looks good. It is complete when you know how the look behaves after time, movement, and several kinds of light. Schedule the trial early enough to make changes. Bring the veil, jewelry, neckline, glasses, or hair accessories that may affect the balance of the face. If you have a photographer already booked, ask which parts of the day will use flash and whether they can take a few test frames.
- Window light: check the shade match, blush balance, under-eye brightness, and whether the skin still looks like skin.
- Outdoor light: look for visible texture, powder, contour edges, and color that turns too warm or too cool.
- Indoor ambient light: see whether the eyes, brows, and lips have enough definition for a dimmer room.
- Direct flash: check for white cast, excess shine, glitter hot spots, and a complexion that looks much paler than expected.
- Several hours later: assess separation, creasing, fading, oil, dryness, and whether the makeup is still comfortable.
Use the same phone or camera distance that resembles the final photographs when possible. A front-facing selfie is useful for a quick check, but it can distort proportions and soften detail. A longer lens or a professional camera may show a more realistic portrait result. Ask someone to photograph you with a neutral expression, a smile, a three-quarter turn, and eyes looking slightly away. You are checking how the makeup moves with your face, not trying to pass one perfect pose.
Adjust one variable at a time. If the face looks washed out, add a little blush or lip color before adding more foundation. If the skin looks shiny, blot and powder only the reflective area. If the eyes disappear, deepen the lash line or add a little shadow rather than making the entire face darker. If the texture looks heavy, remove excess product and improve the prep instead of adding a smoothing filter to the mental picture.
Adapt the finish to your skin and schedule
Oily or combination skin may need more strategic powder around the center of the face, but dry skin can look better with hydration and targeted setting. Sensitive skin benefits from familiar products and a patch test for lash adhesive or new complexion formulas. Outdoor summer weddings may require waterproof eye products and blotting supplies. A winter hotel may require richer preparation on the cheeks and less powder overall. The camera does not know the season, but your skin does.
Consider the whole timeline. A daytime ceremony followed by evening portraits may need a look that starts lighter and gains definition through a planned touch-up. A short studio session can tolerate a more controlled finish because you can monitor shine between sets. A full wedding day requires comfort, breathable layers, and a person who knows how to refresh the lips and center of the face without disturbing the rest of the makeup.
The Wedding-Day Camera Makeup Playbook
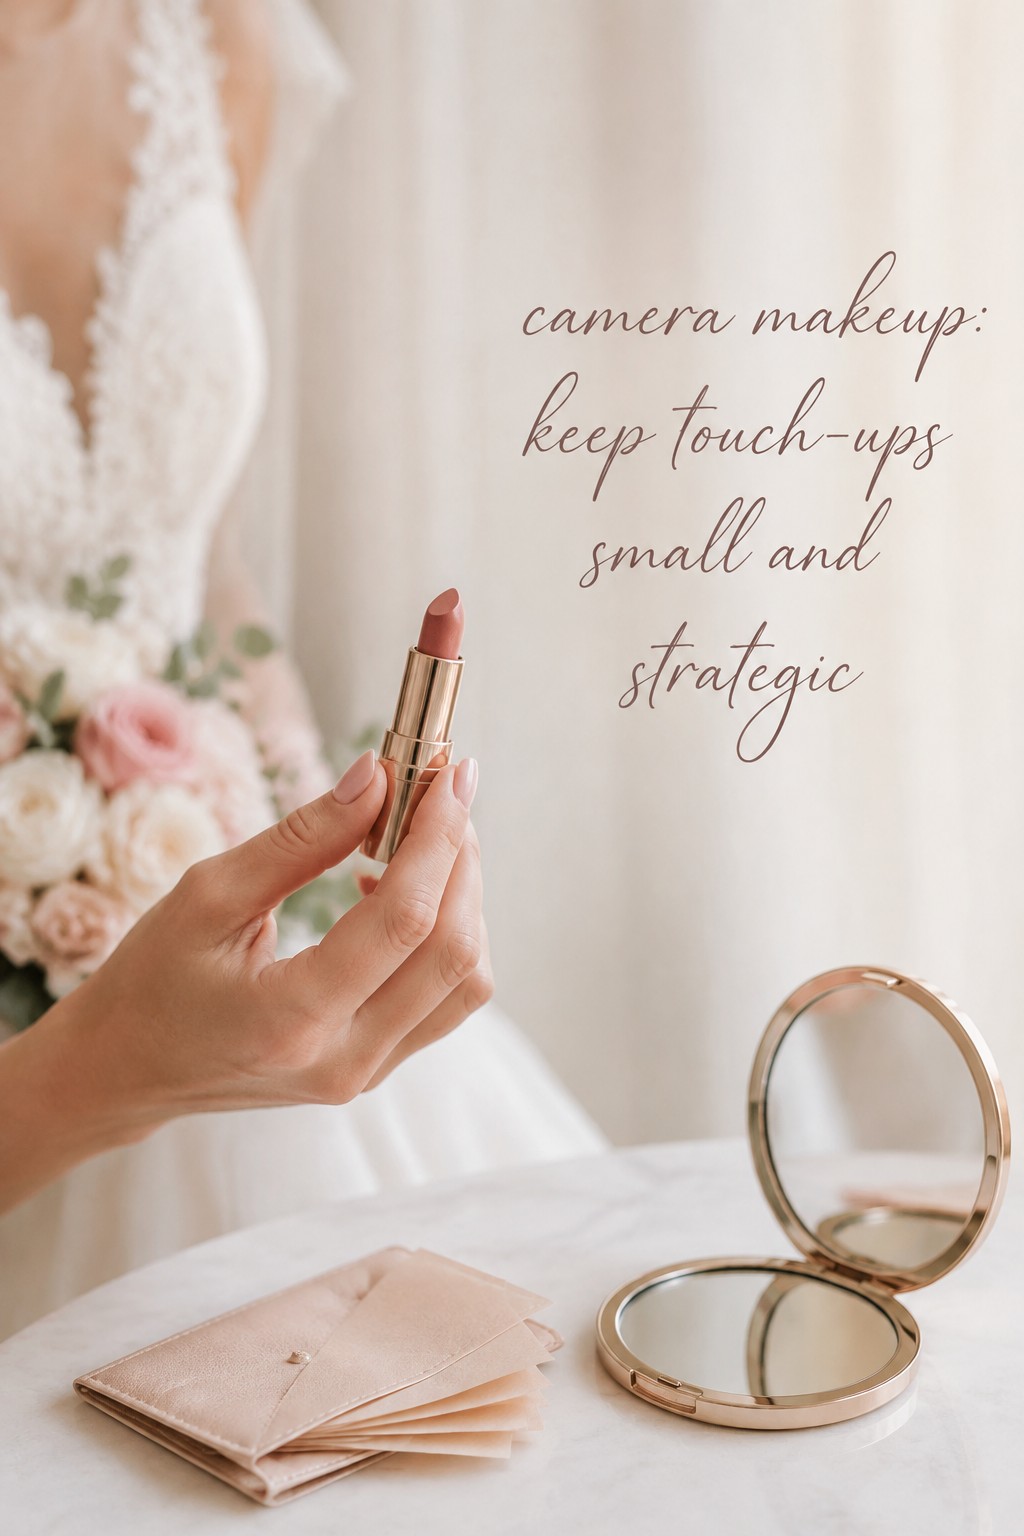
On the wedding morning, follow the tested plan instead of improvising. Have the artist or a trusted person keep a small kit with lip color, a mirror, tissues or blotting papers, cotton swabs, and a small amount of approved powder. If you wear contacts, put them in before makeup so watery eyes do not disturb the lash line. If hair spray is part of the schedule, coordinate the order so the finished complexion does not collect stray product.
- Start with calm, familiar skin preparation and allow each layer to settle.
- Apply complexion in thin, even layers and spot-correct instead of masking the entire face.
- Build brows, eyes, cheeks, and lips in the order agreed during the trial.
- Photograph the finished look before leaving the preparation room, including one flash test if flash will be used later.
- Blot before portraits, then refresh the lip and powder only where needed.
- After eating or emotional moments, repair the center of the lip and any visible lash or liner issue rather than reapplying everything.
Do not judge the makeup only from a close mirror. Step back and look at the face as part of the dress, veil, hair, bouquet, and jewelry. A strong eye may need a little more cheek color when the outfit is detailed. A statement lip may need quieter eyes so the face does not become crowded. The goal is proportion across the full frame.
Touch-ups should restore balance, not chase every photograph. Professional photographers may use different exposure and flash choices throughout the day. A little shine on the cheek can look natural in one image and distracting in another. Blot first, then add a small amount of powder. If you keep adding powder over oil or foundation that has moved, the texture will build. For lips, remove only what has broken down, reapply liner or stain where needed, and press the new layer into place.
Camera makeup mistakes to avoid
The most common mistake is copying a reference without translating it to your own face, lighting, and outfit. A look created for a warm studio may not suit a bright outdoor ceremony. Another is adding too much powder because the mirror looks shiny, only to create visible dryness in close-up photographs. A third is selecting a foundation by its marketing label rather than testing its shade, ingredients, finish, and wear.
Avoid trying a new active skincare product, dramatic lash, unfamiliar adhesive, or experimental lip color on the event morning. Avoid assuming that more contour automatically means more definition. Avoid testing only with a beauty filter, because filters hide the texture and color shifts you need to see. Finally, avoid making the camera the only judge. If the makeup photographs well but feels uncomfortable, tight, or unlike you for twelve hours, it is not a successful wedding look.
The most reliable camera makeup is a tested compromise between the mirror and the lens. It keeps the complexion even but not mask-like, the eyes visible but not closed in, the cheeks alive but not harsh, and the lips clear enough to survive a smile and a close-up. When you test the full system before the event, you replace guesswork with small, confident decisions.
FAQ
What is camera makeup?
Camera makeup is makeup adjusted for the way lenses and lighting record skin, color, texture, and facial dimension. It usually includes an even skin-like base, controlled shine, clear blush, defined eyes, shaped brows, and a lip color that remains visible without looking disconnected from the face.
How do I avoid flashback in wedding photos?
Test your complete base, powder, and flash setup before the wedding. Some SPF or mineral sunscreen ingredients and certain powders can reflect direct light and create a pale cast. Do not remove sun protection casually. Instead, discuss the timing and formula with your makeup artist and replace only products that fail the actual flash test.
Should camera makeup be heavier than everyday makeup?
It may need slightly more definition, but it does not have to be visibly heavy. Add coverage only where it is useful, then build blush, brows, liner, lashes, and lip color enough for the camera to read them. The right amount depends on the lighting, distance, lens, event length, and your personal comfort.
What foundation finish looks best on camera?
A natural-matte or satin finish is often the most adaptable because it controls shine while preserving dimension. Very dewy products can reflect flash and look oily, while an overly matte finish can emphasize dryness and texture. Choose based on your skin and test the exact formula in the intended lighting.
How should I test my bridal makeup before the wedding?
Take trial photos in window light, outdoors, indoor ambient light, and direct flash if flash will be used. Wear the makeup for several hours, move normally, and photograph your face from the front and three-quarter angles. Test it with your veil, jewelry, neckline, glasses, and hairstyle when possible.
How can I keep my face from looking shiny in photos?
Prepare the skin appropriately, use a primer only where needed, and set the T-zone or other reflective areas with a small amount of finely milled powder. During the event, blot first and powder lightly afterward. Reapplying powder over oil or makeup that has moved can create a thicker, more visible texture.
What should I keep in a camera makeup touch-up kit?
Keep the lip color or stain, a small mirror, tissues or blotting papers, cotton swabs, and a little approved powder. Add lash adhesive or liner only if someone in your group knows how to use it. The kit should help restore the tested look quickly, not introduce a new design halfway through the wedding.